Installation Manual
H3C SecPath F100-A Firewall
Chapter 7 MIM Modules
7-2
Step 3: Select a slot and push the MIM into the chassis until it is fully seated in the slot
and its front panel is flush with the front of the chassis.
Step 4: Tighten the captive screws to secure the MIM.
Step 5: Power up the firewall and check the state of the ACT LED for the slot on the
firewall. Blinking means the MIM is installed correctly.
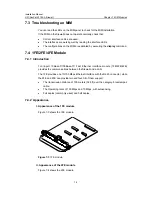
Figure 7-1
Install the MIM I
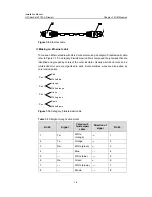
Figure 7-2
Install the MIM II
III. Removing an MIM
Step 1: Place the firewall with its front panel facing you.
Step 2: Turn off the site power and remove the power cord.
Step 3: Remove all interface cables from the front of the chassis.
Step 4: Loosen the captive screws at both sides of the MIM.
Step 5: Pull the MIM towards you until it is completely separated from the bottom of the
chassis.
Caution:
z
If you remove an MIM and do not install a new one right away, you must replace the
blanking filler panel to prevent dust from entering the firewall and to provide
adequate ventilation.
z
Do not operate at MIMs near the passageway to avoid accidents to the unit or the
removed MIMs.


