11-3
Connecting cables to E1 ports
Cables for connecting E1 ports
You can use an E1 cable to connect an E1 port (HM96 male connector). Typically, an E1 cable has
an HD96 female connector at one end and multiple BNC, RJ-45, or SMB connectors at the other
end.
When connecting an E1 cable, you might need also coaxial connectors and 75-ohm E1 adapter
cables. No coaxial connectors and 75-ohm E1 adapter cables are provided with interface subcards.
Purchase them yourself as needed.
Connecting an E1 cable
CAUTION:
To avoid interface subcard or chassis damage, identify the target E1 port before your connection.
Avoid connecting the cable to another port.
Connecting an E1 120-ohm RJ-45 cable
1.
Connect the HD96 connector of the E1 120-ohm cable to the HM96 connector on the interface
subcard and fasten the screws on the connector.
2.
Connect the RJ-45 connectors at the other end of the E1 cable to the peer device.
Connecting an E1 75-ohm BNC/SMB cable
The E1 75-ohm BNC cable and SMB cable use the same connection procedure. The following
procedure connects an E1 75-ohm BNC cable.
To connect an E1 75-ohm BNC cable:
•
If you do not need to extend the cable, perform these steps:
a.
Connect the HD96 connector of the E1 75-ohm cable to the HM96 connector on the
interface subcard and fasten the screws on the connector.
b.
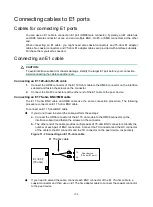
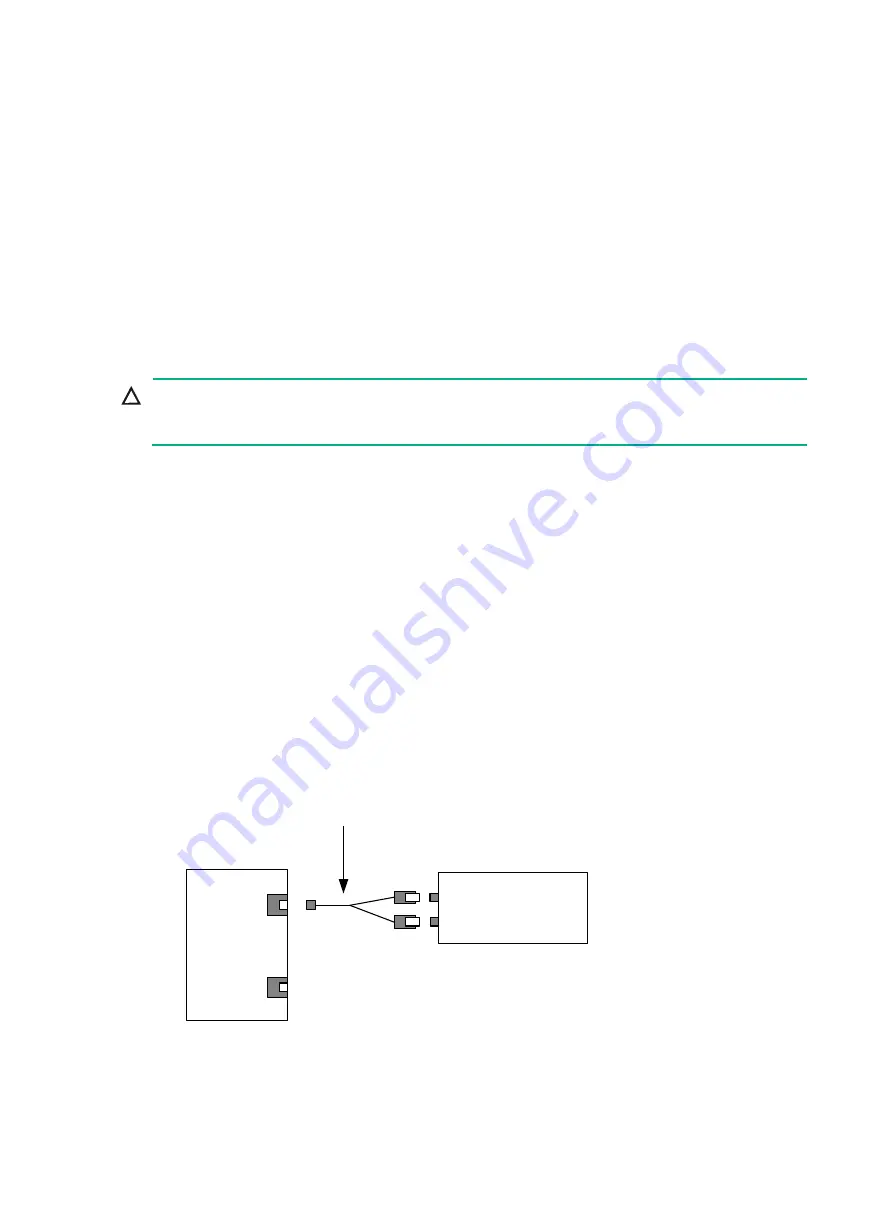
The other end of the cable provides multiple pairs of 75-ohm BNC connectors. Identify the
number of each pair of BNC connectors. Connect the TX connector and the RX connector
of the cable to the RX connector and the TX connector on the peer device, respectively.
Figure 11-3 Connecting an E1 75-ohm cable
•
If you need to extend the cable, connect each BNC connector of the E1 75-ohm cable to a
coaxial connector and then use an E1 75-ohm adapter cable to connect the coaxial connector
to the peer device.
Peer device
(75-ohm E1 port)
E1 75-ohm cable
E1 / E1-F
(75 ohm)
……
TX
RX
TX
RX
Summary of Contents for CR19000-16
Page 16: ...4 3 Figure 4 3 Mounting the router in a rack...
Page 25: ...6 8 Figure 6 6 Connecting an AC power cord using a releasable cable tie...
Page 36: ...9 3 Figure 9 3 Installing a filler panel in a fabric module slot...
Page 38: ...10 2 Figure 10 1 Installing a fan tray...

