Installation Manual
H3C SecPath F1000-A Firewall
Chapter 3 Hardware Installation
3-10
3.7.2 Connecting a DC-Input PSU
I. DC-input PSU
DC input power: – 60 VDC to – 48 VDC
II. Connecting a DC-input PSU
Take the H3C SecPath F1000-A firewall for example.
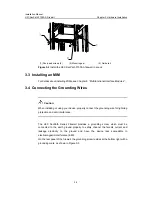
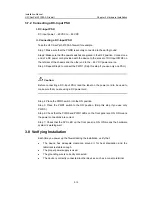
Step 1: Make sure that the PGND is securely connected to the earth ground.
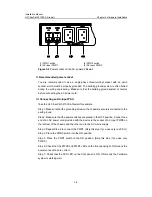
Step 2: Make sure that the power switches are placed in the OFF position. Connect one
end of a DC power cord provided with the device to the socket of DC-input PWR0 on
the left-rear of the chassis and the other end to the – 48 VDC power source.
Step 3: Repeat Step2 to connect the PWR1. (Skip this step if you use only one PSU.)
Caution:
Before connecting a DC-input PSU, read the label on the power cord to be used to
make sure that you are using a DC power cord.
Step 4: Place the PWR0 switch into the ON position.
Step 5: Place the PWR1 switch to the ON position. (Skip this step if you use only
PWR0.)
Step 6: Check that the PWR0 and PWR1 LEDs on the front panel are ON. ON means
the power connections are correct.
Step 7: Check that the SYS LED on the front panel is ON. ON means the hardware
system is working well.
3.8 Verifying Installation
Each time you power up the firewall during the installation, verify that:
z
The device has adequate clearance around it for heat dissipation and the
table/rack is stable enough.
z
The proper power supply is used.
z
The grounding wire is correctly connected.
z
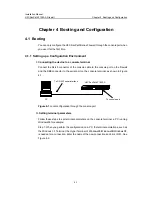
The device is correctly connected to other devices, such as a console terminal.


