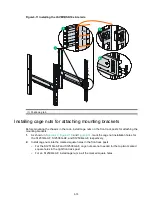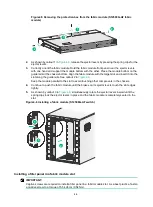
3-9
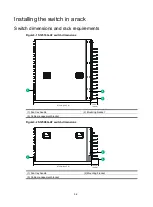
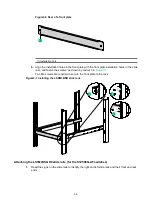
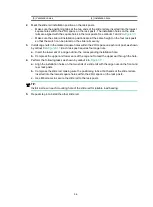
(3) Ventilation holes
(4) Installation hole
2.
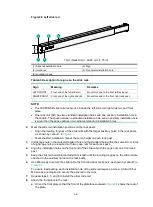
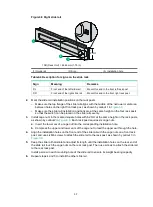
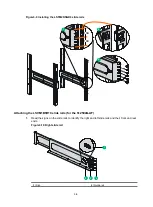
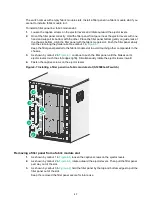
Mark the slide rail installation position on the rack posts.
Make sure the positioning tabs at the two ends of the slide rail are inserted into the lowest
square holes within the 2 RU space on the rack posts. The installation holes on the slide
rails are aligned with the square holes in the rack posts. See callouts 1 and 2 in
Make sure the slide rail installation positions are at the same height on the four rack posts
so that the switch can be placed on the slide rails evenly.
3.
Install cage nuts in the marked square holes within the 2 RU space on each rack post, as shown
by callout 3 in
. Each rack post requires four cage nuts.
a.
Insert the lower ear of a cage nut into the corresponding installation hole.
b.
Compress the upper and lower ears of the cage nut to lead the upper ear through the hole.
4.
Perform the following tasks as shown by callout 4 in
a.
Align the installation holes on the two ends of a slide rail with the cage nuts on the front and
rear rack posts.
b.
Compress the slide rail, making sure the positioning tabs at both ends of the slide rail are
inserted into the lowest square holes within the 2 RU space on the rack posts.
c.
Use M6 screws to secure the slide rail to the rack posts.
TIP:
Install a screw in each mounting hole of the slide rail for reliable load bearing.
5.
Repeat step 4 to install the other slide rail.
Summary of Contents for S12500G-AF Series
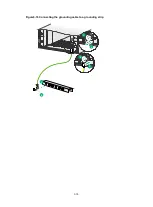
Page 32: ...3 15 Figure3 16 Connecting the grounding cable to a grounding strip 1 2 4 3 6 5 ...
Page 49: ...4 16 Figure4 16 Connecting an SFP DAC cable 1 Pull latch 2 Connector 1 2 ...
Page 92: ...A 12 FigureA 14 Example of a device label ...
Page 104: ...C 6 FigureC 5 Securing the chassis to the pallet base S12504G AF switch 1 1 2 2 1 ...


