6
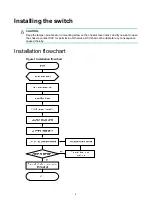
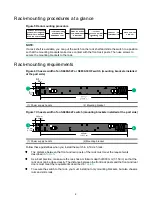
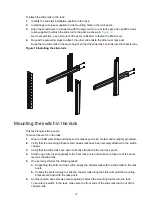
Rack-mounting procedures at a glance
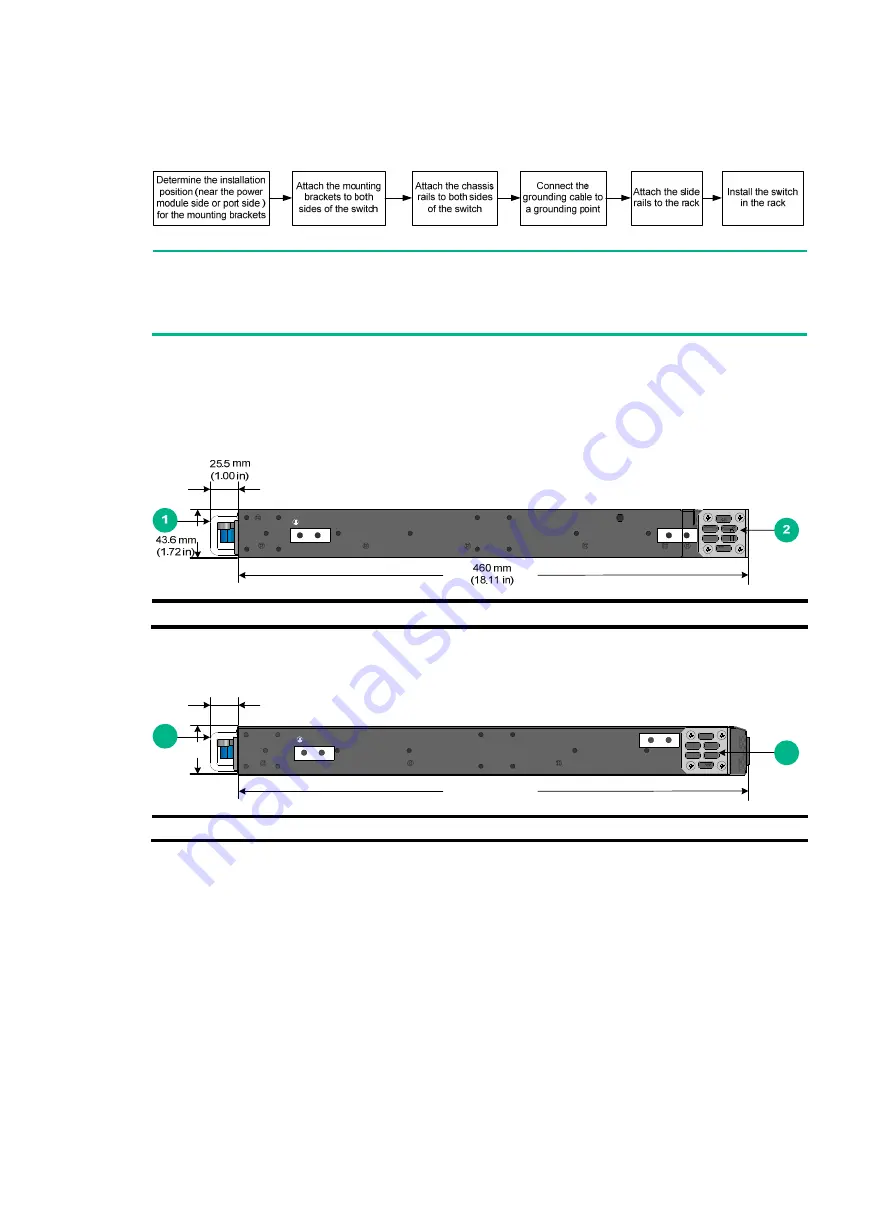
Figure 5 Rack-mounting procedure
NOTE:
If a rack shelf is available, you can put the switch on the rack shelf and slide the switch to a position
so that the mounting brackets make close contact with the front rack posts. Then use screws to
secure the mounting brackets to the rack.
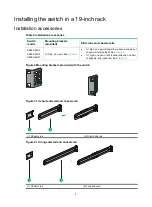
Rack-mounting requirements
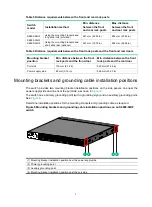
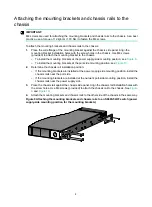
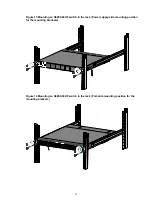
Figure 6 Chassis width of an S6890-54F or S6890-30HF switch (mounting brackets installed
at the port side)
(1) Power supply handle
(2) Mounting bracket
Figure 7 Chassis width of an S6890-44F switch (mounting brackets installed at the port side)
(1) Power supply handle
(2) Mounting bracket
Follow these guidelines when you install the switch in a 19-inch rack:
•
The distance between the front and rear posts of the rack must meet the requirements
described in
•
As a best practice, make sure the rack has a minimum depth of 800 mm (31.50 in) so that the
rack door can be closed easily. The distance between the front rack posts and the front and rear
doors must meet the requirements described in
.
•
To secure the switch to the rack, you must install not only mounting brackets, but also chassis
rails and slide rails.
44 mm
(1.73 in)
1
25.5 mm
(1.00 in)
460 mm
(18.11 in)
2


