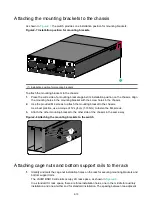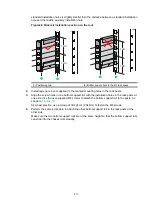
2-19
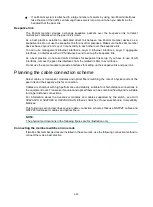
Figure2-19 Power supply installation procedure
Figure2-20 Power supply removal procedure
Safety guidelines
To prevent device damage and even bodily injury, follow these restrictions and guidelines when you
install or remove a power supply:
•
Always wear an ESD wrist strap and make sure the strap makes good skin contact.
•
Before installing a power supply, make sure the voltage of the power source is as required by
the power supply, and the output voltage of the power supply is as required by the device.
•
Do not touch any bare cables or terminals on the power supply.
•
Do not place the power supply in a wet area, and prevent liquid from entering the power supply.
•
To avoid power supply damage, do not open the power supply. When an internal circuit or
component of the power supply fails, contact H3C Support.
Installing a power supply
The switch supports shipping with fan modules and power supplies installed. If your switch came
with power supplies preinstalled, skip this section.
To install a power supply:
1.
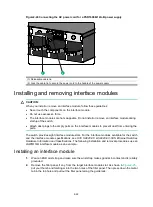
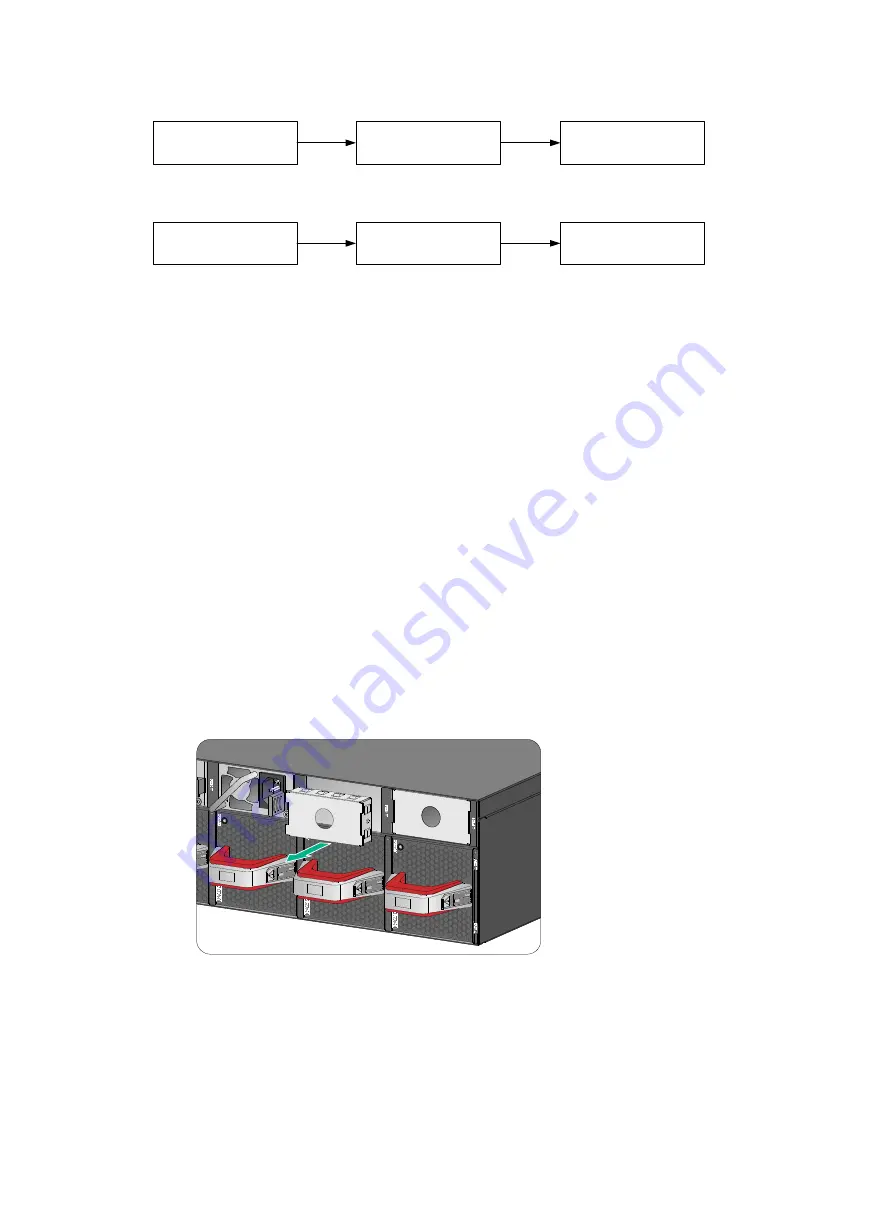
Remove the filler panel, if any, from the target power supply slot, as shown in
Figure2-21 Removing a filler panel
2.
Unpack the power supply and verify that the power supply model is correct.
3.
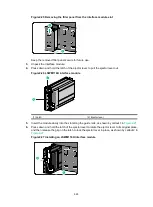
Correctly orient the power supply with the lettering on it upward. Grasping the power supply
handle with one hand and supporting the module bottom with the other, slide the power supply
slowly into the slot along the guide rails. Make sure the power supply connectors have firm
contact with the backplane.
Install the power
supply
Connect the power
cord
Turn on the circuit
breaker
Turn off the circuit
breaker
Disconnect the power
cord
Remove the power
supply
Summary of Contents for S9820-8C-SAN
Page 37: ...3 30...


