Installation Manual
H3C SecPath V1000-A Security Gateway
Chapter 8 Multifunctional Interface Modules
8-2
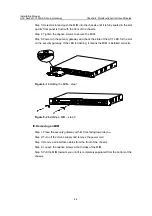
Step 3: Select a slot and push the MIM into the chassis until it is fully seated in the slot
and its front panel is flush with the front of the chassis.
Step 4: Tighten the captive screws to secure the MIM.
Step 5: Power up the security gateway and check the state of the ACT LED for the slot
on the security gateway. If the LED is flashing, it means the MIM is installed correctly.
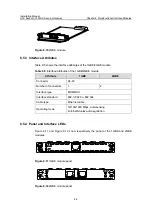
Figure 8-1
Installing the MIM – step 1
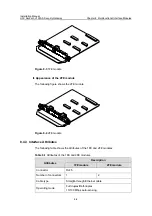
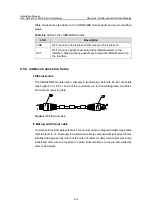
Figure 8-2
Installing a MIM – step 2
III. Removing an MIM
Step 1: Place the security gateway with its front facing towards you.
Step 2: Turn off the mains supply and remove the power cord.
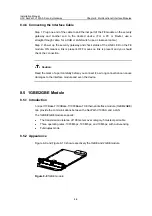
Step 3: Remove all interface cables from the front of the chassis.
Step 4: Loosen the captive screws at both sides of the MIM.
Step 5: Pull the MIM towards you until it is completely separated from the bottom of the
chassis.


