Installation Manual
H3C WA2200 Series WLAN Access Points
Chapter 3 Installation of Indoor APs
3-2
3.3 Installing the AP
The following describes how to install the AP on a wall.
z
Installing the Wall-Mounting Bracket on a Wall
z
Installing the AP on the Wall-Mounting Bracket
z
Locking the AP onto the Wall-Mounting Bracket (Optional)
3.3.1 Installing the Wall-Mounting Bracket on a Wall
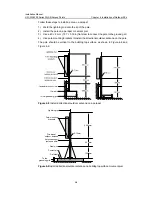
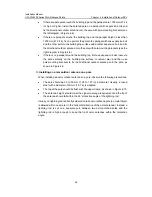
Follow these steps to install the wall-mounting bracket on a wall:
1) Drill holes 6 mm (0.24 in) in diameter on the wall where the AP should be mounted.
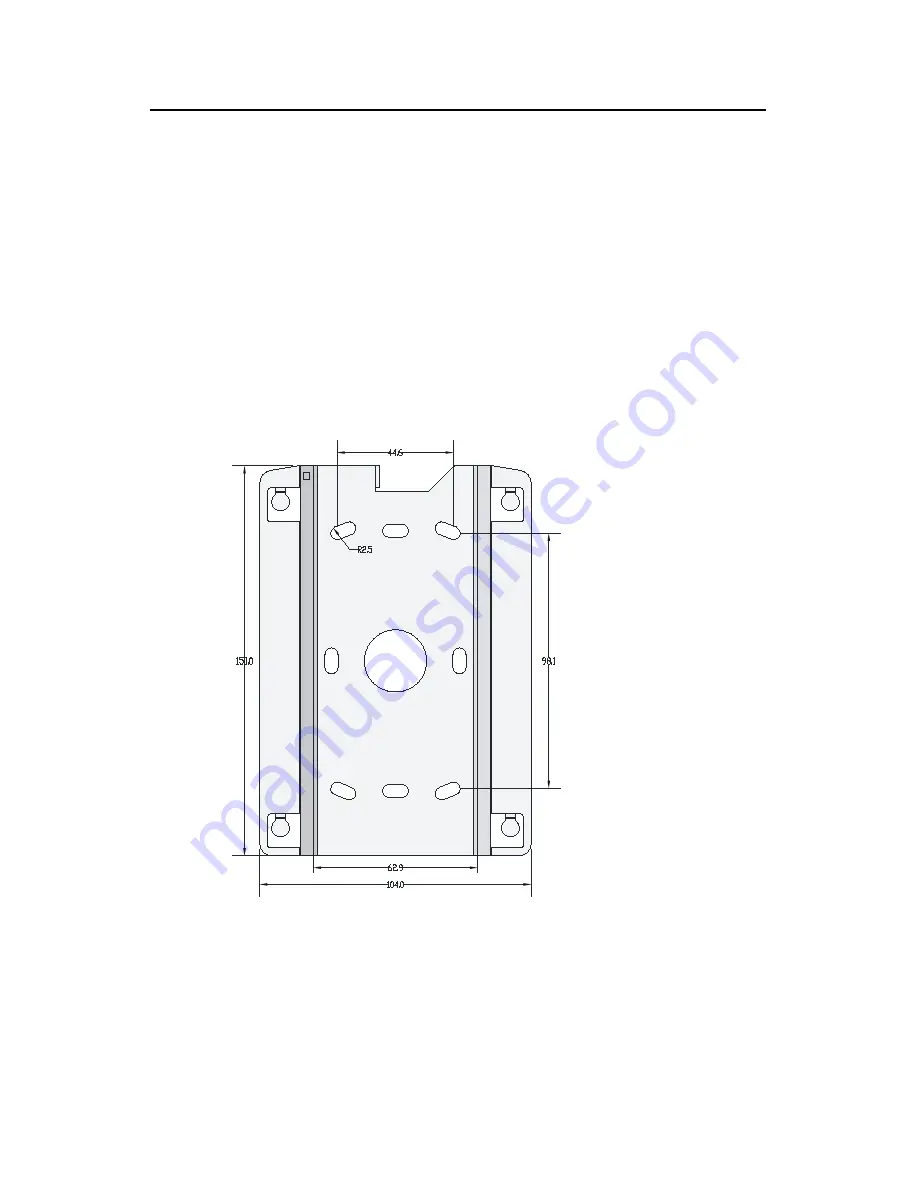
The drilled holes should correspond to those in the wall-mounting bracket. There
are eight installation holes in total in the wall-mounting bracket. You should select
at least three in a triangle for installation.
Figure 3-2
Screw hole locations and screw hole size
2) Insert the pointed end of anchors into the drilled holes and tap the flat end of
anchors with a rubber hammer until they are all flush with the wall surface.
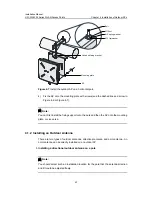
3) Align the holes in the wall-mounting bracket with the anchors and insert screws
through the installation holes into the anchors, as shown in Figure 3-3.
4) Adjust the position of the wall-mounting bracket and tighten the screws.


