Installation Manual
H3C WA2200 Series WLAN Access Points
Chapter 4 Installation of Outdoor APs
4-2
Drill holes
Install anchors
Fix the wall-
mounting bracket
Mark
Start
End
Fix the AP
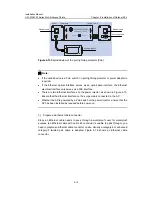
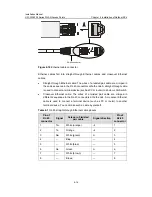
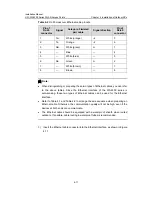
Figure 4-2
Installation flowchart of the AP on a wall
1) Mark
Step
Operation
1
Put the wall-mounting bracket on the installation position against the wall.
2
Mark three expansion screw holes on the wall. For the distance (in mm)
between the expansion screw holes, see Figure 4-3.
Note:
The wall-mounting bracket is not supplied unless ordered.


