4
Installing the AP
CAUTION:
The WA2610i-GN is usually installed on a high position, such as a wall or ceiling, so the maintenance
personnel cannot log in from the console port to maintain and debug the AP. H3C recommends that you
log in to the AP through the console port to perform remote login (Telnet or web login) configuration, or
log in through Telnet or web by using the default login information before you install the AP. For more
information about logging in to the AP, see “
.”
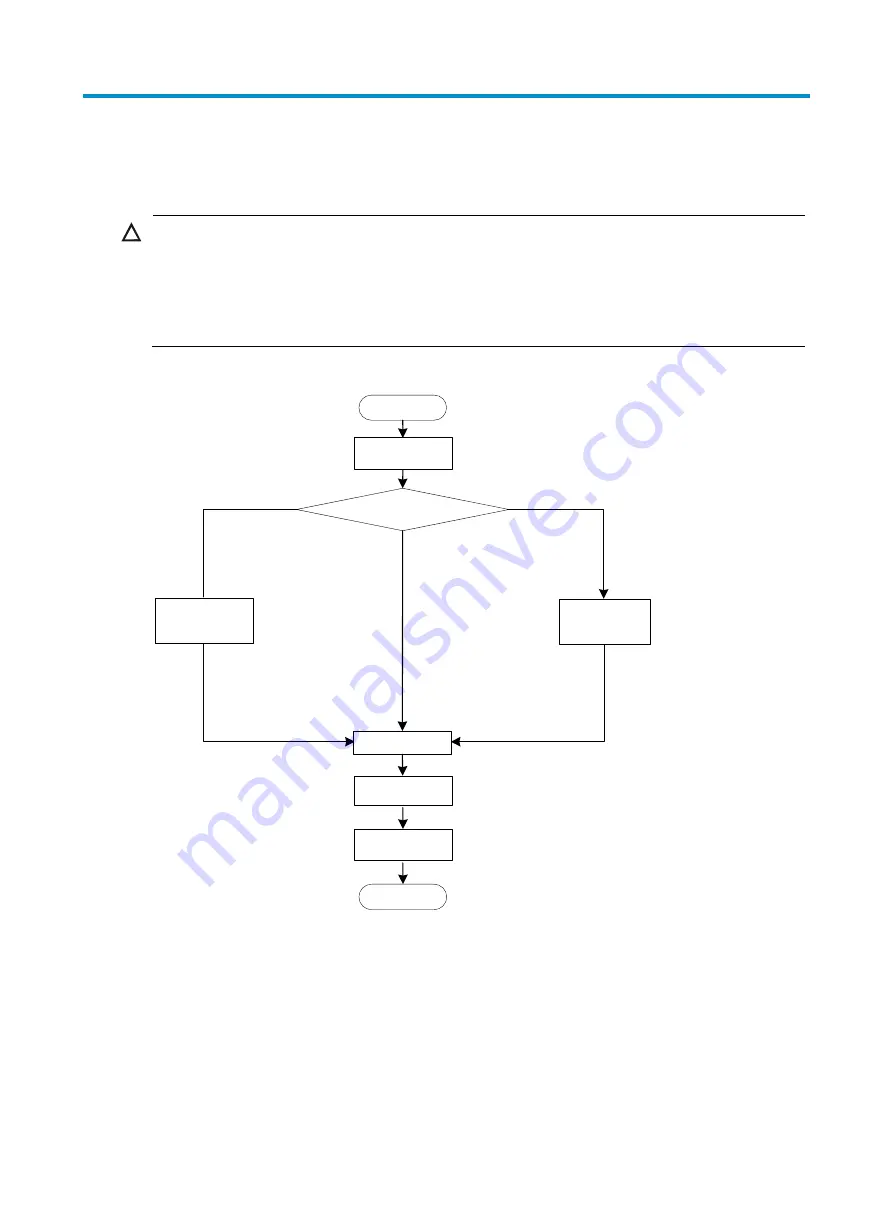
Figure 3
Installation flowchart
Check before installation
Before you install an AP, check the following:
•
Connect the power cord and connect the AP to the network. Check the LED status to make sure that
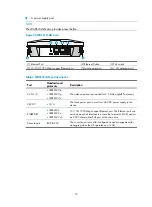
the AP can operate properly. For more information about AP LEDs, see “
•
Check that cabling has been completed.
Start
Determine the installation position
Mount the AP to a wall
End
Check before
installation
Install the wall-
mounting bracket
Ceiling mounting
Install the AP
Connect the power
supply
Mount the AP on a table
Connect the AP to
the network
Mount the wall-
mounting bracket to
the ceiling


