background image

19

DEUTSCH

ENGLISH 

FRANÇAIS

ITALIANO

ESPAÑOL

NEDERLANDS

PORTUGUÊS

SVENSKA

DEUTSCH

ENGLISH

FRANÇAIS

ITALIANO

ESPAÑOL

NEDERLANDS

PORTUGUÊS

SVENSKA

© HAAG‑STREIT AG, 3098 Koeniz, Switzerland ‑ HS‑Doc. no. 1500.7006000‑04270 – 2022 – 09

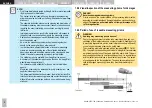
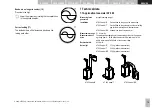
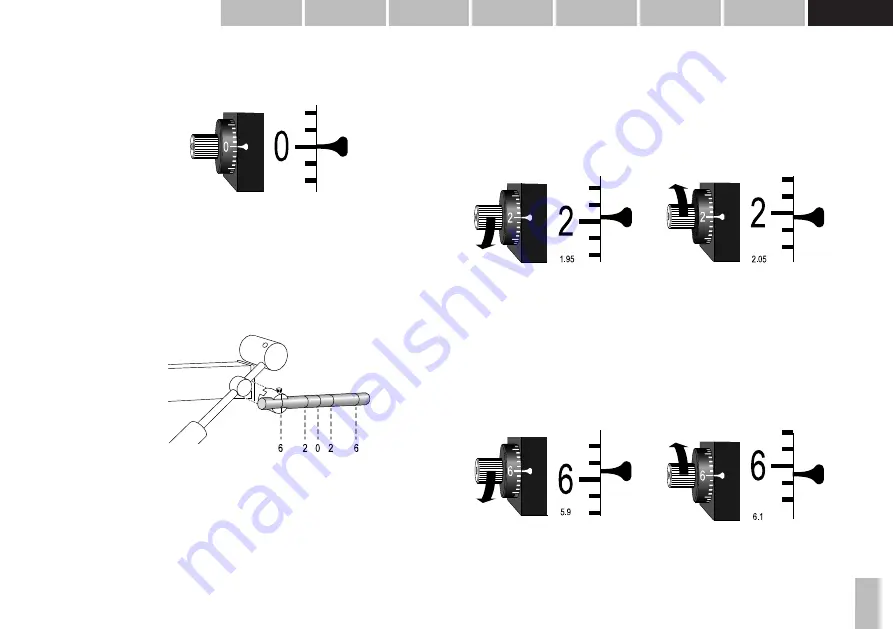
Check the drum position 0

In working position, the feeler arm is swivelled and the measuring drum is set to 0.

The arm carrying the measuring prism must swing freely between the limit stops on

contact.

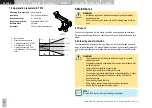
Check the drum position 2

• The control weight is to be used for this inspection. The weight rod is engraved

with five rings. The middle ring corresponds to a scale value of 0, the rings im-

mediately to its left and right correspond to a value of 2, and both outside scale

rings have a value of 6.

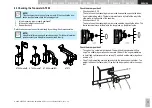
• A mark corresponding to the measuring drum setting 2 is set exactly to the index

mark on the weight holder, whereupon the weight is fitted on the tonometer axis

so that the longer part points in the direction of the patient. The feeler arm must

move towards the patient.

• Check position 1.95

Move calibration mark 2 on the measuring drum downwards, opposite the fixed

index, by a width of one marking. With light pressure to the feeler arm in the dir-

ection of free movement, the feeler arm must start to move independently to-

wards the limit stop in the direction of the examiner.

• Check position 2.05

Move calibration mark 2 on the measuring drum upwards, opposite the fixed in-

dex, by a width of one marking. The feeler arm must start to move into direction

of the stop-piece on the patient's side.

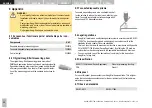
Check the drum position 6

Set the weight rod to 6 on the scale, the longer part points to the patient.

• Check position 5.9

The check point is at 5.9. Move the measuring drum's calibration mark 6 down-

wards, opposite the index, by a ½ interval.

The feeler arm should move towards the examiner.

• Check position 6.1

The check point is at 6.1. Move the measuring drum's calibration mark 6 up-

wards, opposite the index, by a ½ interval.

The feeler arm should move towards the patient.

Summary of Contents for AT 900

Page 1: ...GLISH FRAN AIS ITALIANO ESPA OL NEDERLANDS PORTUGU S SVENSKA HAAG STREIT AG 3098 Koeniz Switzerland HS Doc no 1500 7006000 04270 2022 09 INSTRUCTIONS FOR USE Applanation tonometer AT 900 AT 870 27 Edi...

Page 2: ...ly with the regulations in these instructions for use we can guarantee reliable and trouble free use of our product WARNING Applanation tonometry may only be conducted by appropriately trained and qua...

Page 3: ...ment 8 2 4 Clinical benefit 8 3 Introduction 9 3 1 Overview 9 4 Device assembly installation 9 4 1 AT 900 model R 9 4 2 AT 900 model T 9 4 3 AT 900 model BQ 9 4 4 Tonometer AT 870 9 4 5 Which slit lam...

Page 4: ...ing shows traces of im proper handling or damage If this is the case notify the transport company that delivered the goods to you Unpack the device together with a representative of the transport comp...

Page 5: ...hanges the biomechanical properties of the cornea The biomechanical properties of the cornea have an effect on the measurement readings 1 6 Disinfection NOTE The applanation tonometer can but does not...

Page 6: ...The operator accepts all liability for the use of other disinfection agents Single use prisms must be replaced after every examination see separate instructions for use The above mentioned instruction...

Page 7: ...the product This would void all guarantee claims Continued use of a damaged product may lead to personal injury In such a case the manufacturer will not accept any liability Haag Streit does not gran...

Page 8: ...2 3 1 Contraindications The list of known contraindications includes but is not limited to the following medic al conditions Active corneal infections Corneal epithelial defects Ocular chemical burn...

Page 9: ...trained specialists 4 1 AT 900 model R A pivot is required for use of the Applanation Tonometer AT 900 model R on the BM 900 slit lamp It is assembled as follows 1 Unscrew the mounting screw found at...

Page 10: ...ts from the bottom side into the beam path of the microscope and the illumination The Applanation Tonometer AT 900 model BQ has a working position and two resting positions To set the correct angle of...

Page 11: ...red IOP A normal corneal thickness is considered to fall within the range of 530 to 560 micrometre If it is suspected that measuring results may be inaccurate please conduct a functional verification...

Page 12: ...through observation with the wrong eyepiece adjustment can lead to false results 6 6 Measuring correctly NOTE Make sure that the measuring arm of the tonometer can move freely and is not hindered by t...

Page 13: ...he measuring prism is touching the eye only intermittently If the patient pulls back even further the fluorescein rings will disappear com pletely Instruct the patient to adopt the correct position On...

Page 14: ...mp up wards Nearly entire circle above incomplete circle below 11 Measuring prism not centred on the eye eye still too high Using the control lever move the slit lamp up wards Two incomplete circles t...

Page 15: ...ght Installation AT 900 model R Can be fitted on the peg on the microscope AT 900 model T Can be fitted on the guide plate on the swivelling peg for the microscope and illumination arm AT 900 model BQ...

Page 16: ...evice should be cleaned weekly as described We recommend having the device checked annually by an authorised service tech nician 8 2 Cleaning and disinfection Tonometer housing and sensor arm can if r...

Page 17: ...AT 870 Check the drum position 0 Check position 0 05 The zero line on the measuring drum is moved downwards opposite the index by a single marking width The feeler arm must move by itself all the way...

Page 18: ...suring drum s calibration mark 6 down wards opposite the index by a interval The feeler arm must move towards the examiner Check position 6 1 The check point is at 6 1 Move the measuring drum s calibr...

Page 19: ...on of the patient The feeler arm must move towards the patient Check position 1 95 Move calibration mark 2 on the measuring drum downwards opposite the fixed index by a width of one marking With light...

Page 20: ...n of the measuring prism and the separate instructions for use 9 3 Tonosafe disposable prisms Tonosafe disposable prisms are a comfortable and ef fective solution to reduce the risk of cross infection...

Page 21: ...ould you have any further questions please contact your Haag Streit representative at www haag streit com haag streit group contact haag streit distributors distributors HAAG STREIT AG Gartenstadtstra...

Reviews: