Operating instructions 3745
Flexproof-Cutter
AF-603
Page 9 of
20
Edition: 01/0512
Subject to alterations
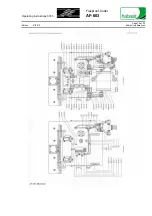
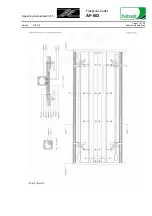
Slide left side of the first end of belt/tape which is not yet die-cut under the clamping bars (13) and in
the right-hand slit against the rear stops (10) and (15), so that on the right side at least two cutting
impressions on the masking tape are still visible. Align already cut and freed fingers exactly with the
visible cutting impressions.
Lower clamping bars (13).
By pressing index lever (2) against machine frame and simultaneously turning crank (5)
counterclockwise, move punching carriage (18) to the right side until the die-cutting head (23) has
passed the last die-cut in the belt/tape. Index lever (2) has to snap in.
Complete die-cutting of belt/tape from right to left, as described under 4.1.
Lift clamping bars (13).
Remove belt/tape from die-cutting machine.
With tapes wider than 1100 mm/
44 in.
, the preceding cutting process has to be repeated.
Remove masking tape from cutting pad (17).
4.2.2 Die-cutting of the (already cut to length) second belt/tape end
Move punching carriage (18) to the starting position on the right side.
Reinstall the front right-hand stop (10) and set it a half punching pitch to the left of the 0-point on the
mm-scale (16) and lock it.
Cover punching pad (17) with masking tape (wider than finger length).
Slide second end of belt/tape, with running side facing down, under the clamping bars (13) and in the
left-hand slit against the rear stops (10) and (15) and sideways against the front right-hand stop (10).
Lower clamping bars (13).
Die-cut belt/tape as described under 4.2.1.
Remove belt/tape from die-cutting machine.
Remove masking tape from cutting pad (17).
Reinstall the front right-hand stop (10).
Reinstall the front left-hand stop (15).
Close compressed air valve (7).


