14 of 96
Installation - 3624 ProBrix Plus
Operator Manual
ORBISPHERE
1.3.1 Mounting
Usually, the instrument is mounted onto the sampling module, as described below.
Alternatively, you may mount the instrument on a wall using a stainless-steel support
(model 32209). However, if you wish to wall-mount the instrument, then please contact
your local Hach Ultra Service Representative for more information.
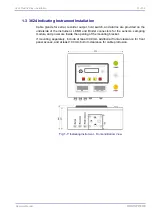
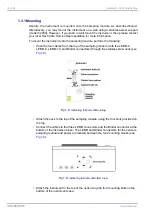
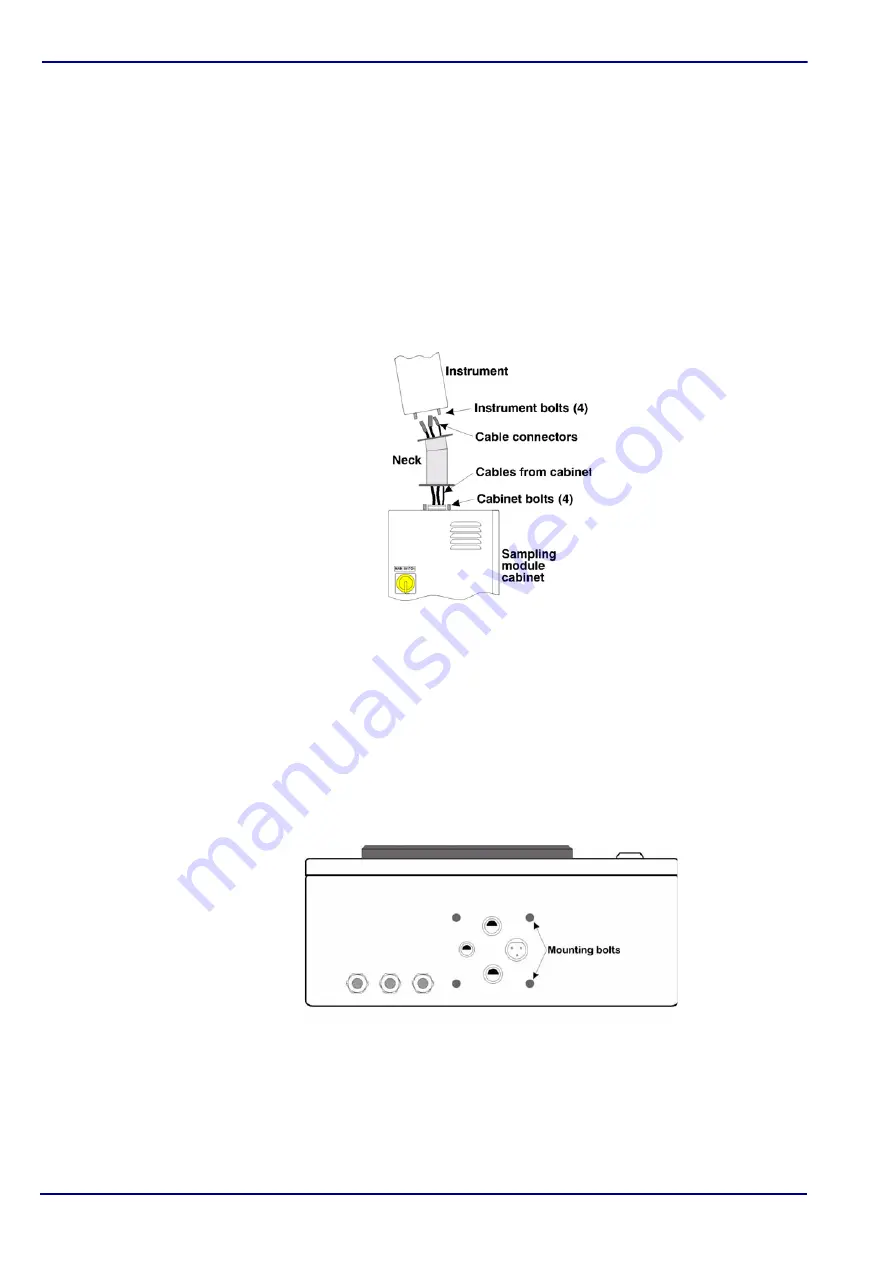
To mount the instrument onto the sampling module, perform the following:
• Pass the four cables from the top of the sampling module (with the LEMO-6,
LEMO-8, LEMO-10, and Binder connectors) through the stainless steel neck (see
• Attach the neck to the top of the sampling module, using the four bolts provided on
the top.
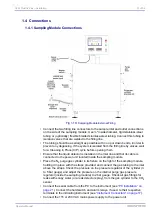
• Connect the cables to the three LEMO connectors and the Binder connector at the
bottom of the instrument case. The LEMO and Binder connectors for the sensors,
sampling module and power are located between the four mounting blocks (see
• Attach the instrument to the top of the neck using the four mounting bolts on the
bottom of the instrument case.
Fig 1-8:
Indicating Instrument Mounting
Fig 1-9:
Indicating Instrument Bottom View
Summary of Contents for ORBISPHERE 3624
Page 1: ...Operator Manual ORBISPHERE 3624 Revision F 03 10 2008 ...
Page 2: ......
Page 14: ...8 of 96 Manual Overview 3624 ProBrix Plus Operator Manual ORBISPHERE ...
Page 32: ...26 of 96 Installation 3624 ProBrix Plus Operator Manual ORBISPHERE ...
Page 60: ...54 of 96 PC Program Setup 3624 ProBrix Plus Operator Manual ORBISPHERE ...
Page 68: ...62 of 96 Calibrations 3624 ProBrix Plus Operator Manual ORBISPHERE ...
Page 82: ...76 of 96 Accessories and Attachments 3624 ProBrix Plus Operator Manual ORBISPHERE ...
Page 98: ...92 of 96 Glossary 3624 ProBrix Plus Operator Manual ORBISPHERE ...
Page 101: ...3624 ProBrix Plus User Notes 95 of 96 Operator Manual ORBISPHERE User Notes ...
Page 102: ......


