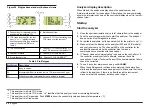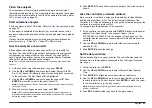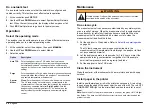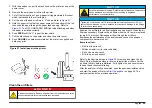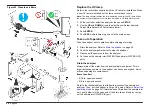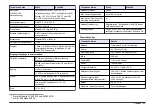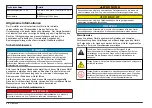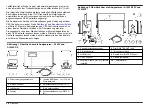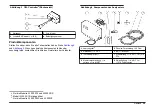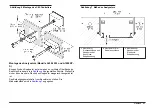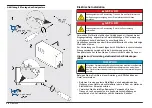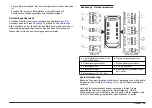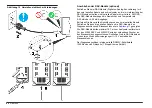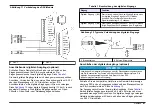
Figure 22 Clean the air filters
Replace the UV lamp
Refer to the instructions supplied with the UV lamp for installation. When
a new UV lamp is installed, set the lamp counter back to zero.
Note: The lamp counter records the total operating hours for the UV lamp. When
the number of operating hours is more than 6 months, a UV lamp alarm occurs.
1.
At the controller, select the analyzer, then push
SETUP
.
2.
Use the
UP
and
DOWN
arrows to select Sensor Setup>Analysis
Setup>More Setup>Cell Setup>Lamp Install.
3.
Push
ENTER
.
4.
Push
ESC
multiple times to go back to the main screen.
Take out of operation
Take the analyzer out of operation before shipping or storage.
1.
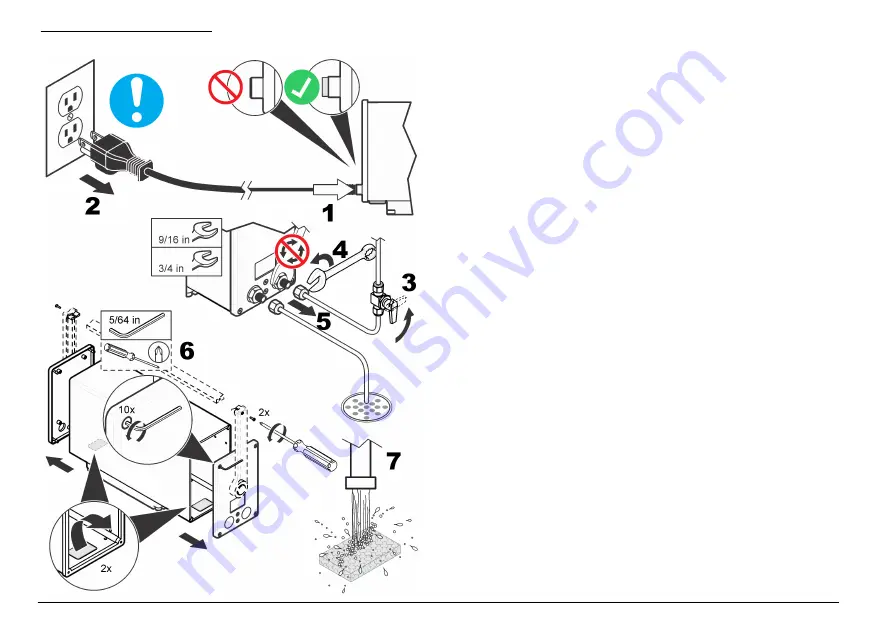
Drain the analyzer. Refer to
on page 26.
2.
Push the analyzer power button to stop the analyzer.
3.
Disconnect the power cord from the analyzer.
4.
Put caps on the sample inlet (WATER IN) and drain (WATER OUT)
ports.
Drain the analyzer
Always drain all the water from the analyzer before shipment. This is
important because water in the analyzer can freeze and expand, which
will cause damage to components.
Items to collect:
• 9/16-in. open-end wrench
• 3/4-in. open-end wrench
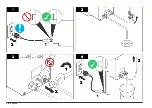
Refer to the illustrated steps that follow to disconnect the sample line
analyzer. Then, put the analyzer in Purge Only mode. Refer to
on page 24. If water does not drain from the sample inlet
port, gently blow into the open end of the drain line until only air comes
out the sample inlet (WATER IN) port.
26
English
Summary of Contents for A1000
Page 2: ...English 3 Deutsch 29 Italiano 57 Fran ais 83 Espa ol 110 2...
Page 28: ...28 English...
Page 56: ...56 Deutsch...
Page 82: ...82 Italiano...
Page 109: ...Fran ais 109...
Page 136: ...136 Espa ol...
Page 137: ......


