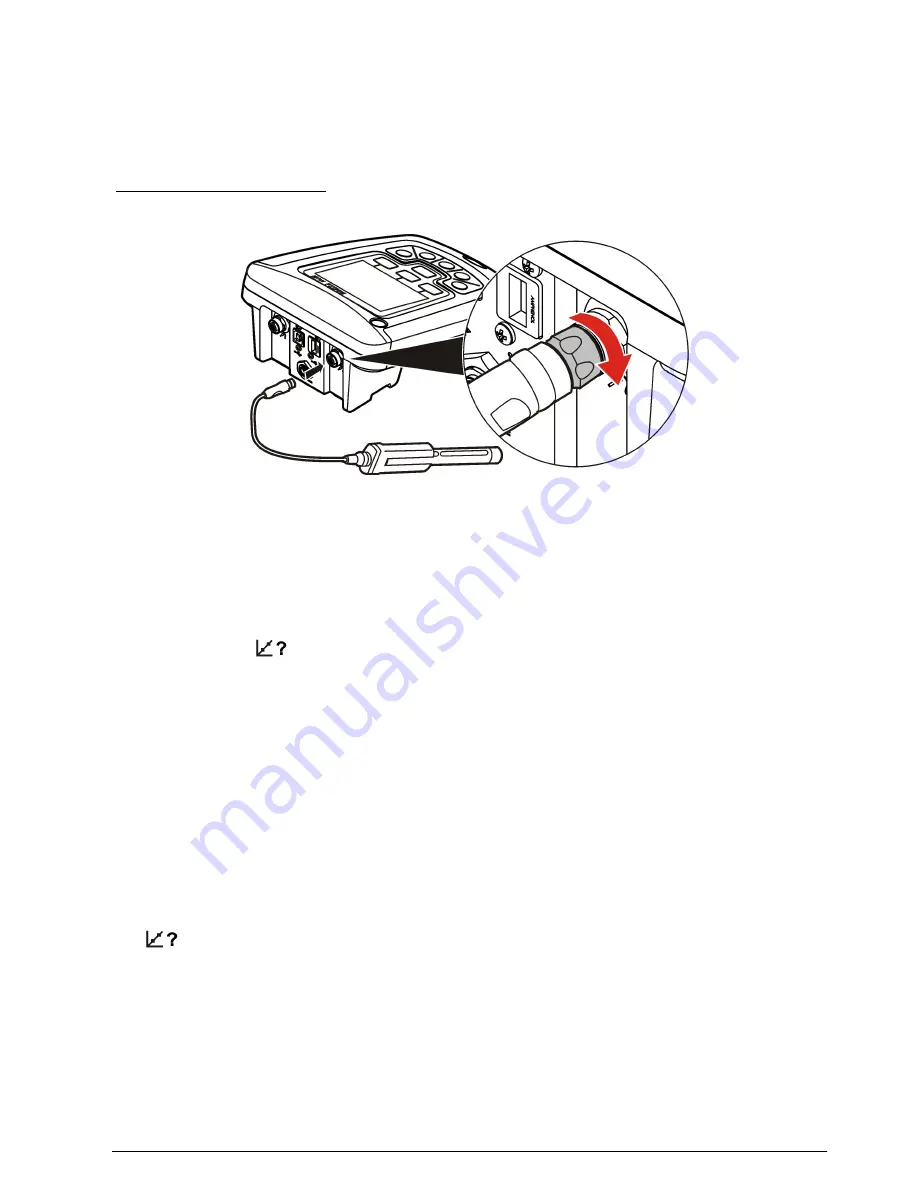
Connect a probe
1.
Make sure that the display shows the current time and date.
Note: The time stamp for a probe is set when the probe is first connected to the meter. This time stamp makes
it possible to record the probe history and record the time when measurements are made.
2.
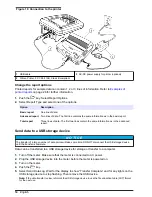
Plug the probe into the meter (
Figure 9
).
3.
Push and turn the locking nut to tighten.
Figure 9 Probe connection
Standard operation
About calibration
Each probe uses a different type of calibration solution. Make sure to calibrate the probes frequently
to maintain the highest level of accuracy.
Note: For step-by-step instructions, refer to the documents that are included with each probe.
The calibration icon
can indicate that:
• the calibration timer has expired
• the LDO sensor cap should be replaced
• the calibration is out of range
• the calibration results are outside acceptance criteria settings
About sample measurements
Each probe has specific preparation steps and procedures for taking sample measurements. For
step-by-step instructions, refer to the documents that are included with the probe.
About check standards
Run Check Standards verifies equipment accuracy by measuring a solution of a known value. The
meter will indicate if the Check Standard passed or failed. If the Check Standard fails, the calibration
icon
is shown until the probe is calibrated.
The meter can be set to automatically show a reminder for check standard measurement at a
specified interval with a specified acceptance criteria. The reminder, value of the check standard, and
acceptance criteria can be changed. For step-by-step instructions, refer to the documents that are
included with the probe.
English
11
Summary of Contents for HQ440d
Page 1: ...DOC022 53 80116 HQ440d HQ430d HQ411d 10 2016 Edition 3 User Manual...
Page 2: ......
Page 34: ......
Page 35: ......

