94
Maintenance and Troubleshooting
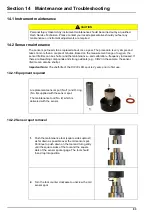
14.2.3 Sensor spot replacement
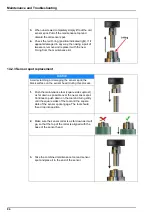
3.
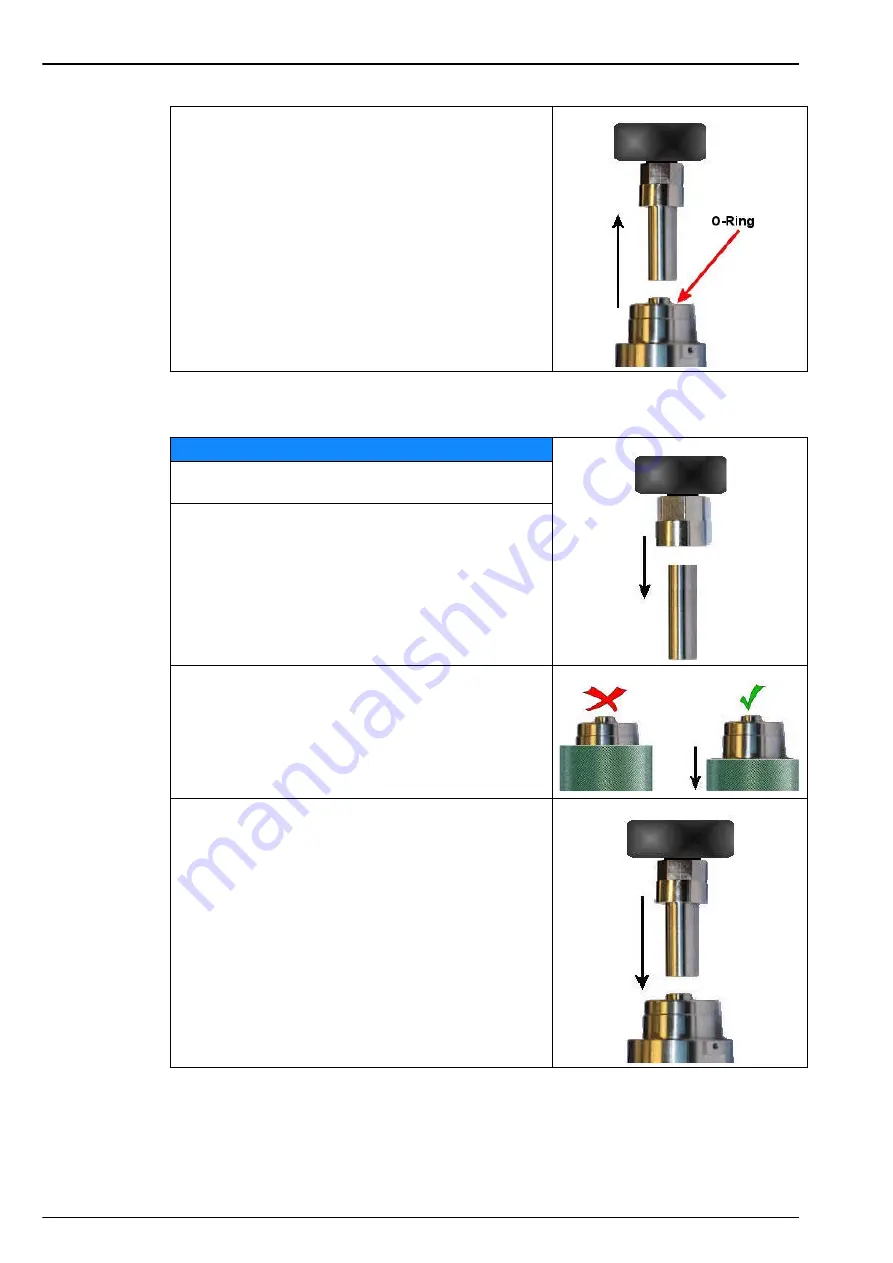
When unscrewed completely simply lift out the old
sensor spot. Pull off the maintenance tool and
discard the old sensor spot.
4.
Check the red O-ring (position indicated right). If it
appears damaged in any way, then using a pair of
tweezers, remove and replace it with the new
O-ring from the maintenance kit.
NOTICE
Avoid scratching or damaging the sensor spot (the
black surface on the sensor head) during this process.
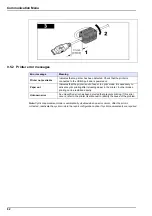
1.
Push the maintenance tool (square sides upmost)
as far down as possible over the new sensor spot.
Continue to push down on the tool and turn gently
until the square sides of the tool and the square
slots of the sensor spot engage. The tool should
then drop into position.
2.
Make sure the sensor collar is as far down as it will
go, so that the top of the collar is aligned with the
base of the sensor head.
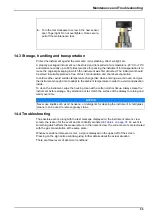
3.
Take the combined maintenance tool and sensor
spot and place it in the end of the sensor.
Summary of Contents for ORBISPHERE K1200
Page 5: ...4 Table of Contents...
Page 13: ...12 General Information...
Page 39: ...38 Installation...
Page 45: ...44 User Interface...
Page 46: ...45 Section 5 View Menu Figure 34 View menu...
Page 49: ...48 View Menu...
Page 59: ...58 Calibration Menu...
Page 60: ...59 Section 8 Inputs Outputs Menu Figure 40 Inputs Outputs menu...
Page 62: ...61 Inputs Outputs Menu 8 4 Analog outputs Figure 41 Analog outputs menu...
Page 69: ...68 Inputs Outputs Menu...
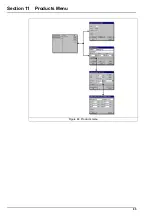
Page 86: ...85 Section 11 Products Menu Figure 44 Products menu...
Page 89: ...88 Global Configuration Menu...
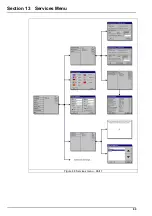
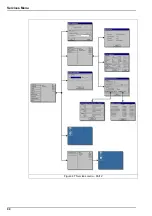
Page 90: ...89 Section 13 Services Menu Figure 46 Services menu Part 1...
Page 91: ...90 Services Menu Figure 47 Services menu Part 2...

