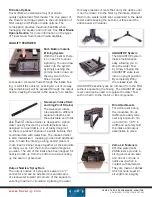
H Y D R O T E C H P E R F O R M A N C E M O N I T O R
A D VA N C E D F I LT R AT I O N S Y S T E M
w w w. f l u v a l - g . c o m
EN.
20
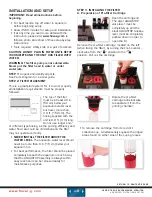
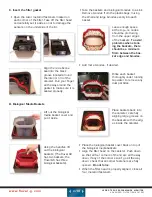
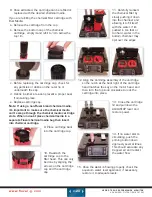
8. Once extracted, the cartridge can be refilled or
replaced with the desired chemical media.
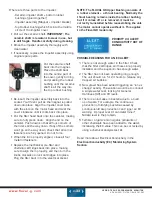
If you are re-filling the chemical filter cartridge with
Bulk Media:
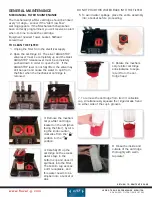
a. Remove the cartridge from the cup.
b. Remove the bottom cap of the chemical
cartridge, empty it and refill to 1cm below the
top
rim.
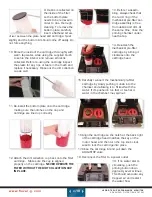
c. Before replacing the cartridge cap, check for
any particles or debris on the outer lip or
underneath the cap.
d. Debris in either area can prevent a proper seal
from taking place.
e. Replace cartridge cap.
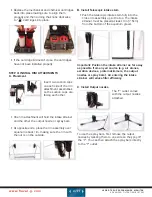
Note: If using a non-Fluval brand chemical media,
it’s important to make sure the chemical media
can’t escape through the chemical media cartridge
slots. When in doubt place chemical media in a
separate Fluval chemical media bag then insert
into chemical cartridge.
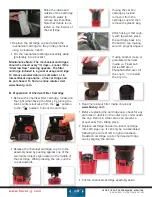
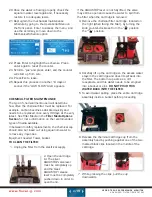
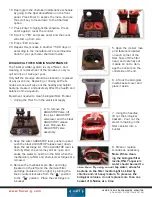
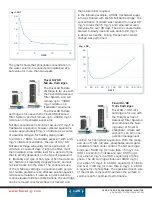
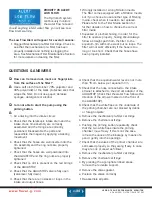
9. Place cartridge back
into the cartridge cup.
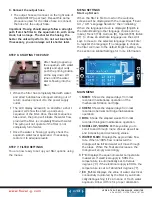
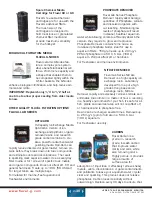
10. Re-attach the
cartridge cup to the
filter head. This can only
be done by aligning the
arrows on the cartridge
cup and the cartridge
cap.
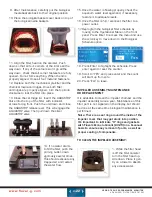
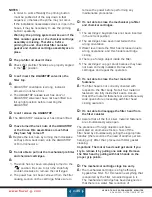
11. Carefully re-insert
the chemical filter by
slowly pushing it down
into the chamber and
allowing it to fill itself
with the water. If it’s
pushed in too fast or
too hard, water in the
bottom chamber may
spill over the edges.
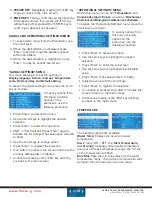
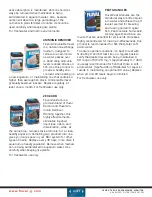
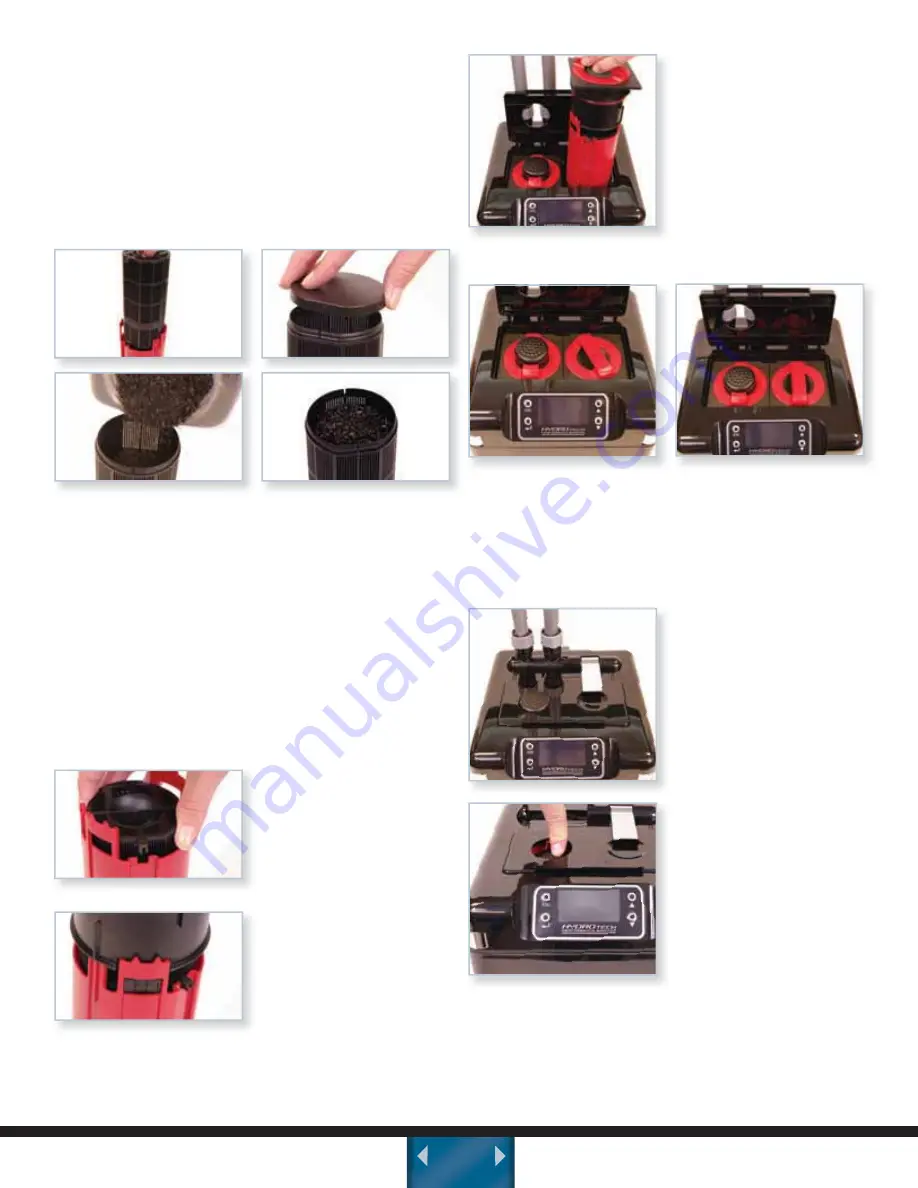
12. Align the cartridge assembly of the cartridge
so the notch at the back right of the cartridge
head matches the key on the motor head, and
then turn the top knob clockwise to lock the
cartridge into place.
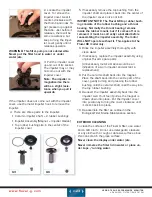
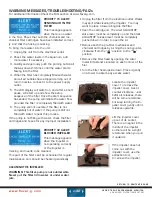
13. Close the cartridge
lid and pull down the
AQUASTOP lever and
restore power.
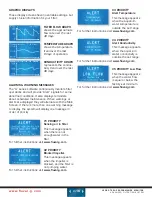
14. If no water starts
circulating, push the
priming button down
vigorously several times.
This should evacuate any
trapped air and restart
Ì iÊÜ>ÌiÀÊyÜ°
15
°Ê"ViÊÌ iÊÜ>ÌiÀÊÃÊyÜ}Ê«À«iÀÞ]ÊV iVÊÌ iÊ
aquarium water level again and, if necessary,
restore it to adequate levels.
Summary of Contents for FLUVAL G 3
Page 1: ...USER GUIDE ENTER...

