Assembling the body/wall cabinet
Technical changes reserved
51
5.1
Protected and packaged during transport/integrated plaster
guard
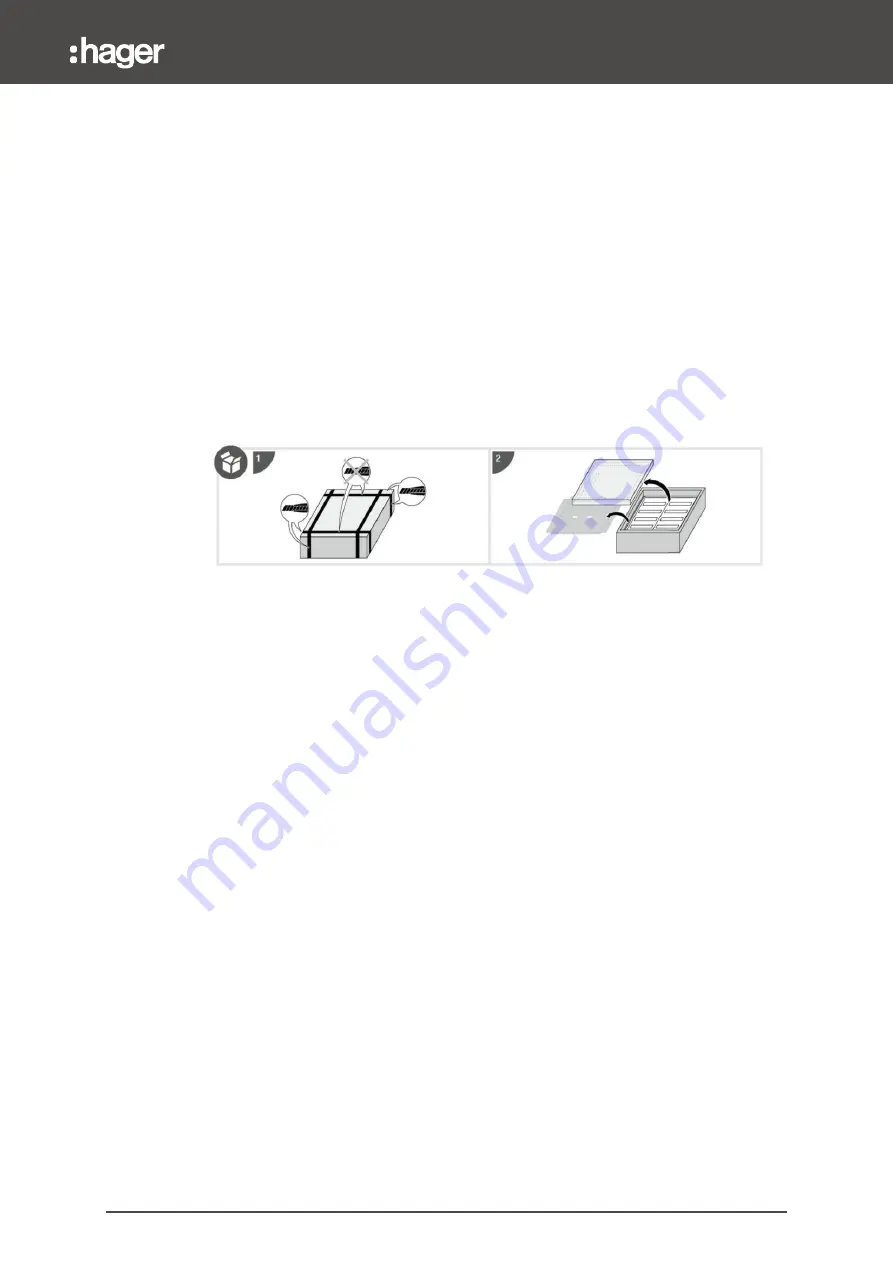
The FWU field distributor is fully packaged similarly to in a shoe box. This
protects it more effectively from scratches, dust or white rust than the former FW
version.
The lower half-shell of the wall cabinet is wrapped in corrugated paper and
covered with a cardboard surface which can be used to protect the plaster
during assembly (see the section entitled “Using the plaster guard”).
The frame + door assembly is packaged separately for secure intermediate
storage. On version L (wall cabinet without frame and door), a second half shell is
mounted at the top.
Well-thought-out packaging for the FWU field distributor: full plaster guard, separate
packaging of frame and door for secure intermediate storage
5.2
Before installing in the wall
If you wish to use the cable entries at the side and rear of the wall cabinet, you
must prepare them before installing the cabinet in the wall.
A few optional accessories must also be mounted before installing the wall
cabinet in the wall:
-
FD00P5 ventilation set
-
Enclosure-to-enclosure connections with the FWU00F1 connection set
In order to install these accessories in a wall cabinet that has already been
installed in the wall, you must first remove it from the wall again.
5.2.1
Cutting out cable entries at the side and rear
The cable entries used at the side and the rear of the wall cabinet must be cut
out prior to installation.
-
To do so, from the outside, score along the groove around the closed cable
entry.
-
Then knock out the cable entry with a hammer. You can also completely cut
out the cable entries with a knife by applying sufficient pressure.
5
Assembling the body/wall cabinet


