8-33
SECTION 8 –
DPS
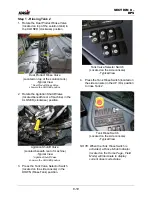
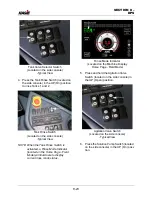
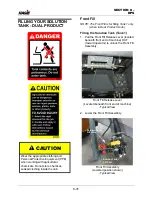
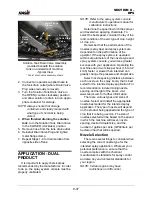
3. Remove fill port cap from the Rinse Tank
Fill Port.
4. Connect operator-supplied connection to
the Rinse Tank Fill Port.
5. Rotate Rinse Tank Fill Valve to the
OPEN position and fill tank to desired
level.
6.
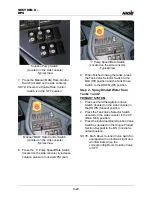
When finished filling the tank
, close
the Rinse Tank Fill Valve.
7. Remove operator-supplied connection
from the Rinse Tank Fill Port.
8. Reinstall the fill port cap.
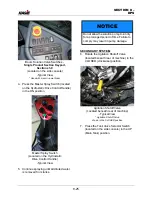
9. Raise the Front Fill Assembly to the
stored position, ensuring it “clicks” into
locked position.
Rinsing the Front Fill
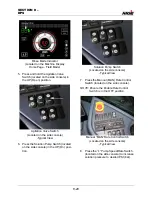
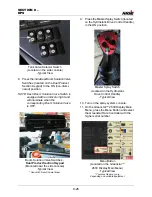
1. Remove Solution Tank Fill Port cap.
2. Attach fresh water supply connection to
Solution Tank Fill Port.
3. Turn fresh water supply ON.
4. Rotate the Solution Tank Fill Valve in the
OPEN position.
5.
When rinsing is complete
, turn fresh
water supply OFF.
6. Close the Solution Tank Fill Valve.
7. Remove fresh water supply connection
from the Solution Tank Fill Port and rein-
stall cap.
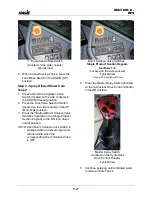
Side Fill
NOTE: Engage parking brake before
operating the side fill.
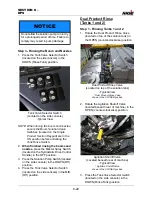
Filling the Solution Tank - Inductor
Operation (Tanks 1 and 2)
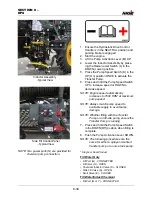
Inductor Assembly Components
•
(A) - Side Fill Valve
•
(B) - Rinse Supply Valve
•
(C) - Chemical Inductor Valve
•
(D) - Transfer Pump
•
(E) - Swirl Valve
•
(F) - Chemical Inductor Tank
•
(G) - Single Product Fill Port - Tank 1
•
(H) - Single Product Fill Valve - Tank 1
•
(I) - Dual Product Fill Port - Tank 2
•
(J) - Dual Product Fill Valve - Tank 2
•
(K) - Pump Speed Switch
•
(L) - Raise/Lower Switch
•
(M) - Pump Activation Lever
•
(N) - Power Ports
Front Fill Assembly
(Lowered position shown)
-Typical View
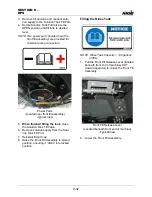
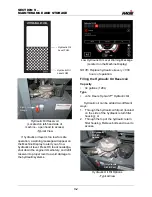
• Rinse Tank
Fill Port
• Rinse Tank
Fill Valve
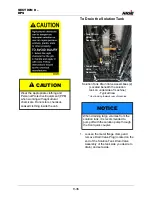
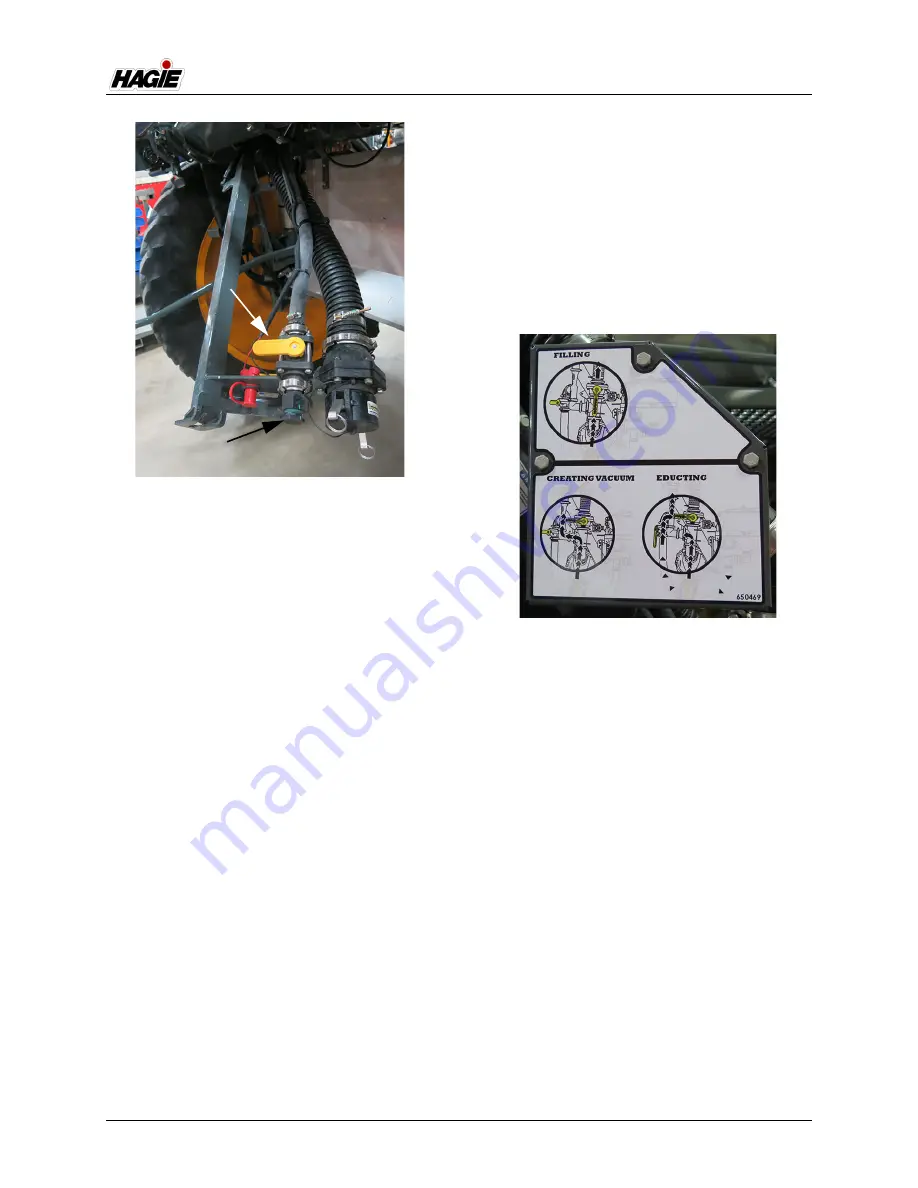
Side Fill Operation Label
(Located near side fill assembly)
-Typical View
Summary of Contents for STS/DPS Series
Page 2: ...5 DASH AUTO...
Page 5: ...Troubleshooting 10 38...
Page 52: ...SECTION 2 SAFETY AND PRECAUTIONS 2 15 650210 Located on each NORAC sensor...
Page 380: ...NOTES 5 DASH AUTO...
Page 381: ...NOTES 5 DASH AUTO...
Page 382: ...NOTES 5 DASH AUTO...

