Page 38
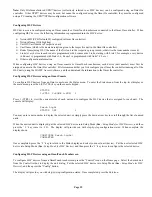
Temperature Alarms
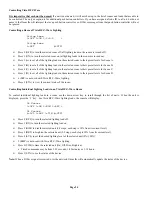
Temperature sensors can be used to signal that a temperature (in a special room, like a greenhouse or wine cooler) has gotten too
high or too low. If the temperature in this zone goes above the High setpoint or below the Low setpoint, the console beeper is
activated (inside and outside sirens are not activated) and the central station and/or voice dialer is called.
The High and Low setpoints are changed as described for the PESM. Use the zone number that the temperature sensor is
connected to in place of the unit number.
NOTE:
Setting a High or Low temperature to 0 takes it out of service.
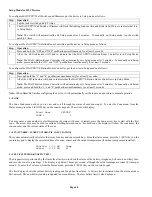
Humidity
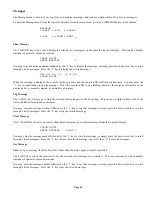
The Model 31A00-2 and 31A00-8 Indoor/Outdoor Temperature and Humidity Sensor is used for sensing indoors temperature
and/or reporting the relative humidity from 0 to 100 percent or for sensing the outdoor temperature and/or reporting the outdoor
relative humidity.
High and low humidity limits can be set for taking action (i.e. turning on the bathroom vent fan, running a/c in de-humidification
mode, turning on humidifier in heating mode, etc.) or reporting high or low humidity conditions in homes, greenhouses, wine
cellars, coolers, humidors, etc. Controlling humidity is particularly helpful in combating the growth of mold in vulnerable areas
of the home, such as bathrooms, basements, attics, etc.
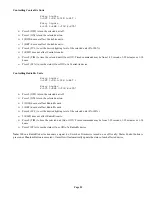
The humidity level (0-100%), the low humidity setting, and high humidity setting can be viewed and modified using the
temperature menu. To enter the temperature menu, from the top-level display or from the main menu, press the 5 (TEMP) key.
The humidity zone can be specified by entering the zone number followed by the ' # ' key, or by pressing the arrow keys to scroll
through the list of temperature and humidity zones. Press the ' # ' key when the desired temperature zone is shown.
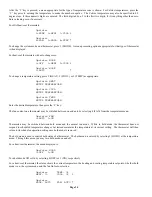
INDOOR: HUMI: 75
LOW: 10 HIGH: 90
Status
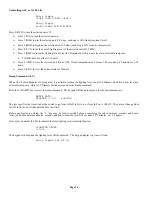
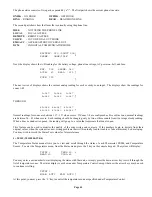
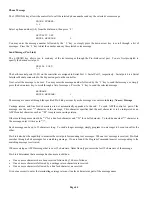
The Status function is used to display the status of various items in the system. To enter the status menu, from the top-level
display or the main menu, press the 6 (STATUS) key on the console keypad.
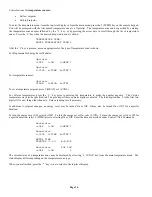
STATUS
1=CTRL 2=ZONE 3=SUN
↓
4=TEST
5=TEMP
6=ENERGY
↑
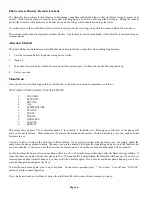
1 = CTRL (CONTROL UNITS)
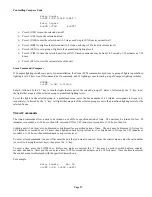
The Control Status menu allows you to view and scroll through the status of each control unit and to configure HLC and UPB
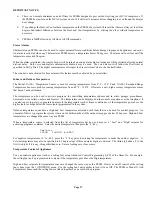
devices. To enter the Unit menu, from the Status menu, press the 1 (CTRL) key in the console keypad. The system will display:
DEN
LAMP
STATUS OFF
↓
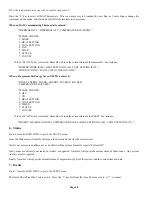
You may enter a unit number to start displaying the status of that unit, or simply press the down arrow key to scroll through the
list of units. The status display is as shown under Control, except that now the arrow keys may be used to continue scrolling
between units.
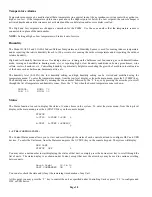
Porch Light 00:24:19
LAST COMMANDED ON
↓
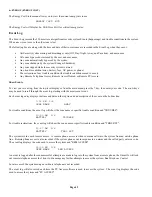
You can also check the state and (if any) the remaining time duration of any Unit.
At this point, you may press the ' # ' key to control the unit as specified under Controlling Units or press ' # # ' to configure and
HLC or UPB device.
Summary of Contents for OMNI IIe
Page 2: ...Copyright 2001 2009 Home Automation Inc All Rights Reserved ...
Page 116: ......
Page 117: ......

