background image

4

4


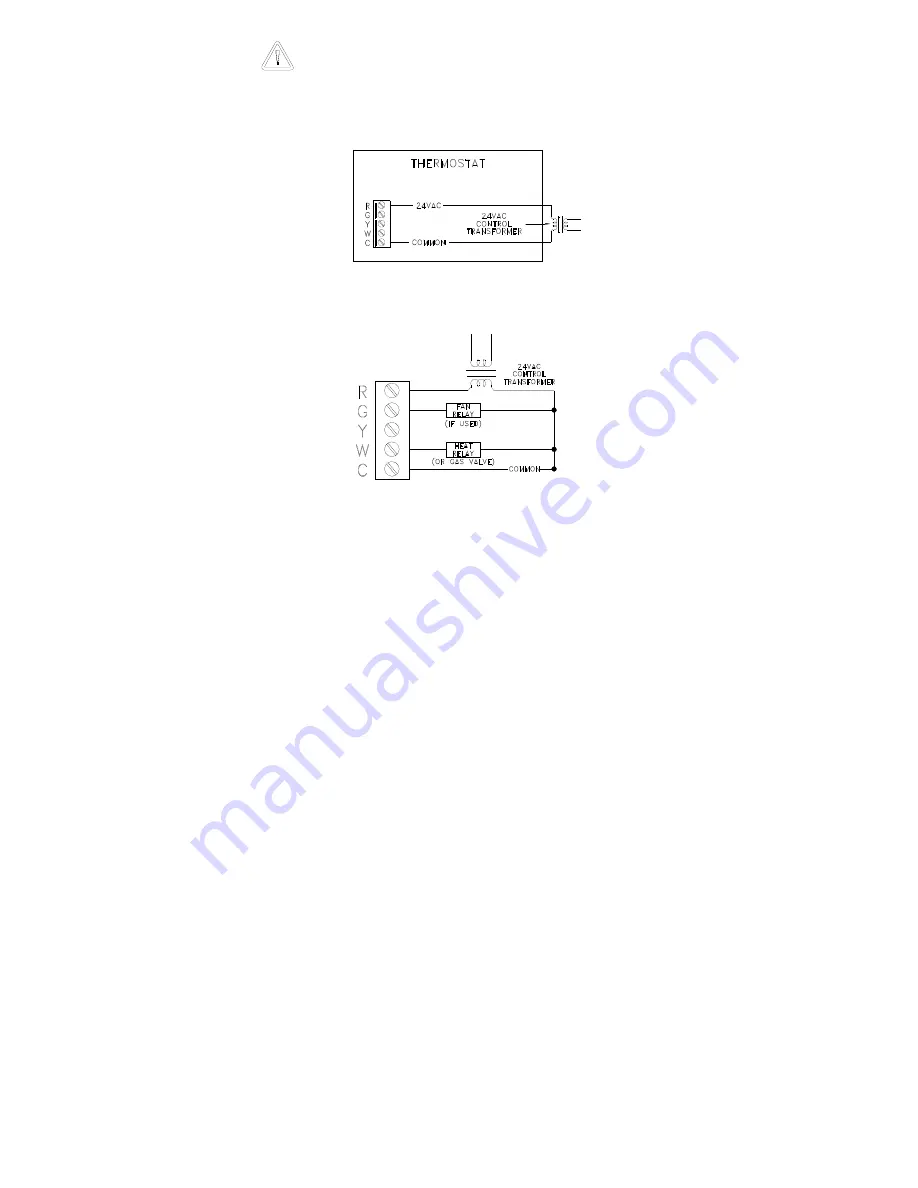
TYPICAL WIRING DIAGRAMS 


CAUTION: 


Be sure to disconnect the power to the control transformer before removing or installing thermostat. 


Do not short gas valve, fan, heat relay, or cool relay...even momentarily.  This will blow a non-replaceable fuse. 


Do not attempt to hook up to live circuits.  An accidental connection to a component on the thermostat circuit 
board could cause damage to the thermostat. 


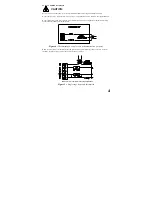
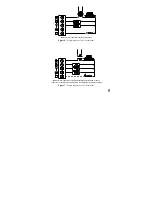
Figure 4 - 

Thermostat power-up for test or demonstration purposes


Note:

  As a convenience to the installer, the compressor start up protection delay can be canceled.  To cancel 

the delay, press the Prog key 3 times, then press the Fan key 2 times. 


      Common wire is required in “heat only” applications


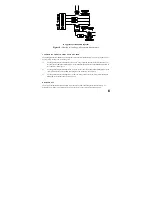
Figure 5

 - 

Single stage heat only thermostat


Summary of Contents for Omnistat RC-80BZ

Page 1: ...in the country in which this equipment is to be installed INSTALLATION Before installing this thermostat 1 Read all of the installation instructions carefully 2 Read the Owner s Manual carefully 3 En...

Page 2: ...ING When mounting the RC 80BZ grasp the thermostat by the sides avoiding the keys and unsnap the base from the face Holding the base to the wall so that the word TOP is upright and facing you 1 Mark t...

Page 3: ...tat push all excess wiring into the hole in the wall Plug the hole with the supplied insulating foam to ensure an accurate temperature reading by the thermostat Align the tabs of the thermostat face w...

Page 4: ...ok up to live circuits An accidental connection to a component on the thermostat circuit board could cause damage to the thermostat Figure 4 Thermostat power up for test or demonstration purposes Note...

Page 5: ...ons Figure 6 Single stage cool only thermostat Common wire is required to use the display backlight in the RC 80ZB Also use if heat cool or fan relay cannot supply 15mA to power thermostat without act...

Page 6: ...umper to the TIMED position between the middle and left pin on the connector See Figure 9 2 To configure the display backlight to always be on set the JP2 Select Backlight Mode jumper to the ON positi...

Page 7: ...sure that the heat goes off 5 Set the Mode to COOL Use the down arrow key to lower the desired temperature setting below the current temperature Ensure that the cooling unit comes on Set the mode to O...

Page 8: ...e of the item number 3 Press the Prog key to advance to the next item 4 Press the Hold key to return to the previous item 5 Use the arrow keys to change the value of each item 6 Do not set the values...

Page 9: ...0 Auto changeover no fan with heat 1 Auto changeover fan on with heat 4 Manual changeover no fan with heat 5 Manual changeover fan on with heat 12 Heat only no fan with heat 13 Heat only fan on with h...

Page 10: ...6 Heat setpoint limit This item is used to limit the temperature setting in heat mode The desired heat setting can never be set above this setting The default setting is 91 07 Not used 08 Not used 09...

Page 11: ...is slower as are most radiant heating systems a higher number will help maintain an even space temperature The default setting is 4 11 Cooling minimum on off time minutes This item is used to limit t...

Page 12: ...t of time the system fan has been running When this setting reaches 0 the thermostat will display a reminder to replace the filter The setting is the amount of days 24 hours of system operation before...

Page 13: ...ammed with energy saving settings recommended under the EPA Energy Star program When used with remote systems HAI recommends that the thermostat be configured as non programmable See Setup Item 03 Dis...

Page 14: ...MAND_CLASS_SENSOR_MULTILEVEL The RC 80BZ thermostat uses this command class to report the actual temperature COMMAND_CLASS_ASSOCIATION Upon power up allow 10 seconds for the RC 80BZ thermostat to init...

Page 15: ...ter 10 seconds a controller can set the time of the internal clock INTEROPERABILITY WITH Z WAVE DEVICES A Z Wave network can integrate devices of various classes and these devices can be made by diffe...

Page 16: ...tat keys for test remove jumper SYMPTOM ACTION TO TAKE 1 Check Node ID 2 Check communications mode setting Control By Remote System Not Working 34 Check setup of the remote system Ensure that all setu...

Reviews: