background image


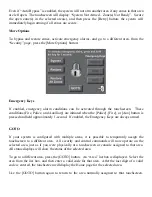
Even if “Auto Bypass” is enabled, the system will not arm another area if any zones in that area 
are left open.  The touchscreen will display: “System Not Armed – Zone(s) Not Ready”.  Secure 
the open zone(s) in the selected area(s), and then press the [Retry] button; the system will 
immediately begin arming if all zones are secure. 
 

More Options 

 
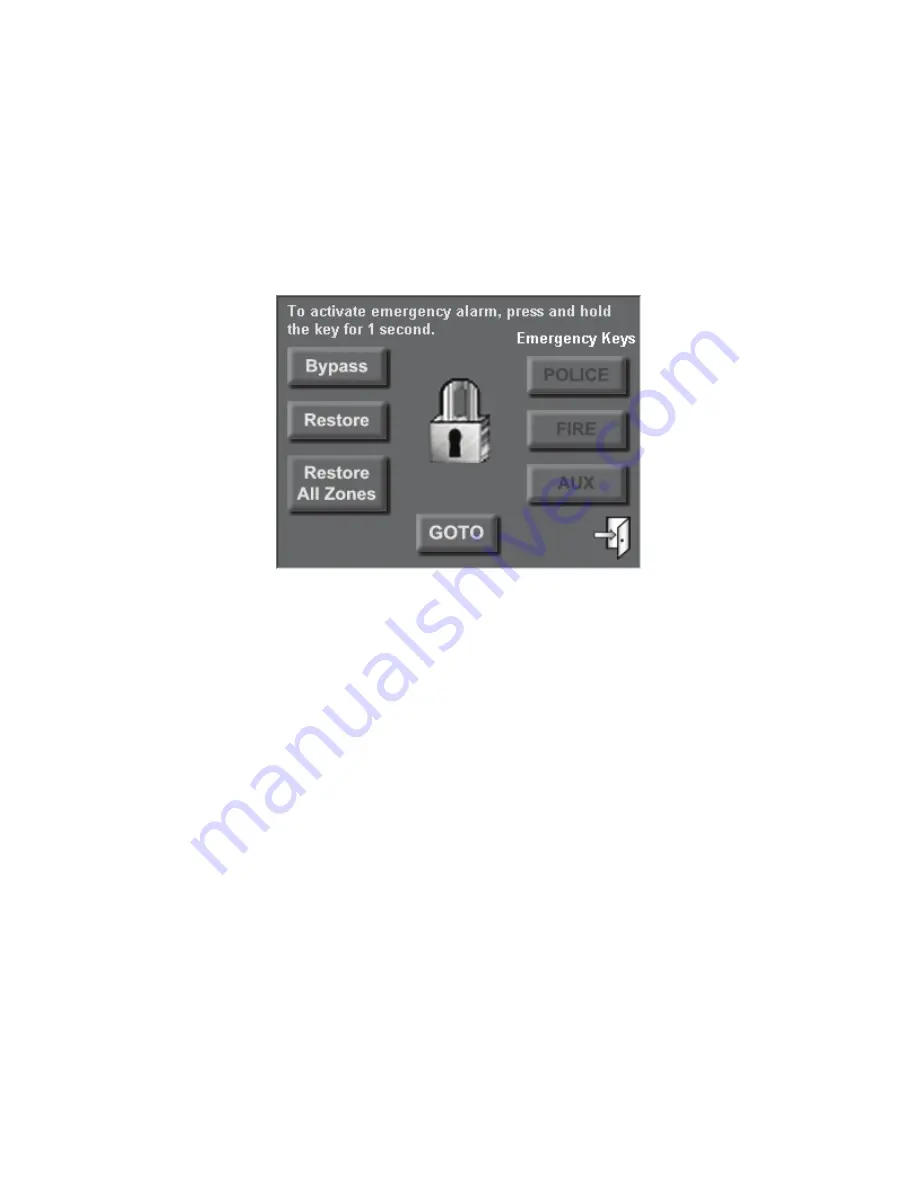
To bypass and restore zones, activate emergency alarms, and go to a different area, from the 
“Security” page, press the [More Options] button: 


Emergency Keys 
 

If enabled, emergency alarm conditions can be activated through the touchscreen.  These 
conditions (Fire, Police, and Auxiliary) are initiated when the [Police], [Fire], or [Aux] button is 
pressed and held approximately 1-second.  If enabled, the Emergency Keys are always armed.  


GOTO 

 
If your system is configured with multiple areas, it is possible to temporarily assign the 
touchscreen to a different area.  All security and control commands will now operate on the 
selected area, just as if you were physically at a touchscreen or console assigned to that area.  
All status displays will show the status of the selected area. 
 
To go to a different area, press the [GOTO] button.  An “Area” list box is displayed.  Select the 
area from the list box, and then enter a valid code for that area.  After the last digit of a valid 
code is entered, the touchscreen will display the Home page for the selected area. 
 
Use the [GOTO] button again to return to the area normally assigned to that touchscreen.

Summary of Contents for OmniTouch 32A00-5

Page 1: ...Home Automation Inc Model 32A00 5 OmniTouch with Video Touchscreen User s Guide Document Number 32R00 5 Rev A November 2005...

Page 2: ...Copyright 2005 Home Automation Inc ALL RIGHTS RESERVED...

Page 3: ...m automatically show on the touchscreen allowing you to maintain and reprogram your system remotely OPERATION The touchscreen is designed with everything that is necessary for you to operate and progr...

Page 4: ...and controller clean the screen and create controller programs Video View a camera select from 6 different cameras set the contrast and brightness for the current camera select full screen video and...

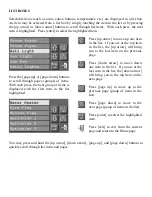
Page 5: ...the list highlighted Press up arrow to move up one item in the list If you are at the top item in the list the up arrow will bring you to the last item on the previous page Press down arrow to move do...

Page 6: ...the Home page touch the Security icon The top line on the Security page displays the current security mode If the system is disarmed and Quick Arm is enabled simply touch the desired security mode bu...

Page 7: ...r digit code on the Keypad page The Disarm key disarms the burglar alarm resets emergency alarms and silences all sirens and sounders Arming and Disarming other Security Areas If your system is config...

Page 8: ...the Police Fire or Aux button is pressed and held approximately 1 second If enabled the Emergency Keys are always armed GOTO If your system is configured with multiple areas it is possible to tempora...

Page 9: ...e energy cost and outdoor temperature if applicable According to your system configuration not all icons may be visible as shown above Control and Temperature Status Touch the Control icon or the Temp...

Page 10: ...program Press the Delete button to delete the selected program When pressed a Confirm Deletion page is displayed Press the Delete button to confirm your choice to delete the program Once pressed the...

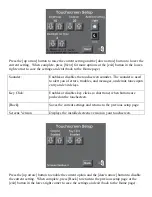
Page 11: ...hscreen These items only affect the touchscreen from which you are currently operating Brightness 0 15 Adjusts the brightness level of the touchscreen display Contrast 0 31 Adjusts the contrast level...

Page 12: ...ages and emits tones upon entry and exit delays Key Click Enables or disables key clicks a short tone when buttons are pushed on the touchscreen Back Saves the current settings and returns to the prev...

Page 13: ...l illuminate to the brighter settings when the light level reaches the dark threshold the display will dim to the darker setting Once configured to disable the ambient settings so that the screen is a...

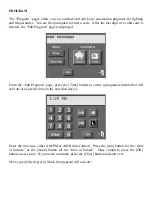
Page 14: ...m the Edit Program page press the Time button to create a program schedule that will activate at a specific time on the specified day s Enter the time use either AM PM or 24HR time format Press the su...

Page 15: ...create a program that is activated when the security mode changes to the specified mode Press the desired security mode button Once complete press the OK button to save the security mode Note The prog...

Page 16: ...pressing the up arrow or down arrow buttons to scroll through list devices then pressing enter to select the highlighted device Once selected the appropriate command page is displayed for the selected...

Page 17: ...elow the camera number is the video window that displays video from the selected camera at 240 x 160 resolution To view the camera at full screen 320 x 240 resolution simply touch anywhere on the vide...

Page 18: ...xample you may choose to activate an electric door strike on the front door to let a friend of family member into your home while viewing the video of the front door from your bedroom touchscreen Pres...

Page 19: ...pecify which camera and which touchscreen s will display the video when the event takes place When the event takes place it switches each of the specified touchscreens to full screen video At that poi...

Reviews: