background image

Service Diagnosis 

51 

10.4.12 

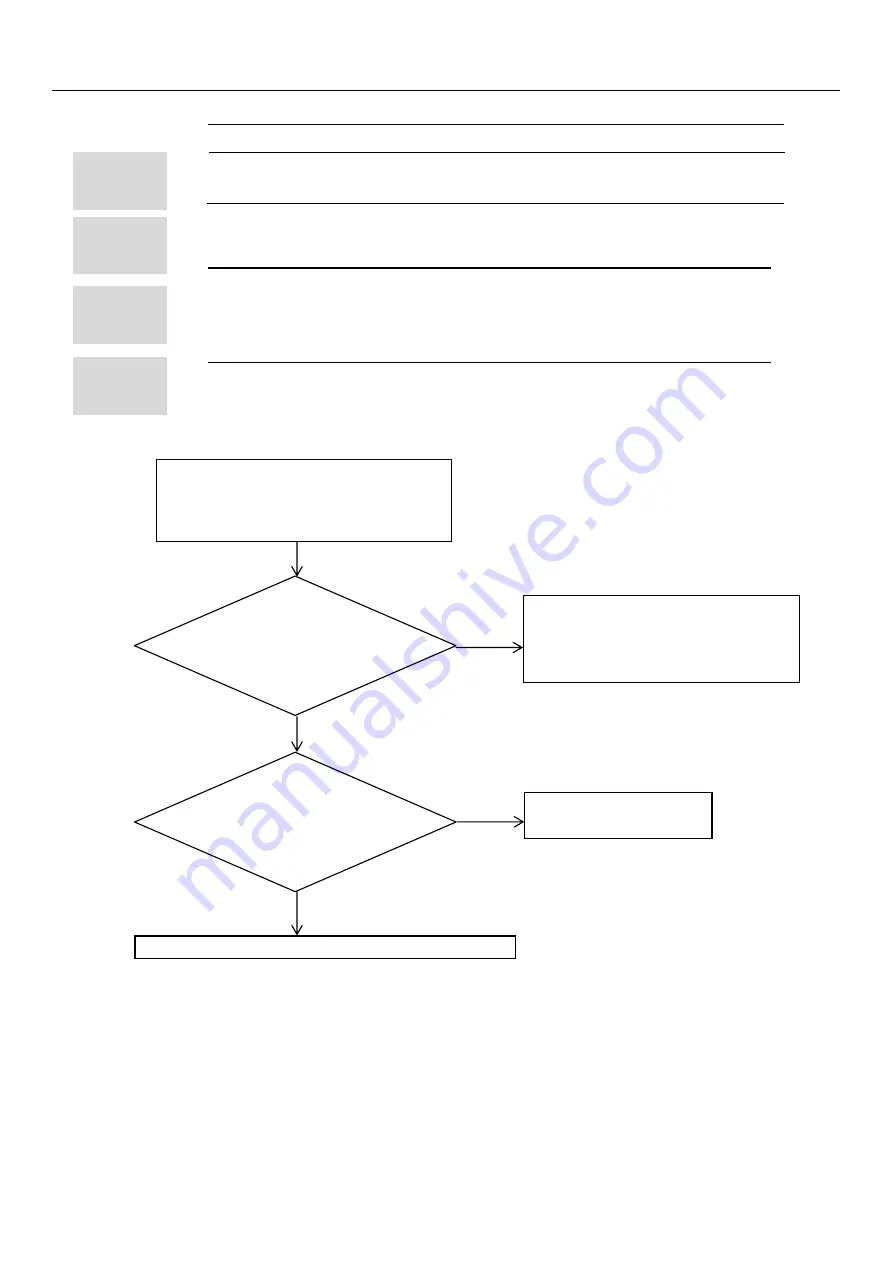
 High work-intense protection 

Outdoor display 

E 9   LED1  flash 21 times 

High work-intense control is activated in the heating mode if the temperature 

being sensed by the heat exchanger thermistor exceeds the limit. 

 Activated when the temperature being sensed by the heat exchanger 

rises above 65

 twice in 30 minutes 

Faulty electronic expansion valve

Dirty heat exchanger

Faulty heat-exchange sensor

Insufficient gas

* Caution:   Be sure to turn off power switch before connect or disconnect connector, or

parts damage may be occurred. 

Trouble 

shooting 

Supposed 

Causes 

Malfunction 

Decision 

Conditions 

Method of 

Malfunction 

Detection 

The malfunction is reported 

after the machine has run 

for some time? 

The indoor unit blows 

poorly due to blocked 

filters or poor condition of 

the fan? 

Use some tools to measure the pressure of system 

Clean the filters 

Reinstall the fan. 

Check room temperature and pipe 

temperature sensor. 

Monitor the temperature of indoor 

PCB circuits. 

Electrify the machine again and turn it 

on with the remote control, check 

whether the wind temperature is below 

65

YES 

NO 

YES 

NO 

Summary of Contents for 1U35MEPFRA-H

Page 1: ...s to advise non technical individuals of potential dangers in attempting to service a product Products powered by electricity should be serviced or repaired only by experienced professional technician...

Page 2: ...s list 8 4 Piping diagrams 9 5 Operation range 10 6 Printed circuit board connector wiring diagram 11 7 Functions and control 8 Dimensional drawings 9 Center of gravity 10 Service diagnosis 11 Perform...

Page 3: ...Introduction 1 Introduction 1 1 Model name explanation 1 Domestic air conditioner 1 3 P H Chassis Heater Nominal cooling capacity 12000BTU h...

Page 4: ...est operation to ensure that the equipment operates Normally and explain the cautions for operating the product to the customer Check the embedded wire are four roots L N COM GND GND is needed if not...

Page 5: ...n cause an electrical shock or fire Warning Do not repair the electrical components with wet hands Working on the equipment with wet hands can cause an electrical shock Do not clean the air conditione...

Page 6: ...r electrical work can cause an electrical shock or fire Be sure to use the specified cable to connect between the indoor and outdoor units Make the connections securely and route the cable properly so...

Page 7: ...mains around the unit it can cause a fire Be sure to install the packing and seal on the installation frame properly If the packing and seal are not installed properly water can enter the room and wet...

Page 8: ...ck Be sure to check the drainage of the indoor unit after the repair Faulty drainage can cause the water to enter the room and wet the furniture and floor 1 2 4 Using Icons Icons are used to attract t...

Page 9: ...IONS UNIT Dimensions H W D mm 800 280 553 Packaged Dimensions H W D mm 902 375 614 KG 28 5 Gross weight KG 31 4 Sound level Sound pressure dB 51 Sound power dB 65 ELECTRICAL SPECIFICATIONS Cooling hea...

Page 10: ...and Gas pipes Max piping Length m 20 Max Level Difference m 10 Chargeless m Amount of Additional Charge of Refrigerant g m 20 Note the data are based on the conditions shown in the table below 3 Senso...

Page 11: ...Piping diagrams Domestic air conditioner 4 Piping diagrams 9 9 52CuT 6 35CuT 6 35CuT 9 52CuT...

Page 12: ...Operation range 5 Operation range 60 43 40 20 0 10 20 40 21 35 27 10 Domestic air conditioner...

Page 13: ...ector for the U V W wire of the compressor 5 CN8 6 CN9 7 L IN CN5 Connector for reactor 8 L OUT CN6 9 CN10 Connector for fan motor 10 CN11 Connector for four way valve coil 11 CN15 Connector for Tempe...

Page 14: ...E E VALVE TQ CS HW DRED CN12 CN11 CN16 CN15 CN14 M Bottom 4 way valve Electronic heater expansion valve Warning The dotted parst are optional R RED B BLACK BL BLUE GR GRAY W WHITE BR BROWN Y YELLOW G...

Page 15: ...Nh_c 10 60 PID control Nh_c indoor environment temperature S_c setting temperature 1 The minimum maximum frequency limitation A While refrigerating F MAX r is the maximum operation frequency of the co...

Page 16: ...e environment but also the maximum ability limitation of the system When the starting ability is not the maximum its maximum frequency limitation is calculated by the following equations The frequency...

Page 17: ...w speed from skipping frequently it must be kept under each mode for over 30 seconds and then it can be changed to another mode when refrigerating the time is changed to 15 seconds 7 1 2 1 The outdoor...

Page 18: ...d for each time continuously sampling for 8 times then order them and take the mean value of the middle 2 values take the mean value TTC Abnormal stop 107 Decreasing the frequency rapidly 1HZ second 1...

Page 19: ...greater than 9A the frequency of the compressor decreases at the speed of 1HZ second During the starting process of the compressor if the AC current is greater than 8A the frequency of the compressor...

Page 20: ...d with the running state When Tpg_indoor ice_temp_1 the frequency of the compressor decreases at the speed of 1HZ 1second When Tpg_indoor ice_temp_2 the frequency of the compressor decreases at the sp...

Page 21: ...78 1 94 1 75 29 155 5754 139 5600 125 0806 1 93 1 74 28 146 5609 131 7022 118 2434 1 91 1 73 27 138 1285 124 3392 111 8256 1 89 1 71 26 130 2371 117 4366 105 7989 1 87 1 70 25 122 8484 110 9627 100 13...

Page 22: ...14 5748 14 0079 13 4510 0 93 0 92 18 13 9436 13 4185 12 9017 0 91 0 90 19 13 3431 12 8572 12 3778 0 88 0 87 20 12 7718 12 3223 11 8780 0 86 0 85 21 12 2280 11 8126 11 4011 0 83 0 83 22 11 7102 11 326...

Page 23: ...6112 2 4328 2 17 2 05 62 2 7099 2 5246 2 3498 2 22 2 09 63 2 6232 2 4413 2 2700 2 26 2 13 64 2 5396 2 3611 2 1932 2 31 2 17 65 2 4591 2 2840 2 1195 2 36 2 21 66 2 3815 2 2098 2 0486 2 40 2 25 67 2 30...

Page 24: ...0 7036 0 6303 4 34 3 92 105 0 7641 0 6845 0 6127 4 40 3 97 106 0 7441 0 6661 0 5957 4 46 4 02 107 0 7247 0 6482 0 5792 4 51 4 07 108 0 7059 0 6308 0 5632 4 57 4 12 109 0 6877 0 6140 0 5478 4 63 4 16 1...

Page 25: ...945 2 66 2 29 7 3276 5302 2818 6731 2422 6139 2 64 2 28 6 3085 2854 2658 8058 2289 2164 2 63 2 28 5 2906 2851 2508 9126 2163 9230 2 61 2 27 4 2738 6777 2368 3158 2046 1961 2 60 2 26 3 2581 6752 2236 3...

Page 26: ...1 73 37 315 5682 290 6199 267 4031 1 84 1 71 38 301 1254 277 6976 255 8620 1 82 1 70 39 287 4128 265 4119 244 8745 1 80 1 68 40 274 3905 253 7288 234 4118 1 78 1 66 41 262 0206 242 6161 224 4465 1 76...

Page 27: ...0 0 85 0 84 81 49 7063 48 2057 46 7083 0 85 0 85 82 47 9835 46 4842 44 9911 0 89 0 89 83 46 3286 44 8323 43 3452 0 93 0 92 84 44 7385 43 2468 41 7672 0 96 0 95 85 43 2105 41 7248 40 2540 1 00 0 99 86...

Page 28: ...36 2 23 120 14 1376 13 1879 12 2909 2 41 2 27 121 13 7294 12 7955 11 9144 2 45 2 31 122 13 3347 12 4165 11 5510 2 50 2 35 123 12 9531 12 0503 11 2003 2 54 2 39 124 12 5840 11 6965 10 8617 2 58 2 43 1...

Page 29: ...Dimensional drawing 29 Domestic air conditioner 8 Dimensional drawings 9 Center of gravity 867 180...

Page 30: ...broken Operation sometimes stops Check the power supply A power failure of 2 to 10 cycles can stop air conditioner operation Equipment operates but does not cool or does not heat only for heat pump Ch...

Page 31: ...21 Indoor unit overload in heating mode pipe temperature sensor Indoor PCB Indoor motor E14 Indoor fan motor malfunction Indoor motor Indoor PCB Outdoor Malfunction F1 2 IPM protection Power module Re...

Page 32: ...frigerant compressor F23 25 Compressor U phase overcurrent Compressor V phase overcurrent Compressor W phase overcurrent Power module Refrigerant compressor F24 27 CT detection current abnormal protec...

Page 33: ...ssor operation Note The values vary slightly in some models Faulty connector connection Faulty thermistor Faulty PCB Caution Be sure to turn off power switch before connect or disconnect connector or...

Page 34: ...h 1 times The Data detected by the EEPROM are used to determine MCU When the data of EEPROM is error or the EEPROM is damaged Faulty EEPROM data Faulty EEPROM Faulty PCB Caution Be sure to turn off po...

Page 35: ...es Detection error due to faulty indoor unit PCB Caution Be sure to turn off power switch before connect or disconnect connector or else parts damage may be occurred Trouble shooting Method of Malfunc...

Page 36: ...check if the motor can run YES Measure whether there is a voltage pulse 0 15VDC between 4 and 5 of the CN9 terminal on the indoor PCB The indoor motor is damaged and need replace NO Is it ok YES The...

Page 37: ...ore connect or disconnect connector or else parts damage may be occurred Method of Detection Trouble shooting Supposed Causes Malfunction Decision Conditions Check whether terminal on the outdoor main...

Page 38: ...ck line and red line between black line and white line of the fan terminal of outdoor PCB are greater than 10M YES The module PCB is damaged replace it with a new one The motor of the outdoor unit is...

Page 39: ...ecision Conditions Method of Malfunction Detection Trouble shooting Electrify the machine again and turn it on with the remote control If malfunctions are reported before or upon the compressor being...

Page 40: ...s damage may be occurred Malfunction Decision Conditions Method of Malfunction Detection Trouble shooting Supposed Causes The system may have been over or under charged with gas which can be judged th...

Page 41: ...hod of Malfunction Detection Trouble shooting Supposed Causes Malfunction Decision Conditions Are they good Pull out and reinsert the terminals Replace connected wire Replace the outdoor PCB with a ne...

Page 42: ...h before connect or disconnect connector or else parts damage may be occurred Supposed Causes Malfunction Decision Conditions Method of Malfunction Detection Trouble shooting Is it ok Test the outdoor...

Page 43: ...sion Conditions Method of Malfunction Detection The temperature exceeds 110 shortly after the machine starts up The cryogen may have been leaked during installation or there may be leakage in the pipi...

Page 44: ...is broken Caution Be sure to turn off power switch before connect or disconnect connector or else parts damage may be occurred Supposed Causes Malfunction Decision Conditions Method of Malfunction De...

Page 45: ...hen only indoor charged The indoor PCB is damaged replace it with a new one Test the outdoor power is supply 230VAC with a universal meter when indoor and outdoor are charged Check the cable between o...

Page 46: ...an motor terminal resistance between pin 1 310V and pin 4 0V or pin 5 15V and pin 4 0V of CN21 are close to 0m with a universal meter after switch off the power NO Remove the connection cable between...

Page 47: ...ower switch before connect or disconnect connector or else parts damage may be occurred The outdoor PCB needs dehumidification Is it normal after restart the AC If starting up normally but malfunction...

Page 48: ...hite line is not close to18V DC when only indoor charged YES The indoor PCB is damaged replace it with a new one NO Test the outdoor power is supply 230VAC with a universal meter when indoor and outdo...

Page 49: ...tart the unit the LED 2 becomes light or flash Fan motor is damaged Replace it with a new one YES NO Test the fan motor terminal resistance between pin 1 310V and pin 4 0V or pin5 15V and pin4 0V of C...

Page 50: ...onnector or parts damage may be occurred Conditions Decision Malfunction Method of Malfunction Detection Trouble shooting Malfunction unsolved Maybe there is some disturbance Malfunctions exist also t...

Page 51: ...e to turn off power switch before connect or disconnect connector or parts damage may be occurred Trouble shooting Supposed Causes Malfunction Decision Conditions Method of Malfunction Detection The m...

Page 52: ...3554 3478 3314 3050 27 19 2723 2919 3069 3224 3102 3047 2932 3553 3969 3860 3731 3482 30 22 2880 3060 3240 3384 3312 3240 3060 3780 4140 4032 3888 3636 32 23 3055 3232 3473 3600 3533 3475 3263 3995 44...

Page 53: ...968 1185 1339 1424 27 19 605 748 877 977 940 923 589 813 1054 1261 1460 1596 30 22 640 785 926 995 974 953 592 836 1068 1274 1505 1608 32 23 679 829 992 1029 1010 993 631 884 1135 1395 1584 1703 35 2...

Page 54: ...271 2360 2483 15 2408 2541 2701 20 2652 2795 2975 25 2868 2977 3125 30 3076 3231 3415 35 3296 3449 3568 38 3572 3703 3923 40 4066 4175 4314 43 4531 4719 4966 performance curves cooling discharge press...

Page 55: ...1075 8 782 964 1109 15 798 984 1131 20 806 993 1143 25 849 1004 1166 30 893 1056 1178 35 941 1067 1240 38 990 1100 1265 40 1089 1210 1392 43 1198 1307 1517 indoor temp performance curves cooling sucti...

Page 56: ...5 2845 2650 2338 10 3235 2957 2728 7 8 3975 3604 3349 2 1 4249 3750 3401 7 6 4136 3819 3398 12 11 4039 3638 2973 18 16 3702 3528 2783 24 20 3472 3192 2504 indoor temp humidity 46 heating capacity and...

Page 57: ...1074 1220 1294 10 1176 1307 1373 7 8 1301 1414 1485 2 1 1361 1448 1520 7 6 1205 1255 1318 12 11 1073 1154 1269 18 16 901 1001 1101 24 20 704 782 860 indoor temp humidity 46 power consumption value tem...

Page 58: ...174 10 3428 3567 3667 7 8 3730 3895 4088 2 1 3976 4223 4339 7 6 3930 4100 4216 12 11 3666 3895 4005 18 16 3478 3661 3770 24 20 2972 3112 3266 performance curves heating discharge pressure table indoor...

Page 59: ...8 444 462 7 8 513 548 566 2 1 632 667 685 7 6 765 800 818 12 11 871 906 924 18 16 1038 1073 1091 24 20 1224 1259 1277 performance curves heating suction pressure table indoor temp 0 100 200 300 400 50...

Page 60: ...uit diagrams 60 Domestic air conditioner 12 Sound level Model Sound pressure level Sound power level cooling heating 230V 50HZ Measuring location of microphone Cooling heating H L SL 1U35MEPFRA PRE 51...

Page 61: ...61 Do C omestic air ircuit Diagra conditioner ams r 12 Circuit diagrams 12 1 Outdoor unit control board circuit diagrams...

Page 62: ...nit s t n i o P e r u d e c o r P p e t S s e r u t a e F 1 1 Loosen the service cover screw and remove the service cover Be careful not to cut your finger by the fins of the heat exchanger 13 Removal...

Page 63: ...ir conditioner Step Procedure Points Step Procedure Points Step Procedure Points 2 Remove the panels 1 Loosen the 7 screws and lift the top panel 2 Loosen the screws of the panel 3 Pull and remove the...

Page 64: ...64 Domestic air conditioner s t n i o P e r u d e c o r P p e t S Remove the fixting screws then lift the electrical box...

Page 65: ...air conditioner Remove the air filters and horizontal flap s t n i o P e r u d e c o r P p e t S 1 2 Loosen the fixting screws and remove The back protect net 1 Loosen the fixting screws and remove th...

Page 66: ...66 Domestic air conditioner Remove the casing s t n i o P e r u d e c o r P p e t S 1 Loosen the fixting screws and remove the side panel 2 Loosen the fixting screws and remove the cross beam...

Page 67: ...67 Domestic air conditioner s t n i o P e r u d e c o r P p e t S 3 Loosen the fixting screws remove the fan Loosen the fixting screws and lift the fan motor...

Page 68: ...estic air conditioner Release stepping motor 2type s t n i o P e r u d e c o r P p e t S 1 Remove the fixing screws then lift the fan motor bracket 2 Cut down the and pull out the compressor and remov...

Page 69: ...69 Domestic air conditioner Removal of Heat Exchanger s t n i o P e r u d e c o r P p e t S Loosen the marked fixing screws Loosen the fixting hook...

Page 70: ...70 Domestic air conditioner s t n i o P e r u d e c o r P p e t S Remove the fixing screw then lift the valve set...

Page 71: ...nditioner Electric Co Ltd Haier lndustrial Park Qianwangang Road Eco Tech Development Zone Qingdao 266555 Shandong R P C 86 532 88936943 haier com Haier zastrzega sobie prawo do wprowadzania zmian bez...

Reviews: