63
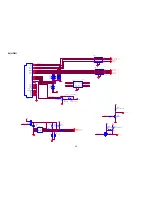
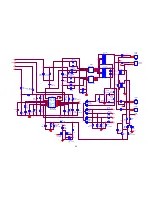
10.3 Key Board
715G3303 1
1
2
3
4
CN01
CONN
R07
100 OHM 1% 1/10W
PWR-SW
FUNC_KEY
R08
100R 1/10W 1%
033G8032 4F X
R01
20K OHM 1% 1/10W
Source Select
MENU
VOL-
VOL+
Power ON/OFF
CH+
CH-
SW01
TACT SW FWRD H1.5MM
R02
8.2K1/10W 1%
R03
4.32K 1% 1/10W
R04
2.74K 1% 1/10W
R05
1.8K OHM 1% 1/10W
C01
NC
FUNC_KEY
C07
NC
C05
NC
C03
NC
C06
NC
C02
NC
C04
NC
PWR-SW
C08
NC
77G 607 2 FD
SW02
TACT SW FWRD H1.5MM
SW03
TACT SW FWRD H1.5MM
3V3_STB
SW04
TACT SW FWRD H1.5MM
SW05
TACT SW FWRD H1.5MM
SW06
TACT SW FWRD H1.5MM
SW07
TACT SW FWRD H1.5MM
Summary of Contents for 48LTV3002
Page 4: ...4 1 General Specification ...
Page 5: ...5 2 Operating Instructions 2 1 The Use of Remote Control ...
Page 6: ...6 2 2 To Use the Menus ...
Page 7: ...7 ...
Page 8: ...8 ...
Page 9: ...9 ...
Page 10: ...10 2 3 Front Panel Control Knobs ...
Page 11: ...11 2 4 How to Connect ...
Page 13: ...13 3 2 Input Signal Timing ...
Page 14: ...14 4 Mechanical Instructions Step1 Remove the STAND BASE Step2 Remove the REAR COVER ...
Page 16: ...16 Step5 Remove the KEY BOARD IR BOARD and SPEAKERS ...
Page 24: ...24 6 PCB Layout 6 1 Main Board 715G3365M03000004K ...
Page 25: ...25 ...
Page 26: ...26 6 2 Power Board 48LTV3002 715G2783 3 7 ...
Page 27: ...27 ...
Page 28: ...28 ...
Page 29: ...29 55LTV3002 715G2783 2 7 ...
Page 30: ...30 ...
Page 31: ...31 ...
Page 32: ...32 6 3 Key Board 715G3303 1 6 4 IR Board 715G3540R1A000004M ...
Page 34: ...34 7 2 FW Upgrade Step1 ISP instruction Himax tool number 715GT118 B Step2 Setup ISP tool ...
Page 36: ...36 3 2 3 3 ...
Page 37: ...37 3 4 Step4 ISP Tool Flash Update step ...
Page 38: ...38 4 1 4 2 ...
Page 39: ...39 4 3 4 4 ...
Page 40: ...40 Step5 Programming Step6 Verify FW version ...


