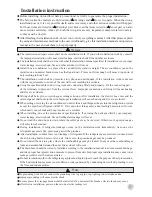
Installation procedure
Install indoor unit
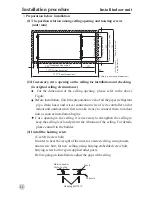
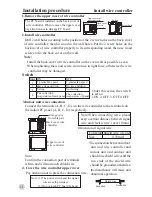
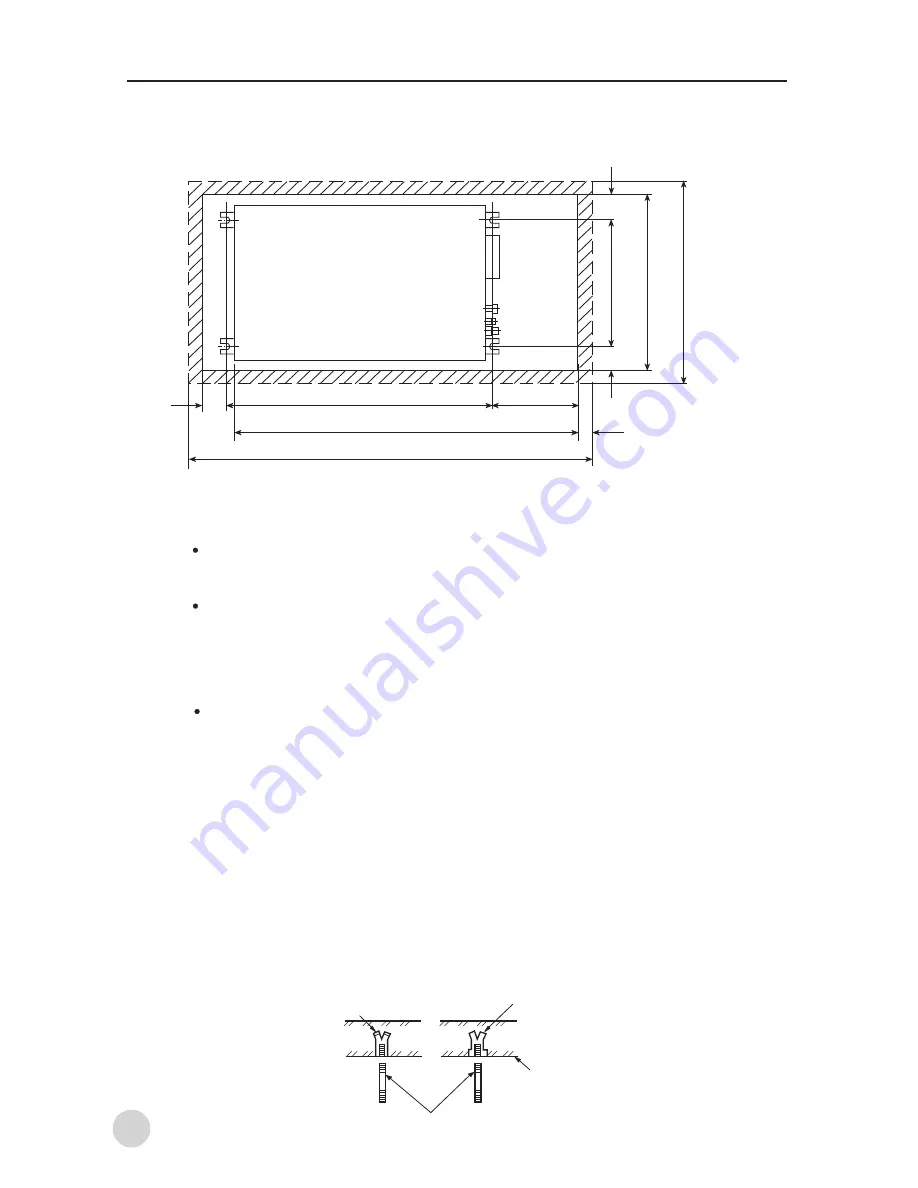
(2) If necessary, cut a opening on the ceiling for installation and checking.
(in original ceiling circumstance)
For the dimension of the ceiling opening, please refer to the above
Figure.
Before installation, finish the preparation work of all the pipes (refrigerant
pipe, drain hose) and wires (connection wire of wire controller and of
indoor and outdoor unit) first to make it easy to connect them to indoor
unit as soon as installation begins.
Cut a opening in the ceiling, it is necessary to strengthen the ceiling to
keep the ceiling level and prevent the vibration of the ceiling. For details,
please consult to the builder.
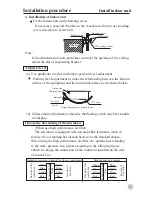
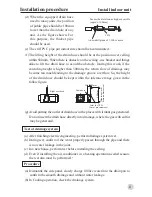
(3) Install the hoisting screw
(Use M10 screw bolt)
In order to bear the weight of the unit, for existed ceiling, using found-
ation screw bolt, for new ceiling, using burying embedded screw bolt,
burying screw bolt or spot supplied other parts.
Before going on installation, adjust the gaps with ceiling.
Hole-in anchor
Hole-in plug
3.
Preparation before installation
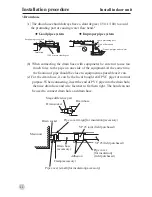
(1) The position relation among ceiling opening and hoisting screws
(unit: mm)
20
Insert
Concrete
Hanging bolt M10
690
*
Dimension of ceiling opening
*
545
(
Hanging bolt position
)
986
*
Hanging bolt position
*
137
*
Ceiling hole size
*
(Ceiling ~panel wrap dimensions)
1240
*
Panel dimensions
*
30
57
(
Pipe connection side
)
750
*
Panel dimension
*
70
75
1180
(Ceiling ~panel
wrap dimensions)

