Installation procedure
Fig
1
Choosing the installation location
Please do not install the unit in places where flammable gases may be leaked. In case
that gas is leaked and accumulated around the unit, it may cause dangers of fire etc.
The indoor unit shall be installed at locations where cold and hot air could evenly circulated.
The following locations should be avoided:
l
Places with rich saline matters (seaside regions).
l
Places with plenty of gas sulfides (mainly in warm spring areas where the copper tube and
braze weld is prone to corrosion).
l
Locations with much oil (including mechanical oil) and steam.
l
Locations using organic solvents.
l
Places where there are machines generating HF electromagnetic waves.
l
Positions adjacent to door or window in contact with high-humidity external air. (Easy to
generate dew).
l
Locations frequently using special aerosols.
Indoor unit
1. Select suitable places the outlet air can be sent to the
entire room, and convenient to lay out the connection
pipe, connection wire and the drainage pipe to outdoor.
2. The ceiling structure must be strong enough to support
the unit weight.
3. The connecting pipe, drain pipe and connection wire
shall be able to go though the building wall to connect
between the indoor and outdoor units.
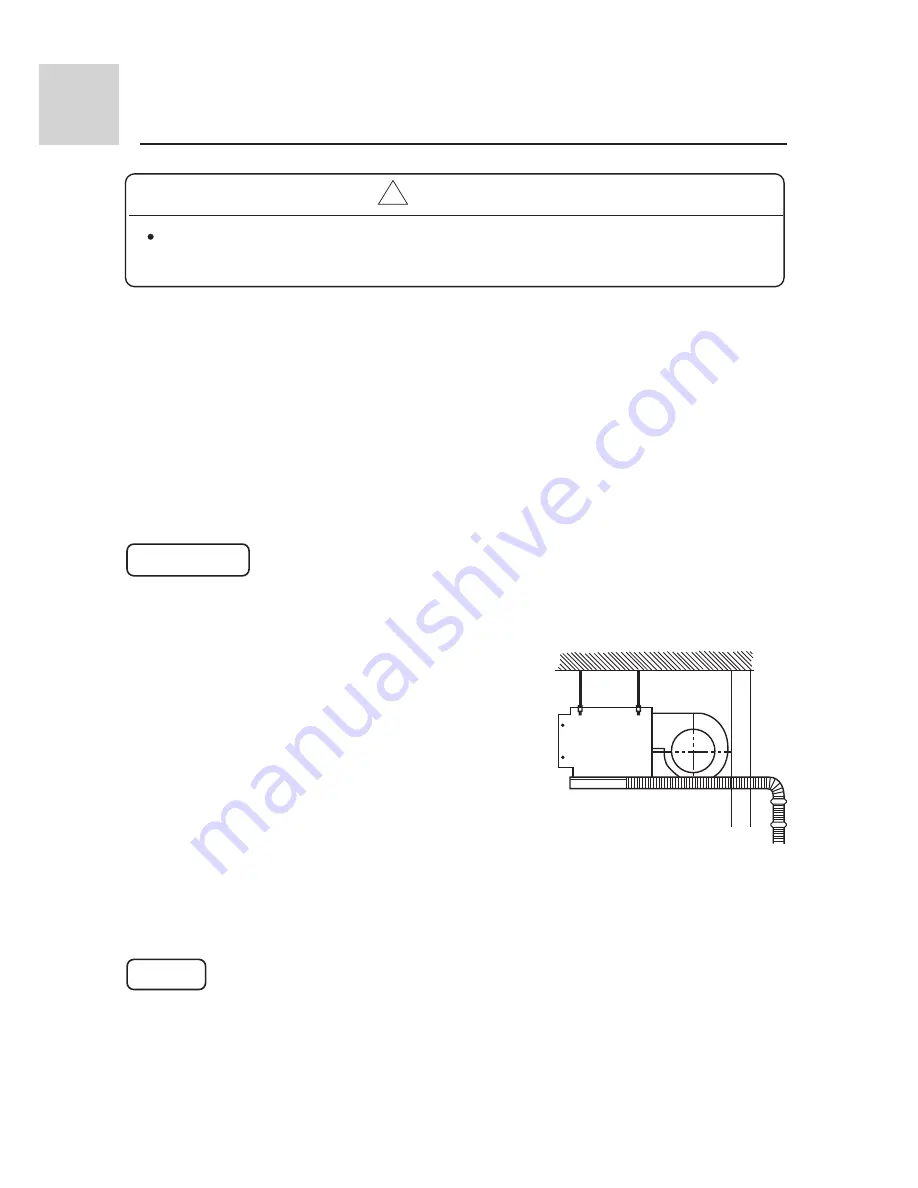
4. The connecting pipe between the indoor and outdoor
units as well as the drain pipe shall be as short as possible.
(See Figure 1)
5. If its necessary to adjust the filling amount of the
refrigerant, please refer to the installation manual
attached with the outdoor unit.
6. The connecting flange should be provided by the user
himself.
Important
An access port must be provided during installation of indoor unit for maintenance.
20
! Caution


