English
English
20
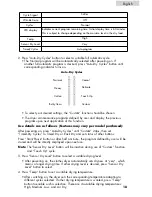
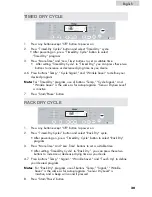
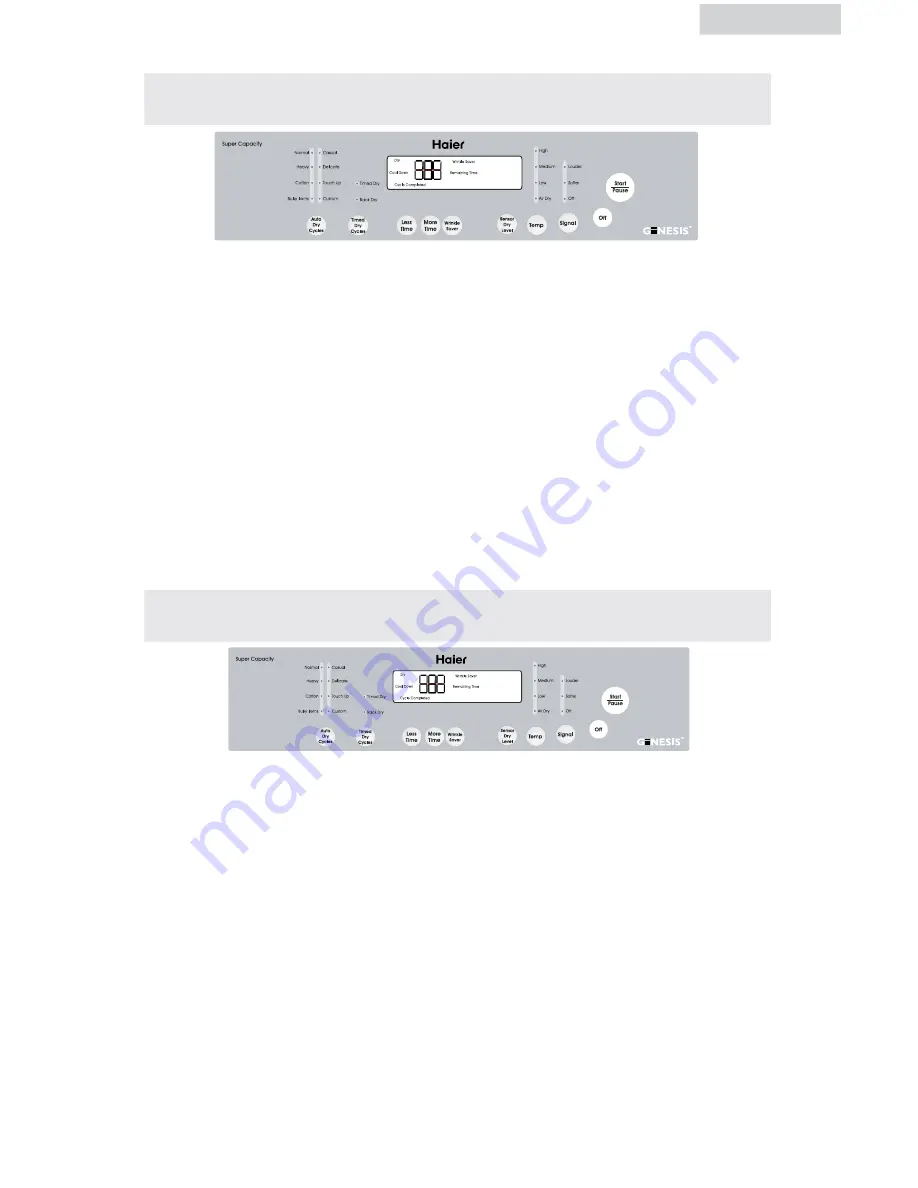
1. Press any button except “Off” button to power on.
2. Press “Timed-Dry Cycles” button and select “Timed Dry” cycle.
• After powering on, press “Timed-Dry Cycle” button to select
“Timed Dry” program.
3. Press “More Time” and “Less Time” buttons to set a suitable time.
• After setting “Timed-Dry Cycle” to “Timed Dry,” you can press these two
buttons to increase or decrease drying time as you desire.
4-6. Press buttons “Temp,” “Cycle Signal,” and “Wrinkle Saver” to define your
desired program.
Note:
For “Timed Dry” program, use of buttons “Temp,” “Cycle Signal,” and
“Wrinkle Saver” is the same as for auto-programs. “Sensor Dryness Level”
is inactive.
7. Press “Start/Pause” button.
TIMED DRY CYCLE
Extend T umble
Very
More
Normal
Less
Damp
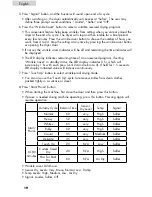
1. Press any button except “Off” button to power on.
2. Press “Timed-Dry Cycles” button and select “Rack Dry” cycle.
• After powering on, press “Timed-Dry Cycle” button to select “Rack Dry”
program.
3. Press “More Time” And “Less Time” buttons to set a suitable time.
• After setting “Timed-Dry Cycle” to “Rack Dry”, you can press these two
buttons to increase or decrease drying time as you desire.
4-7. Press buttons “Temp,” “Signal,” “Wrinkle Saver,” and “Touch Up” to define
your desired program.
Notes
: For “Rack Dry” program, use of buttons “Temp,” “Signal,” “Wrinkle
Saver” is the same as for auto-programs. “Sensor Dry Level” is
inactive, and a beep will sound if pressed.
8. Press “Start/Pause” button.
RACK DRY CYCLE
Extend T umble
Very
More
Normal
Less
Damp


