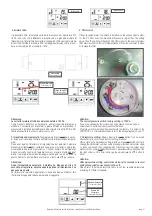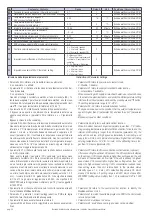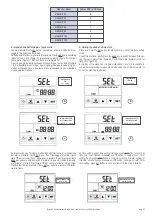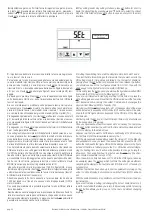
12 - MESSA IN SERVIZIO
12 - COMMISSIONING
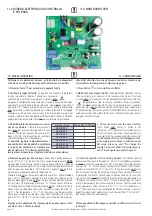
Verificare che le dimensioni del cavo, gli interruttori e i collegamenti
a filo siano corretti prima delle seguenti fasi di messa in servizio
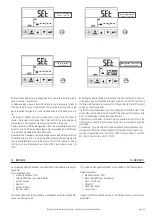
1. Premere il tasto per accendere / spegnere l’unità.
2. Verificare la taglia dell’unità.
Il parametro che identifica la taglia del-
l’unità è impostato in fabbrica. Tuttavia se è necessario
verificarlo e/o modificarlo, premere per 6 secondi
(MODE)
per passare all’impostazione dei parametri: il numero del parametro viene
visualizzato al centro dello schermo. Permere il tasto
SET
ed impostare il
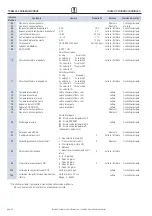
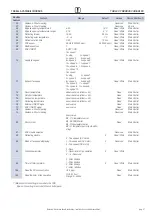
parametro n°21 (vedere lista parametri più avanti); premere brevemente
MODE
per inserire il valore del parametro. Il valore di default “0” lampeggia
nell’angolo in alto a destra sullo schermo, premere i pulsanti su e giù per
caricare il valore in base alla tabella sottostante (ERV codice Vs Modelli),
quindi premere nuovamente il tasto
SET
per confermare l'impostazione.
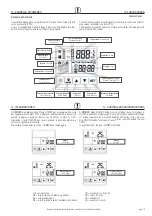
3. Modalità lettura sonde temperatura e velo-
cità del ventilatore
. Premere brevemente il
tasto
MODE
per passare alla modalità OA (aria
esterna), RA (aria di ripresa), SA (aria di man-
data), o FR (EA, aria di espulsione), controllare
che la temperatura sia corrispondente.
E’ possibile regolare indipendentemente i
due ventilatori: nella modalità SA modificare
la velocità del ventilatore di mandata pre-
mendo i tasti
▲
e
▼;
nella modalità RA ripe-
tere la stessa procedura per regolare il ventilatore di espulsione.
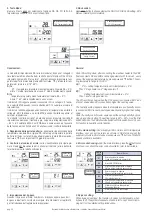
4. Funzione by-pass per free-cooling.
L’azionamento del by-pass avvie-
ne tra 19°C e 21°C di temperatura OA; eventualmente premere
MODE
per visualizzarla. Se il valore rilevato si trova in questo intervallo, il by-pass
si aprirà automaticamente. Se si vuole modificare la temperatura OA di set
point by-pass, per esempio a 18°C, premere il pulsante
MODE
più di 6
secondi per accedere al parametro impostazione.
Premere il tasto
SET
per passare al parametro numero 02, valore di default
pari a 19°C é visualizzato nell'angolo in alto a destra sul display, quindi
premere brevemente il tasto
MODE
per entrare nell’impostazione, premen-
do i tasti
▲
e
▼
impostando il valore su "X", "X" deve essere inferiore a
18°C (temperatura attuale OA) quindi premere
SET
per confermare. Con lo
stesso modo per impostare il valore del parametro numero 03 come "Y",
se "X" < OA temperatura < "X + Y". Poi il by-pass si aprirà automatica-
mente, aperto, l'utente può regolare i valori sotto i parametri 2 e 3 per ren-
dere OA<"X" o OA>"X + Y", quindi il by-pass si chiuderà automaticamen-
te.
Si prega di fare attenzione che il passaggio da by-pass aperto / chiu-
so sarà di circa 1 minuto in ritardo.
Check that all cable sizes, circuit breakers and wire connections are
correct before following below commissioning steps
1. Press button to turn on/off the ventilator.
2. Match the correct speed to ERV
. The parameter that identifies the size
of the unit is factory set. However, if it is necessary to verify and / or modify
it, press
(MODE)
for 6 seconds to enter parameters setting and at this time
the parameter number is shown in the middle of screen, press but-
ton
SET
to parameter No.21 (refer to parameters list in comming
page) then press
MODE
shortly to enter the parameter setting, default value
“0” blink at the top right corner, press UP and DOWN buttons to charge the
value according to below table (ERV code Vs Models) then press button
SET
again to confirm setting.
3. Check the mode and fan speed switch.
Press button
MODE
shortly to switch to OA
(Outside air), RA (Return air), SA (Supply air) or
FR (EA, Exhaust air) mode, check whether the
temperature of the corresponding mode is correct.
An independent fan speed management bet-
ween supply and exhaust, is possible: under
SA mode, press
▲
and
▼
to change the
supply fan speed; under RA mode press
▲
and
▼
to change the exhaust fan speed.
4. Check the operation of free cooling by-pass.
The default opening
temperature of by-pass is between 19° and 21° C (adjustable), press but-
ton
MODE
to check the temperature of OA. If the present OA temperature is
among 19°C - 21° C, then bypass will open automatically. If the OA tem-
perature is not within 19°-21° C, say 18° C, then press button
MODE
more
than 6 seconds to enter the parameter setting. Press
SET
button to switch
to parameter number 02, default value 19 flashes shown at the top right
corner,Then press
MODE
button shortly to enter setting, by pressing
▲
and
▼
buttons and set the value to be “X”, “X” should be less than 18° C (pre-
sent OA temperature) then press
SET
again to confirm. With the same way
to set parameter number 03 value to be “Y”, if “X” < OA temperature <
“X+Y”. Then bypass will open automatically, after bypass open, user can
adjust the values under parameters 2 and 3 to make OA<“X” or OA>”X+Y”,
then bypass will close automatically.
Please pay attention that bypass open/closed will be around 1 minu-
te delayed.
Manuale di Installazione Uso e Manutenzione - Installation, Use and
Maintenance Manual
pag. 18
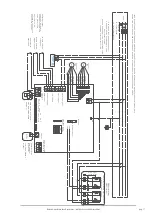
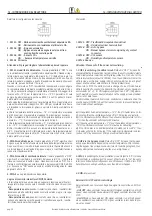
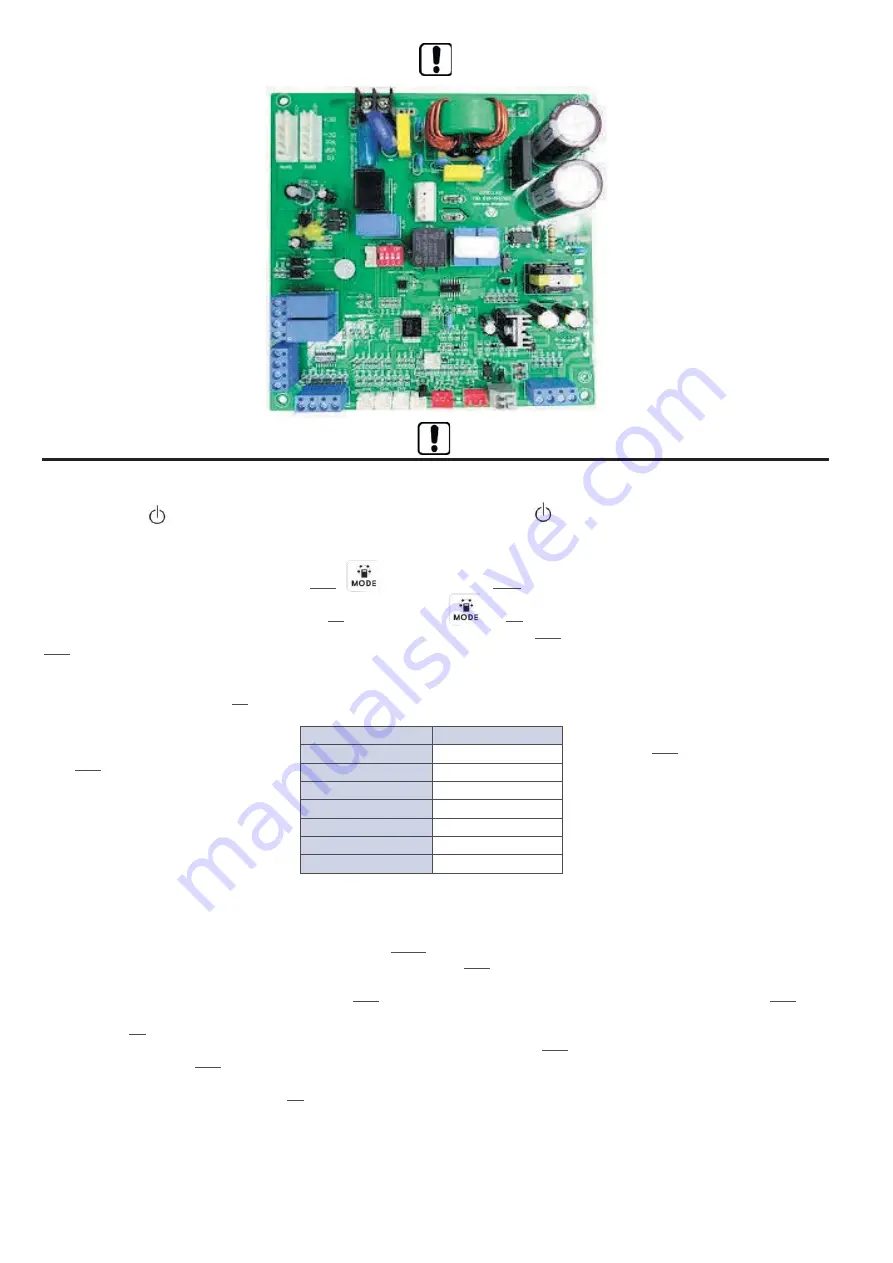
11.2 SCHEDA ELETTRONICA DI CONTROLLO
E POTENZA
11.2 MAIN BOARD PCB
Modello /
Model
Codice ERV /
ERV Code
HACI-RP 25
5
HACI-RP 35
4
HACI-RP 50
3
HACI-RP 65
7
HACI-RP 80
8
HACI-RP 100
9
HACI-RP 130
2
Summary of Contents for HACI-RP Series
Page 36: ...2019 05 ...


