Manuale di Installazione Uso e Manutenzione - Installation, Use and
Maintenance Manual
pag. 29
17 - INSTALLAZIONE ACCESSORI
17 - ACCESSORIES INSTALLATION
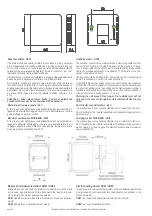
Pannello di comando Touch Screen - PTS
Il pannello è fornito completo di cavo lungo 5 metri e connettori per il
collegamento alla scheda elettronica a bordo macchina. Se necessa-
rio, si può utilizzare un cavo più lungo a carico dell’installatore (fino a
max 15 metri complessivi, specifica cavo AWM 2464 24AWG VW-1
80°C 300V). Si veda il capitolo 11 per i dettagli della connessione alla
scheda elettronica.
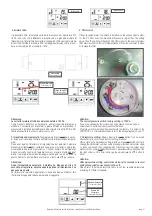
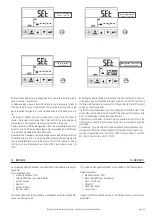
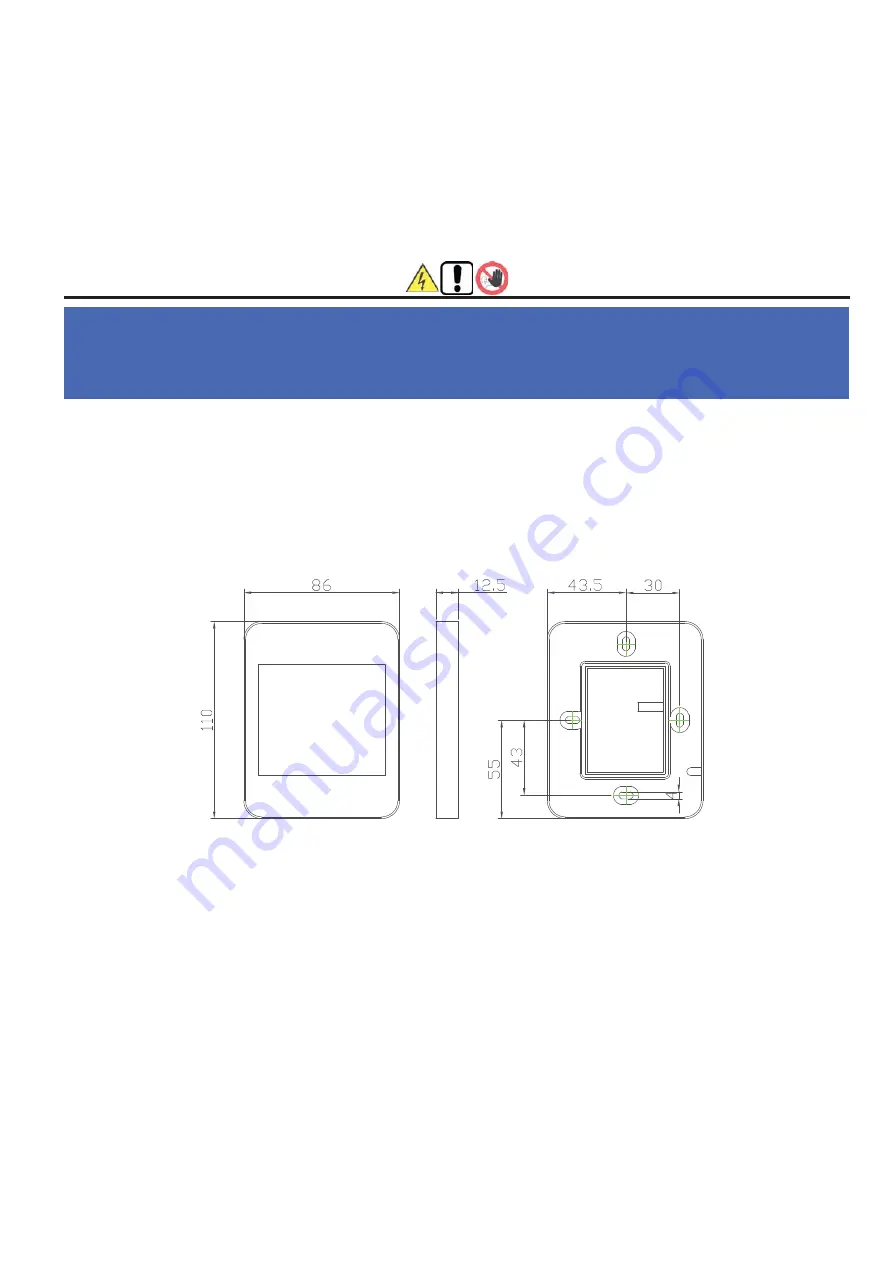
Il dispositivo può essere fissato alla parete utilizzando la maschera in
dotazione: vedere la figura di seguito.
Touch screen controller - PTS
The panel is supplied with a 5 meter long cable and connectors for con-
nection to the electronic board on the machine. If necessary, a longer
cable can be used, provided by the installer (maximum overall 15 meters
cable lenght,
AWM 2464 24AWG VW-1 80°C 300V cable specification).
See chapter 11 for details of the connection to the electronic board.
The device can be fixed to the wall using the plastic jig supplied: see the
figure below.
PRIMA DI INTRAPRENDERE QUALSIASI OPERAZIONE DI INSTAL-
LAZIONE ASSICURARSI CHE LA MACCHINA SIA SPENTA E CHE
NON POSSA ESSERE ACCIDENTALMENTE COLLEGATA ALLA
CORRENTE ELETTRICA. E’ QUINDI NECESSARIO TOGLIERE L’ALI-
MENTAZIONE ELETTRICA.
BEFORE UNDERTAKING WHICHEVER INSTALLATION OPERATION
MAKE SURE THAT THE MACHINE IS SWITCH OFF AND THAT IT CAN
NOT BE ACCIDENTALLY CONNECTED TO THE POWER. IT IS THE-
REFORE NECESSARY TO CUT OFF THE ELECTRIC SUPPLY DURING
ALL MAINTENANCE.
Sensore di CO
2
da parete - QSW
Il Sensore CO
2
è fornito completo di cavo lungo 5 metri e connettori
per il collegamento alla scheda elettronica a bordo macchina. Se
necessario, si può utilizzare un cavo più lungo a carico dell’installato-
re. (fino a max 15 metri complessivi, specifica cavo AWM 2464
24AWG VW-1 80°C 300V). Si veda il capitolo 11 per i dettagli della
connessione alla scheda elettronica.
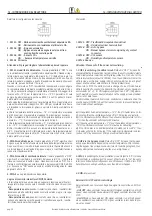
Il dispositivo va installato nell’ambiente di maggior frequentazione
delle persone; può essere fissato alla parete utilizzando la maschera
in dotazione: vedere la figura di seguito.
Dopo aver collegato il sensore di CO
2
opzionale, sul display viene visua-
lizzato il simbolo CO
2
. Se la concentrazione di CO
2
è superiore al valore
di impostazione, allora l’unità lavorerà alla massima portata d’aria; se l’u-
nità è già in alta velocità quando la concentrazione di CO
2
è superiore al
set impostato, essa mantiene la velocità massima in esecuzione. Se il
valore misurato diminuisce sotto al valore di impostazione, allora l’unità
ritorna allo stato precedente (standby, velocità 1, 2, 3 ecc.).
Attenzione: l’unità rimane accesa finchè il valore di concentrazione
non scende sotto il set, anche con comando OFF da pannello.
Per ulteriori dettagli vedere pag. 22.
CO
2
wall mount sensor - QSW
The CO
2
sensor comes complete with a 5 metre long cable and con-
nectors for connection to the electronic board on the machine. If
necessary, a longer cable can be used provided by the installer (maxi-
mum overall 15 meters cable lenght, AWM 2464 24AWG VW-1 80°C
300V cable specification). See Chapter 11 For details of the connec-
tion to the electronic card.
The device should be installed in the room where live most of people ;
it can be fixed to the wall using the mask provided: see the figure
below.
After connecting the optional CO
2
sensor, the CO
2
symbol will display on
the screen. If CO
2
concentration is higher than setting value, the unit will
work at the maximum air flow rate; if the unit is already in highest speed
when CO
2
concentration higher than setting value, then unit keeps the
highest speed running. If CO
2
concentration reduces lower than setting
value, then unit returns back to the previous status (standby, speed 1, 2,
3 etc.).
Warning: the unit keeps ON as long as the CO
2
concentration value
will not drop under the set, even though the unit is switched OFF by
the controller.
See page 22 for further details.
Alla riapertura di questo non si otterrà lo spegnimento della unità, bensì il
suo ritorno allo stato precedente all’attivazione del contatto stesso, ossia
al valore di velocità che era stato precedentemente selezionato dall’uten-
te attraverso il pannello di comando touch screen.
Se si desidera che il funzionamento dei contatti esterni sia quello di On/Off
con spegnimento della unità alla apertura del contatto, assicurarsi quindi
di spegnere l’unità da pannello prima della attivazione dei contatti.
Se si desidera attivare da remoto l’unità anche con pannello di comando
collegato, l’unica possibilità è aprire e chiudere un contatto sull’alimenta-
zione principale: la macchina mantiene comunque lo stato precedente alla
sua riattivazione.
When this is reopened the unit will not be turned off but it will go back to
the speed value set that had been chosen by the user, through the touch
screen controller.
As a consequence, if it is needed the operation of the external contacts to
be On/Off with the turning off of the unit at the moment of reopening the
contact, you have to be sure of turning off the unit through the controller
before activating the contacts.
If you need to switching ON/OFF the unit by a remote contact also with the
touch screen controller connected, the only way is to introduce a contact
on the main supply: the unit mantain anyway the previous state when it
restart.
Summary of Contents for HACI-RP Series
Page 36: ...2019 05 ...


