


9
9
7$
Service
Manual
Automatic Drum Washing Machine
HG1600TXVE
HG1600TXVEME
HG1400TXVE
HG1400TXVEME
Table of Contents
Before Use
Washing Machine Diagram ...... Inside front cover
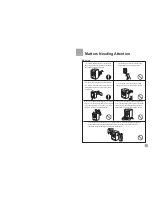
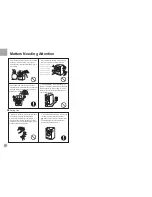
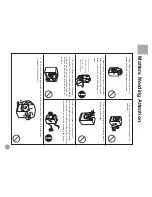
Matters Needing Attention ........... 1-3
Please read this manual carefully before use.
in a safe place
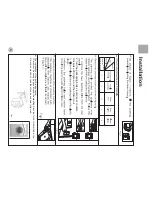
Installation .....................................4-5
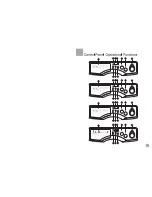
Control Panel Operational Function
......6-7
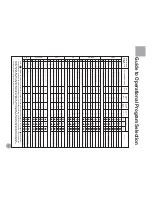
Guide to Operational Program Selection
..8
During Use
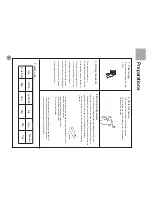
Preparations
...............................................9
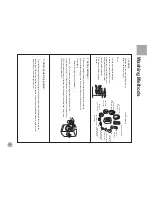
Washing Methods............................10
Hints for Saving Energy....................11
Washing Instructions.......................12
Other Functions...............................13
Maintenance
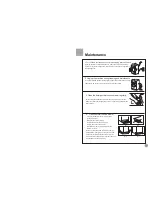
Maintenance .............................14-15
Troubleshooting .............................16
Electric Diagram.............................17
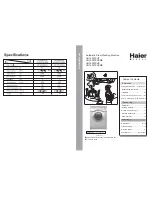
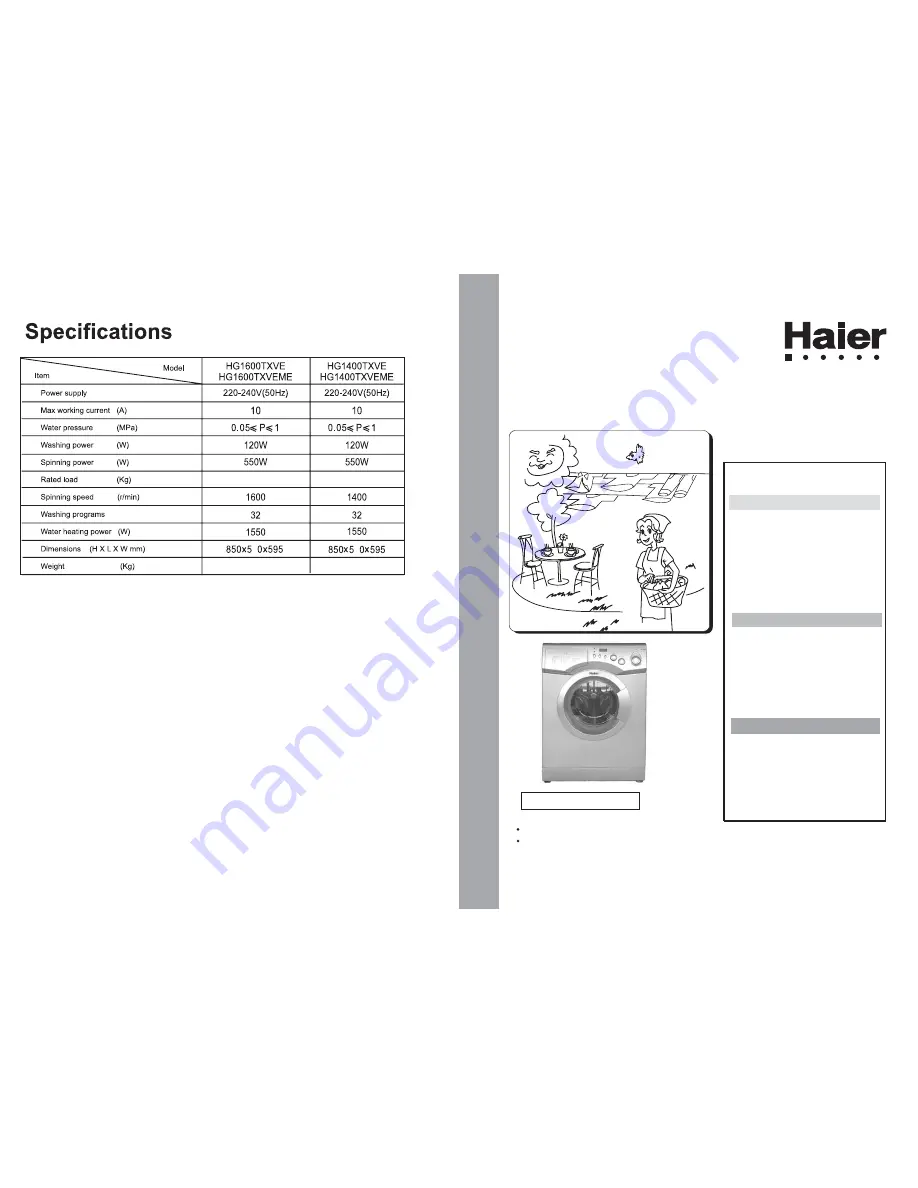
Specifications ...................Back cover
Patent No
82
82
5
5
IPX4
IPX4


