English
7
REFRIGERATOR FEATURES AND USE
General Features
Adjustable temperature dial:
Your refrigerator will automatically maintain the temperature level you select. The temperature control
dial has 7 settings plus off. 1 is the warmest. 7 is the coldest. Turning the dial to OFF stops cooling in
both the refrigeration and freezer sections. At first, set the dial to 4 and allow 24 hours to pass before
adjusting the temperature to your needs.
(Note: If the refrigerator has been placed in a horizontal or tilted position for any period
of time wait 24 hours before plugging the unit in.)
Refrigerator Interior Shelves
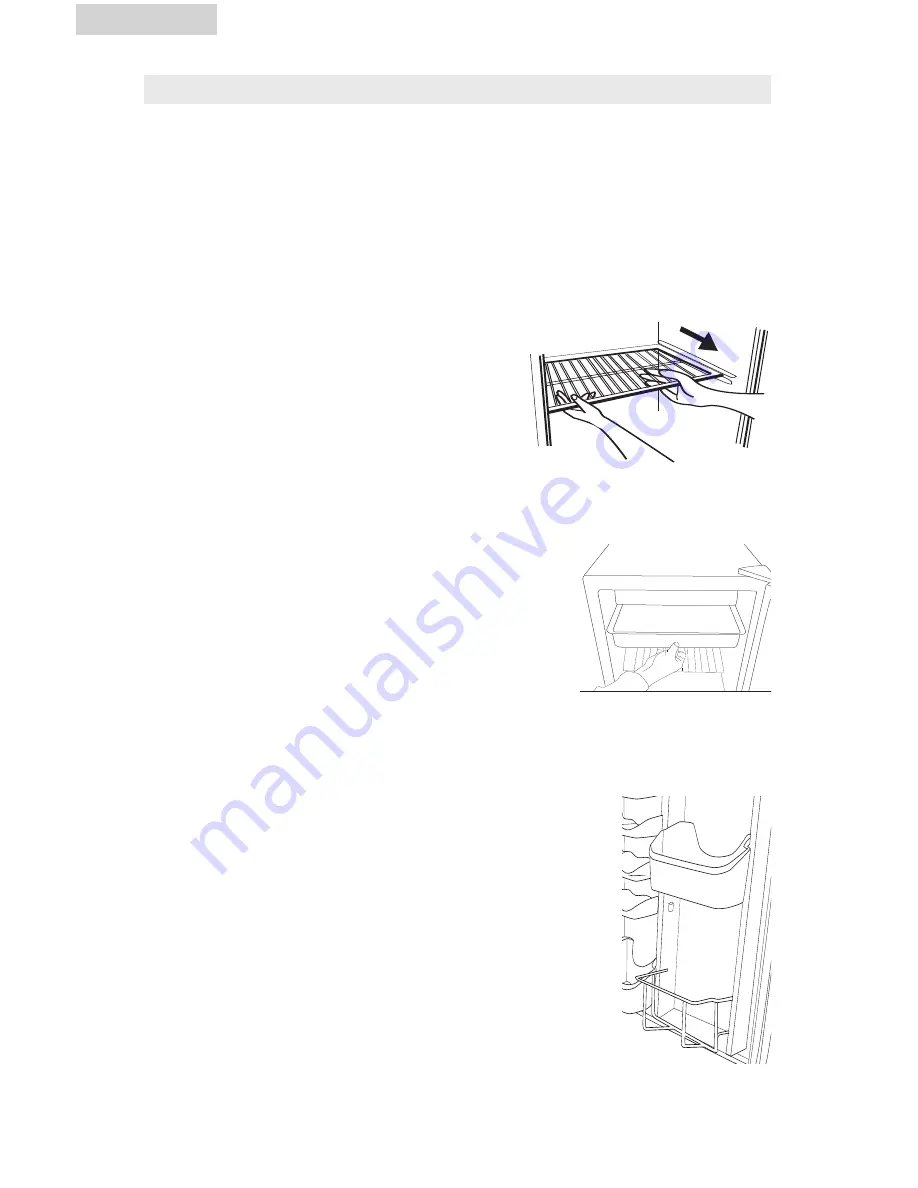
To remove or replace a full-width slide-out shelf: (see fig. # 4)
1. Gently tilt the shelf up and slide forward until the shelf has
been completely removed.
2. To replace the shelf, gently slide the shelf back.
Using, Removing or Replacing the Convertible Storage / Drip
Pan
(see fig. #5)
• Your model has the convertible storage / drip pan feature.
This pan may be used to store food items which should be kept at
a cooler temperature such as cheeses, luncheon meats and hotdogs.
1. To access the compartment gently lift and pull it forward until the
rear lock tabs engage. When finished gently slide the compartment
back until front tabs lock.
2. To remove the compartment gently lift and pull it forward until rear
lock taps engage. Lift up the front of the tray and pull out completely gently.
3. To replace the compartment insert into desired slots and push back until front tabs lock.
Adjusting Door Bins and Can Store Trays
(see fig. #6)
(Quantity and style may vary per model purchased)
Your model comes with adjustable door bins and trays.
1. Remove bin or tray by lifting up and out. (Note: DO NOT adjust bins or
trays with food or containers in them)
2. To insert into new location aligh the bin or tray over the matching tabs on
door. Slide down until bin or tray locks securely in place.
3. To insert retainer style door bin, align bin pegs with the holes provided in the
door. Push in firmly, repeat for the opposite side.
fig. # 4
fig. # 5
fig. # 6


