9-Installation
9
●
.8 Electrical Connection
Before each connection check if:
p
●
ower supply, socket and fusing are appropriate to
the rating plate.
the power socket is earthed and no multi-plug or
extension is used.
the power plug and socket are strictly according.
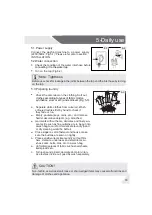
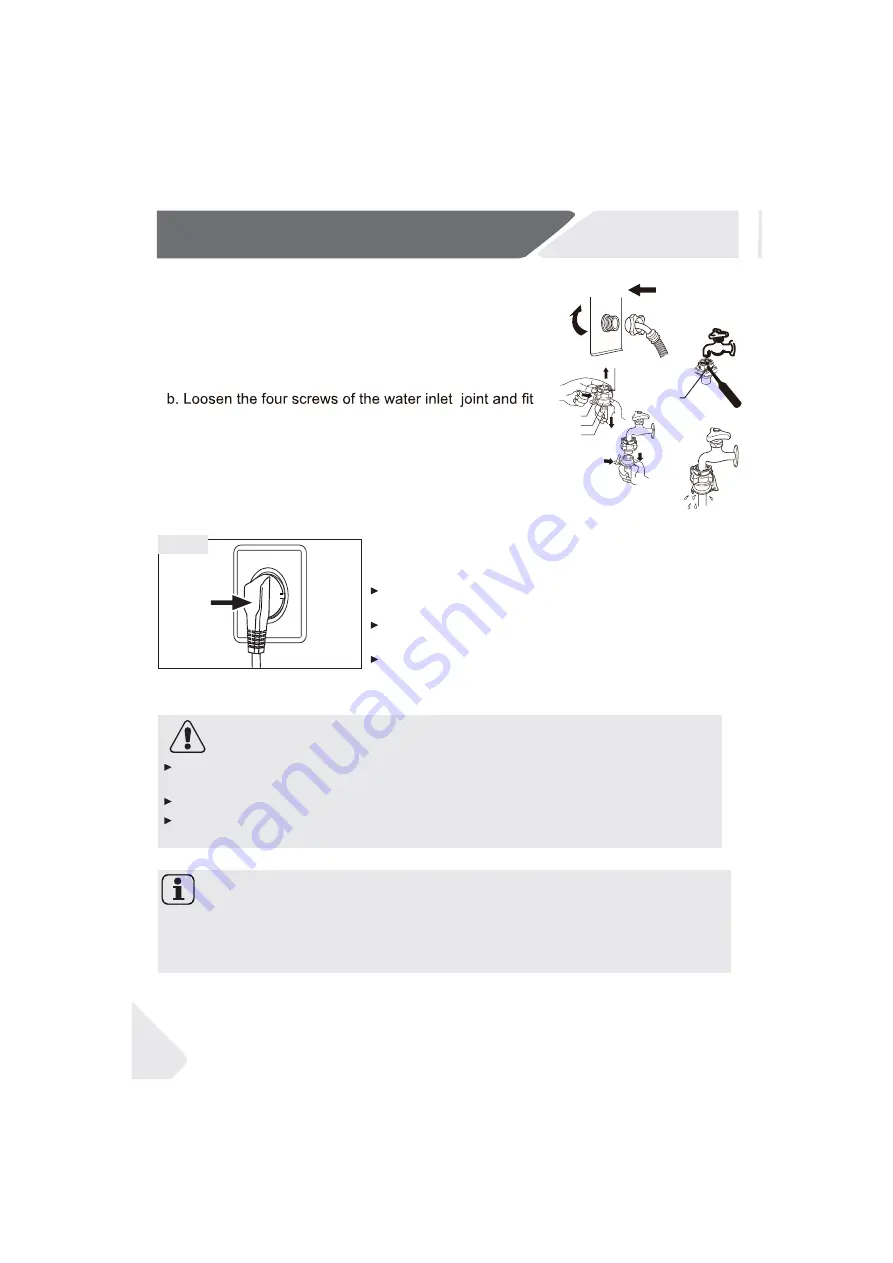
Put the plug into the socket (Fig. 9-8).
9-8
WAR
●
NING!
If the supply cord is damaged, it must be replaced by the service agent (see war-
Note: Drum Clean
tenance run programme Drum
Clean with no load and small amount of detergent in
s
wa-
hing ag
●
ent compartment (2) or with special machine cleaner to remove possibly
u
●
corr-
After each installation or long periods of disuse, before first use and for regular main-
ptive residues.
ranty card) in order to avoid a hazard.
31
Always ensure all the power supply, drain and fresh water hose are firmly
connected, dry and leak free.
Ensure these parts are not crushed, kinked or twisted.
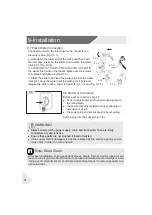
9.7 Fresh Water Connection
Connect the nut on the inlet hose to the connector on
the water valve (Fig.9-7.1).
the water inlet joint on the faucet, Make sure the screws
is in place and tighten it (Fig.9-7.3) .
water inlet joint
lock pole
Slider
Water pipe
9-7.1.
9-7.2.
screw
9-7.3.
9-7.4.
9-7.5.
a. Hold down the lower end of the lock pole,Then hold
the inlet pipe, press on the slider, and remove the water
inlet joint (Fig. 9-7.2).
c. Press the slider and insert the water pipe into the water
inlet joint, hang the water inlet joint with a lock pole and
release the slider until a “snap” is heard (Fig. 9-7.4 and Fig. 9-7.5 ).
Summary of Contents for HW100-BDV14979S8U1
Page 1: ...User manual W ashing machine HW100 BDV14979S8U1 ...
Page 34: ...11 After sale service 33 ...
Page 35: ...11 After sale service 34 ...
Page 37: ......
Page 38: ......
Page 39: ......
Page 40: ...0020509929 ...

