


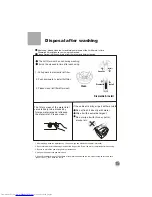

SURPLUS MIN
RESER
VE
HOURS
LA
TER
CALEFACTION
ATION
RESERV
PAUSE
START
ON/OFF
POWER
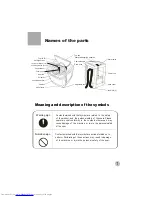
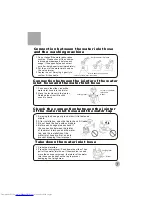
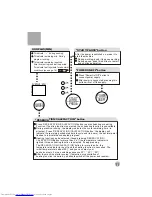
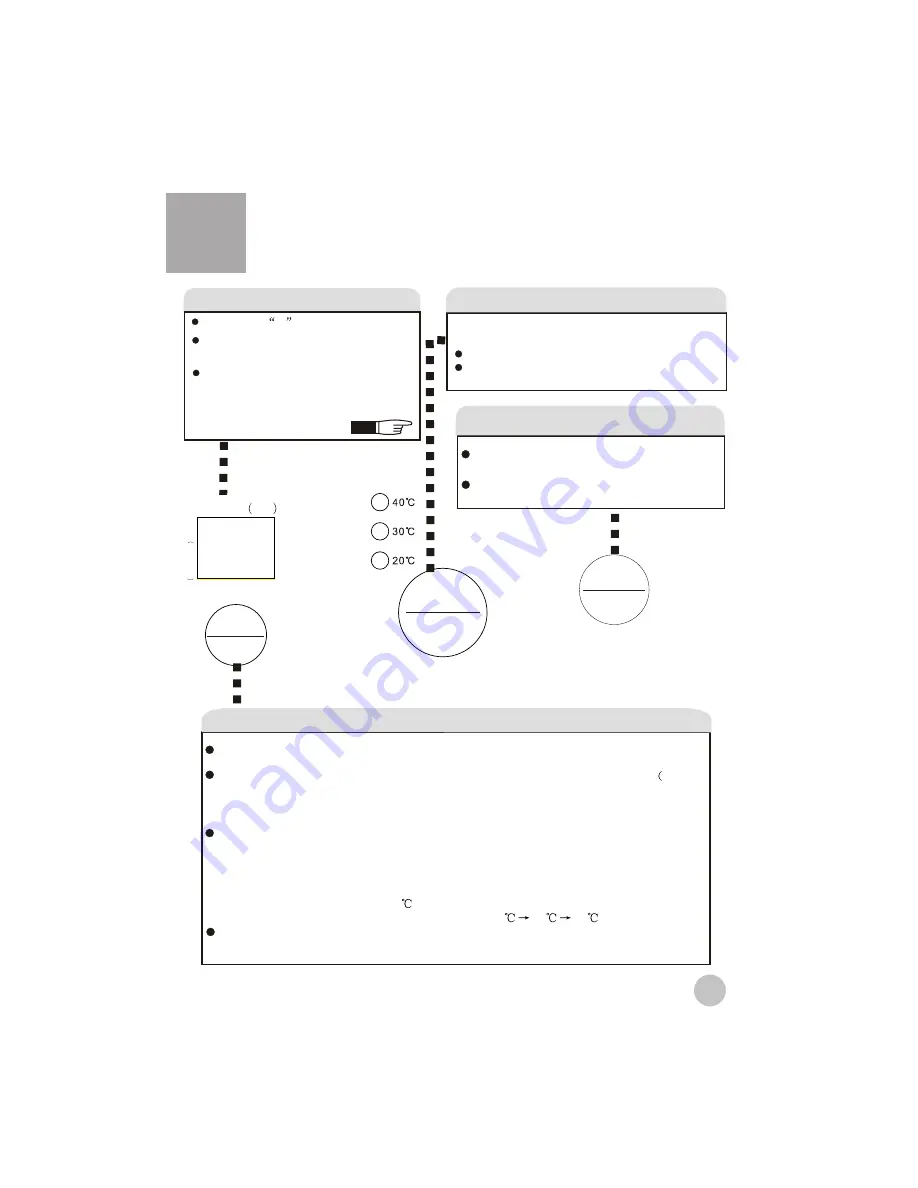
To indicate
--
during sensing.
To indicate remaining min. During
program running.
To indicate remaining reserved
time (hrs) during reservation period.
To indicate fault symbols for abnormal
conditions (see page 16)
SURPLUS(MIN)
Page 16
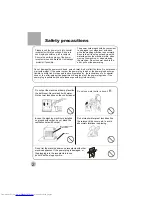
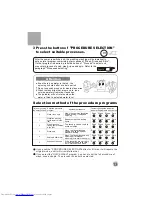
After the power is switched on, press it to
start the machine
During working, push it to pause working.
During pause, push this button to restart
and continue operation.
"START/PAUSE"button
Press "Power On/Off" button to
connect power supply.
After power is connected, pressing this
button will cut off the supply.
"POWER ON/OFF"button
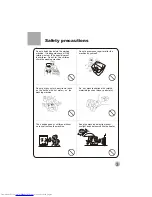
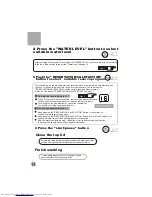
"RESERVATION/CALEFACTION" button
11
Press
"
"
button to set scheduling or heating
Function. If heating function is selected, the scheduling function is unavailable.
During machine running, the display indicates the cycle remaining time
in
minutes). Press
"
"
button, the display will
Indicate the remaining scheduled time to cycle end (in hours), the decimal point
flashes to indicate the scheduled progress.
Heating function can be selected if keep pressing
"
"
Button for more than 2 s. If the temperature indicator is
lighted, it means heating function is selected. If keep pressing
The
"
"
button for more than 2 s, the
temperature indicator turns off, and the heating function is cancelled. The
initial temperature is about 30
, and you can select your
desired value in 3 s in a switching sequence 30
40
20
.
After the machine starts running, if selection or cancellation of
heating function is desired, you should switch off the power and reselect.
RESERVATION/CALEFACTION
RESERVATION/CALEFACTION
RESERVATION/
CALEFACTION
RESERVATION/CALEFACTION


