background image

9

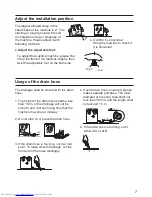
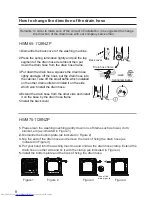
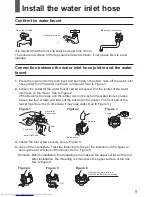
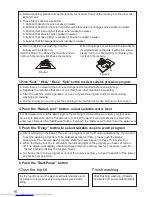
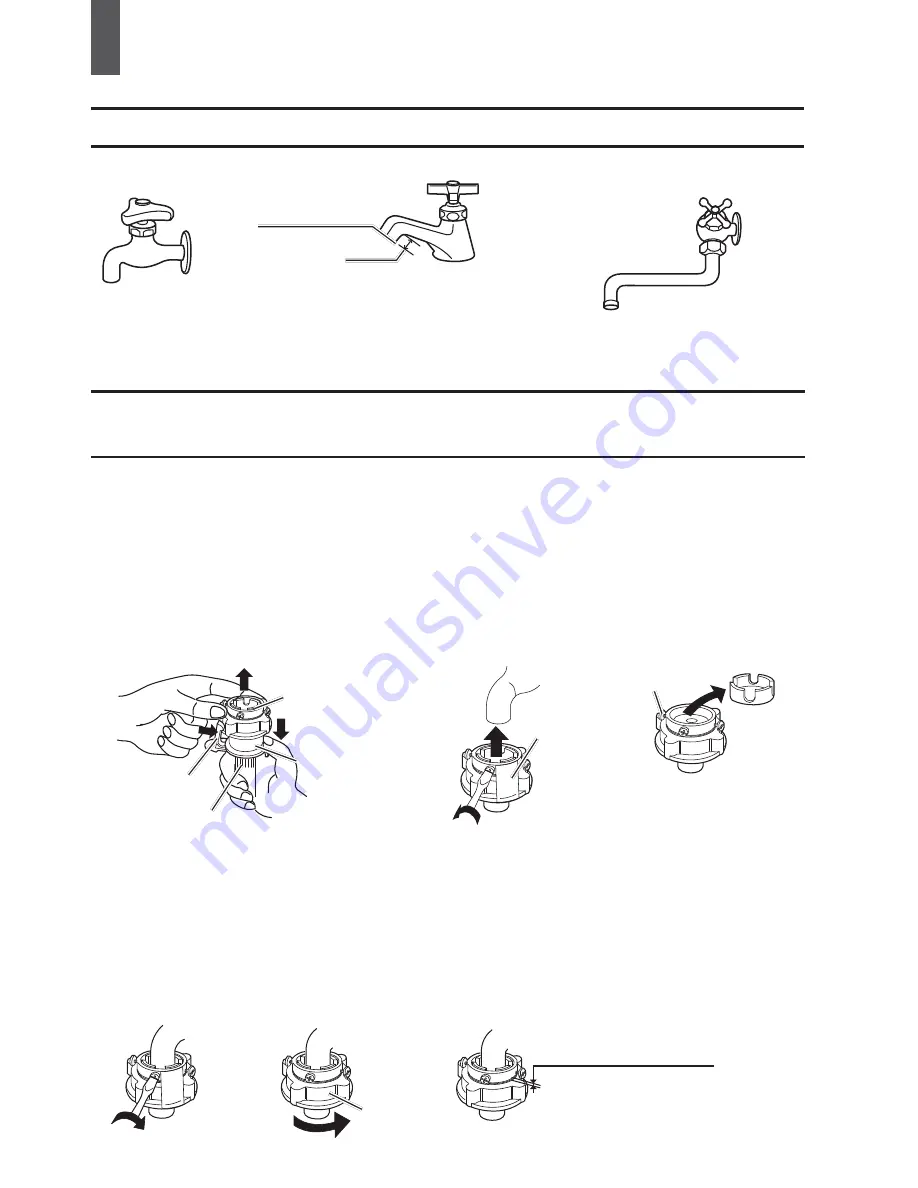
Connection between the water inlet hose jointer and the water 
faucet

Install the water inlet hose

Confirm the water faucet

Water tap, suitable

Outlet end surface

>10mm

Water tap, not suitable

It is required that the front end shall be longer than 10mm.
The outlet end surface of the tap shall be flat and smooth. If not please file it to avoid 
leakage.

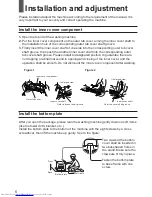
Press the lower end of the lock lever and push down the slider. Take off the water inlet 

1.

hose jointer from the water inlet hose component. See to Figure 1.

Loosen the screw till the water faucet can be accessed. Put the jointer of the water 

2.

inlet hose on the faucet. See to Figure 2.
(If the faucet is too large and the jointer can not be set on the water faucet, please 
loosen the four screws and take out the bushing in the jointer. The front end of the 
faucet must be smooth, otherwise it may leak water. See to Figure 3.)

Figure 1

Lock lever

water inlet 
hose jointer

Slider

water inlet hose

Figure 2

Screw knife

Sign plate

Figure 3

Screw

Bushing

Fasten the four screws evenly. See to Figure 4.

3.

Take off the nameplate. Twist the fastening nut as per the indication of the figure to 

4.

seal up the exit end face of the faucet. See to Figure 5.

Remarks:  Before installation, the threading is 4mm above the upper surface of the nut. 

After installation, the threading is 2mm above the upper surface of the nut. 
See to figure 6.

Figure 4

Figure 5

Nut

Figure 6

About 4mm before twisting
About below 2mm after twisting

Summary of Contents for HWM65-1128NZP

Page 1: ...Double Drive Fully Automatic Washing Machine User s manual HWM65 1128NZP HWM75 1128NZP Please read this manual carefully before using Retain it for future reference ...

Page 2: ...stallation and adjustment 6 Install the water inlet hose 9 Preparation before washing 11 Put in the laundries 12 Use the operation buttons 13 Disposal after washing 17 Trouble shooting answer to question 18 Packing List 19 Specifications 19 Contents ...

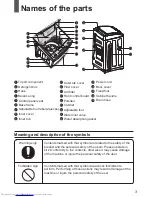
Page 3: ... Cabinet Adjustable foot label 2 pieces Base frame Water inlet valve Warning sign Contents marked with that symbol are related to the safety of the product and the personal safety of the users Please operate in strict conformity to the contents otherwise it may cause damage of the machine or injure the personal safety of the user Forbidden sign Contents marked with that symbol are actions forbidde...

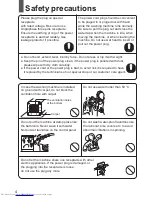
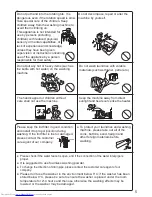
Page 4: ...er plug clean if the power plug is polluted with dust please wipe with dry cloth carefully If the power cord or the power plug is bad to avoid risk it is required to have it replaced by the technicians of our special shop or our customer care agent In case the washing machine is installed on ground with carpet do not block the ventilation hole with carpet Carpet The ventilation holes at the bottom...

Page 5: ...are agent of our company Please don t use the washer in the environment below 0 C if the washer has been stored below 0 C please be sure to ensure the washer is placed under the room temperature for 2 4 hours and then use otherwise the washing effects may be lowered or the washer may be damaged Do not decompose repair or alter the machine by yourself Do not put any hot or heavy items such as the k...

Page 6: ...mal sound in opening and closing of the inner cover and the operation shall be smooth Do not dismount the inner cover component after washing After you open the package please lean the washing machine gently down on soft items like the towel cloth blanket etc Install the bottom plate to the bottom of the machine with the eight screws by a cross screwdriver then lift the machine up gently See to th...

Page 7: ...a hose shall not less than 30 mm and the length shall not exceed 1 5 m 4 If the extra hose is too long cut it either at A or at B 2 Do not step on or press the drain hose 1 5m 30mm Adjust the adjustable foot To adjust the washing machine please first lift up the front of the machine slightly then twist the adjustable foot on the both side The largest allowed slope of the shank base of the machine i...

Page 8: ...in pipe clip HWM65 1128NZP HWM75 1128NZP Remarks In order to make sure of the correct of installation it is suggested to change the direction of the drain hose with our company serviceman 1 Dismantle the back cover of the washing machine 2 Press the spring lamination lightly and pull the top segment of the drain hose decumbent then put down the drain hose from the drain hose frame 3 Put down the d...

Page 9: ...Figure 2 If the faucet is too large and the jointer can not be set on the water faucet please loosen the four screws and take out the bushing in the jointer The front end of the faucet must be smooth otherwise it may leak water See to Figure 3 Figure 1 Lock lever water inlet hose jointer Slider water inlet hose Figure 2 Screw knife Sign plate Figure 3 Screw Bushing Fasten the four screws evenly Se...

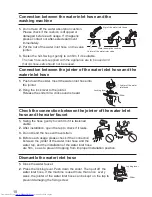
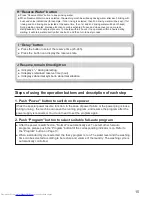
Page 10: ...Jointer of the water inlet valve Swing the hose gently to confirm if it is fastened 1 stable After installation open the tap to check if it leaks 2 Do not bend the hose with overstrain 3 Before each usage please check if the connection 4 between the jointer of the water inlet hose and the water tap and the installation of the water inlet hose are firm so as to prevent dropping from improper Installa...

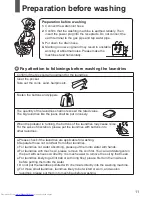
Page 11: ...he jeans shall be put in loosely When the pulsator is running the buttons of the laundries may cause noise For the sake of discretion please put the laundries with buttons into other laundries Please check if the laundries are applicable for washing a Separate those not colorfast from other laundries b For laundries not water absorbing please put them into water with hands c For laundries with muc...

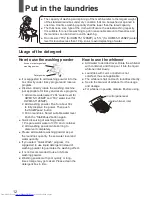
Page 12: ... level for HWM65 1128NZP 2 Add washing powder Run for about 30s to fully dissolve the power Then push the Start Pause button 3 Put in laundries Select suitable water level Push the Start Pause button again Quick dissolving of washing powder 1 Prepare warm water of 30 C and container 2 Add washing powder while stirring to dissolve it completely Please add suitable washing powder as per the laundrie...

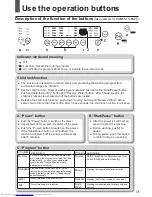
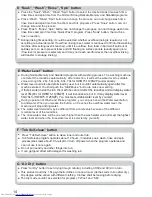
Page 13: ...l laundries with function of stop against washing clean by default and automatically water level will be set fuzzily Strong Memory Washing the laundries with small quantity and light soil Washing the bigger and heavier laundries For common program the washing machine will memory the program selected at last time automatically no need to set again water level will be set fuzzily and automatically a...

Page 14: ...cess can not change wash time rinse times and spin time from the Wool and Silk programs Press Soak button can not change time and the process Press Wash Rinse Spin button can not change the progess can not change wash time rinse times and spin time from Quick Wash program Press Soak button the machine has no reaction During rinsing times setting it could be selected whether overflow rinsing is req...

Page 15: ...ase push the Program button till the corresponding indicator is on Refer to the Program button on Page 13 When a standard cycle is selected the fuzzy program is run The water level and the washing time can be selected according to be texture and volume of the laundry The washing cycle is automatically controlled Press Reserve Water button to keep rinsing water H Reserve Water button When Reserve W...

Page 16: ...the reserve program is set to off mode automatically If you need to set the washing procedure to be nished at reserved time please push the Delay button to set the reserve wash program Refer to reserve button in Page 15 for selection When the Delay function is activated the indicator light of the program you have set will be off The digitron will display remaining delay time hour During reserve pr...

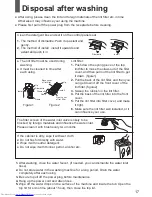
Page 17: ...front cover 5 Put the lint filter into filter cover and make it tight 6 Make sure the lint filter well installed or it can influence your use The filter screen of the water inlet valve is likely to be blocked by foreign materials and influence the water inlet Please clean it with brush every two months If the cabinet is dirty wipe it with wet cloth Do not flush it directly with water Wipe it with neutral...

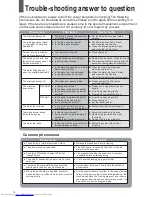
Page 18: ...he water faucet leaks Is the jointer screw of the water inlet hose is loose or twisted awry Fasten the jointer screw properly There s abnormal sound inside the machine Is the machine slanting Are the laundries put slantingly in spinning Are there any foreign materials Adjust the machine to be even Reorder the laundries and close the top lid Remove the foreign materials The water tap leaks Is the s...

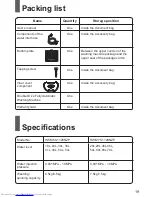
Page 19: ...pper seal of the package carton w e r c s g n i p p a T Inner cover component Double Drive Fully Automatic Washing Machine One One Inside the accessory bag One Inside the document bag One Inside the document bag Packing list Speci cations Model No HWM65 1128NZP Water level 18L 24L 30L 35L 41L 46L 50L 54L 20L 29L 38L 46L 54L 60L 65L 70L Water Injection pressure 0 001MPa 1 0MPa 0 001MPa 1 0MPa Washi...

Page 20: ......

Reviews: