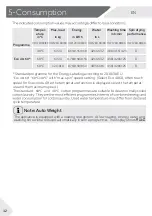
1. At programme cycle end END is displayed.
2.
3. Remove laundry as soon as possible to go easy on it and to prevent more wrinkling.
4.
5. Unplug the power cord.
6. Open the door to prevent formation of moisture and odours. Let it open while not used.
6.13 Activate or deactivate the buzzer
The acoustic signal can be deselected if necessary:
1. Switch on the appliance.
2. Select the programme.
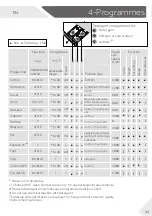
3. Touch the “Delay “button and “Temp.” button at the same time for about 3 sec-
onds. “bEEP OFF” will be displayed and the buzzer will be deactivated.
For activating the buzzer touch these two buttons at the same time again. “bEEP ON”
will be displayed.
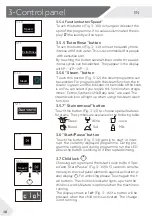
To interrupt a running programme press gently “Start/Pause“. The LED above the button
is
fl
ashing. Press it again to resume operation.
To cancel a running programme and all its individual settings:
1. Touch”Start/Pause” button to interrupt the running programme.
2.
3.
4. After closing the programm to restart the appliance,select a new programme and
6.12 After washing
Note: Door lock
▶
For safety reasons the door is locked partially during the washing cycle. It is only pos
-
sible to open the door at the end of the programme or after the programme was can
-
celled correctly (see description above).
▶
In case of high water level, high water temperature and during spinning it is not pos
-
sible to open the door; Loc
l-
is displayed.
Note: Standby-mode / energy -saving mode
The switched on appliance will go into standby-mode if it will not be activated within 2
This saves energy. To interrupt the standby mode touch
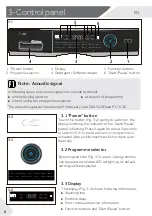
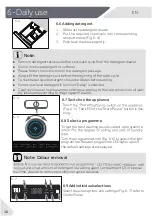
6.10 Start wash programme
Touch “Start/Pause“ button (Fig. 6-8) to start. The LED of the”Start/
Pause“ button stops
fl
ashing and lights up continuously.
Appliance operates according to present settings.
Changes are only possible by cancelling the programme.
6.11 Interrupt / cancel wash programme
6-8
Power
Touch
EN
6-Daily use
17
Touch the " Power" button to turn on the appliance,run programme Spin and select
" no Speed" (speed lights are off) to drain the water.
" Power" button.
M IX
start it.
Summary of Contents for I-Pro 7 Series
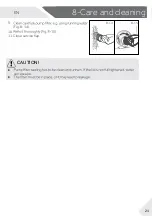
Page 21: ...CAUTION can escape 9 Fig 8 14 10 11 Close serviceflap 8 14 8 15 8 Care and cleaning EN 21 ...
Page 32: ...EN 32 ...
Page 33: ...EN 33 ...
Page 34: ......
Page 68: ...HW80 B14979 HW100 B14979 HW120 B14979_FR 0020508374AN ...

