37
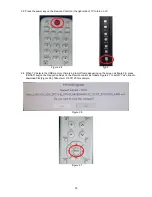
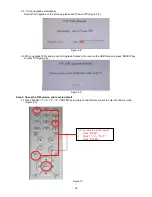
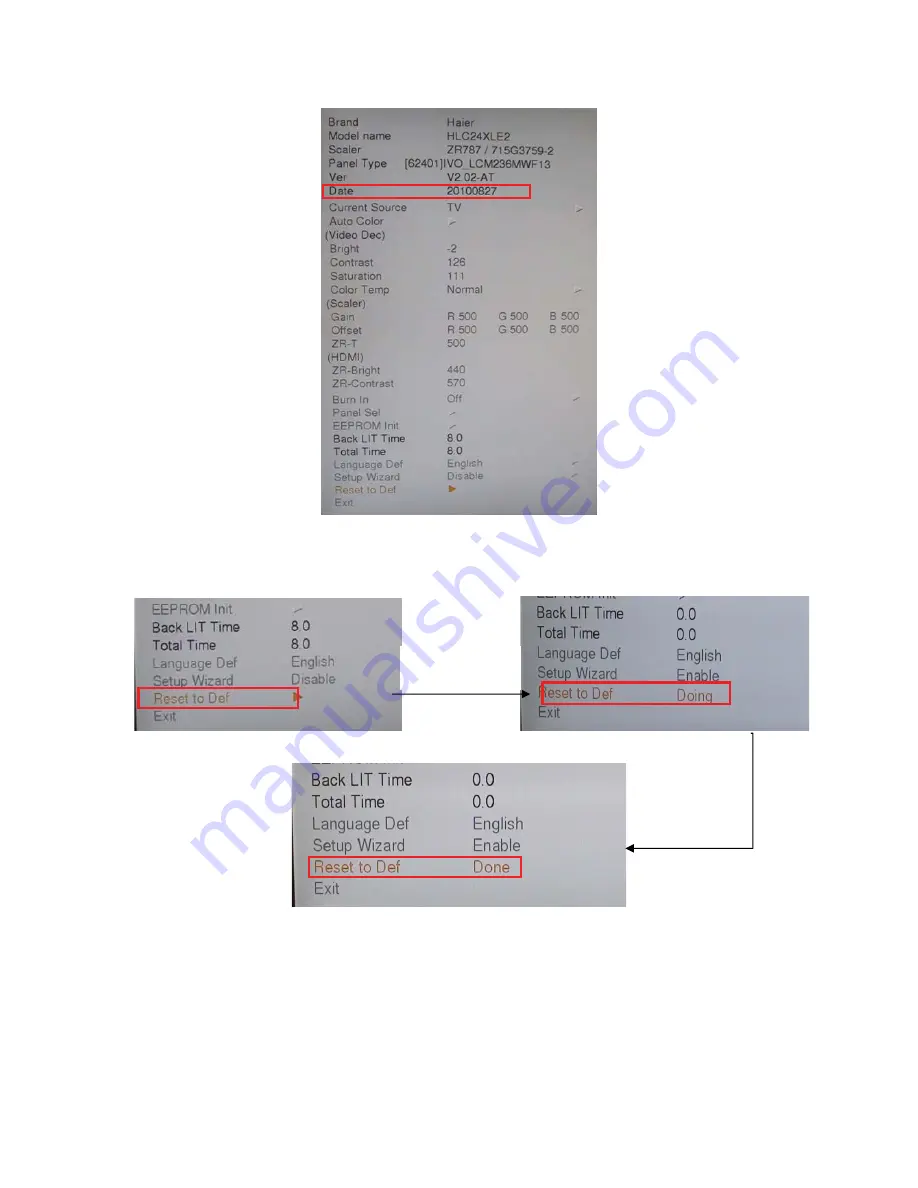
3.2 Check the F/W version on the second row of the factory mode info. If F/W version is incorrect, please
upgrade again as above steps, else let’s go to Step 3.3. Take Haier HLC24XLE2 for example:
Figure 3.2
3.3 If the FW version is correct, please do factory reset.
Choose “Reset” and press “ENTER” key to do factory reset as figure 3.3 to figure 3.5.
Figure 3.3 figure 3.4
Figure 3.5
3.4 After all the steps, FW upgrade is finished finally.
Press “ENTER”,
Show “Doing”
Show “Done”
Reset ok!
Summary of Contents for L19
Page 17: ...17 4 Mechanical Instructions Step1 Remove the STAND ASS Y Step2 Remove the REAR COVER ...
Page 19: ...19 Step 5 Separate the MAIN FRAME and PANEL Step 6 Remove the KEY BOARD IR BOARD and SPEAKERS ...
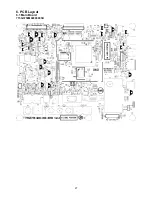
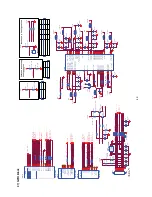
Page 27: ...27 6 PCB Layout 6 1 Main Board 715G3759M02000005K ...
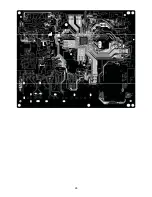
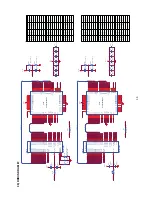
Page 28: ...28 ...
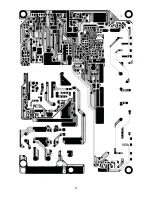
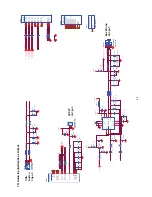
Page 29: ...29 6 2 Power Board 715G3754P01W30003H ...
Page 30: ...30 ...
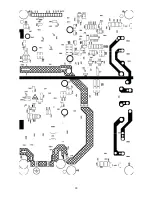
Page 31: ...31 ...
Page 32: ...32 6 3 Key Board 715G3303 2 6 4 IR Board 715G3963R01000004S ...

