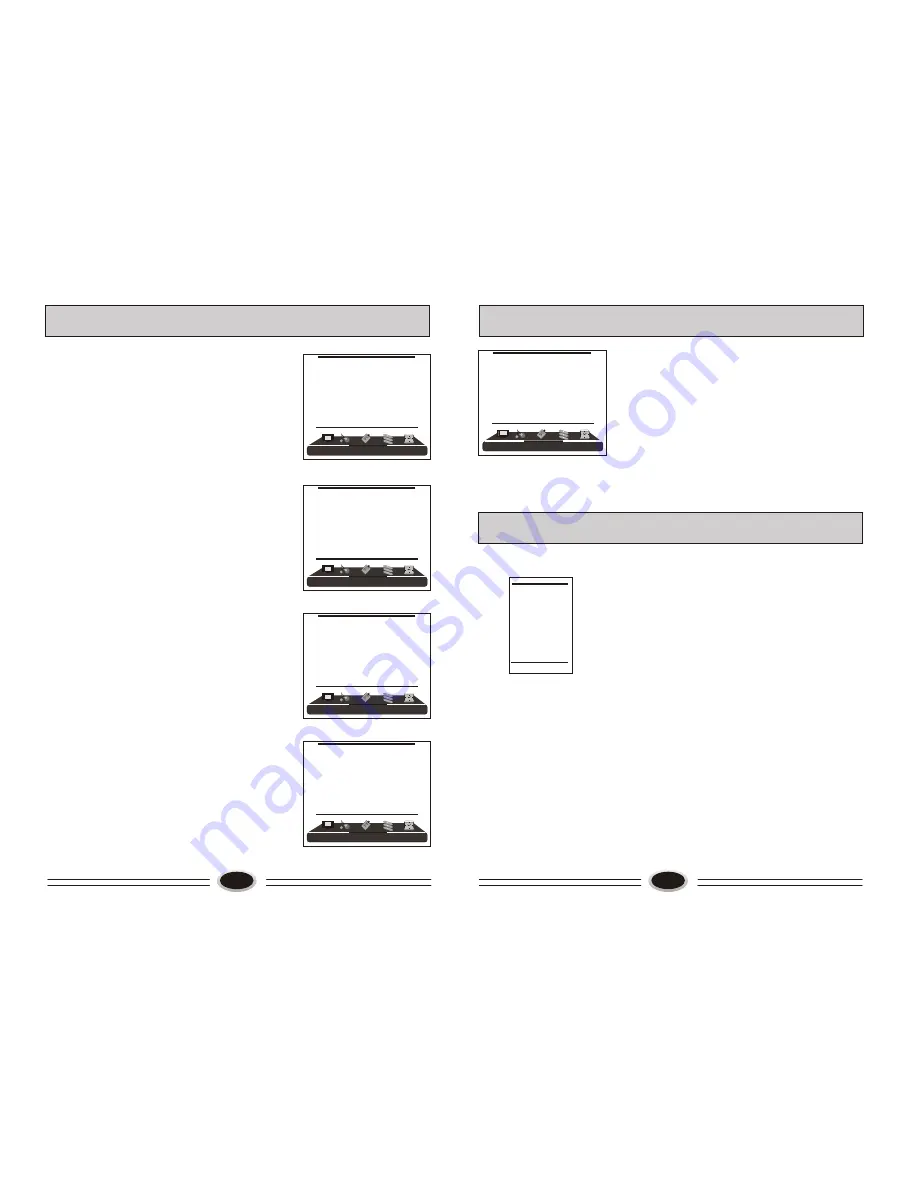
background image

TIME SETTING

19

REMIND PROGRAM
1.Press MENU button to make the main menu display.
2.Press VOL+/- button to select TIMER menu, press 
   CH- button to enter.
3.Press CH+/- button to select REMIND PROG.
    item, press VOL+/- button to set the on channel, if 
    the on channel is off, the on channel is the channel 
    before standby status.
Note: Function only works when time is set.

SIGNAL SOURCE SETTING

There is different signal source mode in this TV set, 
you can select according to your require: TV, 
S-VIDEO, YPbPr, VGA, SCART1, SCART2 or 
HDMI.

1.Press TV/AV button on the remote  control to make 
   the signal source menu display. 
2.Press CH+/- button to select the signal source you
    need. Press VOL+ button to enter.

Note: You can also press TV/AV button on the remote 
control to select the signal source directly. 

TV
AV
S-VIDEO
YPbPr
VGA
SCART1
SCART2
HDMI

TIMER

SLEEP TIMER                  OFF
CLOCK                            - - : - - 
OFF TIME                       - - : - -
REMIND TIME               - - : - -
REMIND PROG.               OFF

18

SLEEP TIMER
1.Press MENU button to make the main menu display.
2.Press VOL+/- button to select TIMER menu, press 
   CH- button to enter.
3.Press CH+/- button to select SLEEP TIMER item.
4.Press VOL+/- button to select the sleep timer you
   need. You can select OFF, 15,30, ......, 240. After 
   setting, press MENU button to save and exit, the 
   TV will start counting.
Note: You can press SLEEP button on the remote 
controller to set the sleep timer you need.

CLOCK
1.Press MENU button to make the main menu display.
2.Press VOL+/- button to select TIMER menu, press 
   CH- button to enter.
3.Press CH+/- button to select CLOCK item, press 
   VOL+/- button to enter setting. Press VOL+/- button
   to select hour or minute position, press CH+/- button
   to adjust the value. After setting, press MENU button
   to save and exit.

OFF TIME 
1.Press MENU button to make the main menu display.
2.Press VOL+/- button to select TIMER menu, press 
   CH- button to enter.
3.Press CH+/- button to select OFF TIME item, press 
   VOL+/- button to enter setting. Press VOL+/- button
   to select hour or minute position, press CH+/- button
   to adjust the value. After setting, press MENU button
   to save and exit. When the time off is coming, the TV
   set will enter standby status.

REMIND TIME
1.Press MENU button to make the main menu display.
2.Press VOL+/- button to select TIMER menu, press 
   CH- button to enter.
3.Press CH+/- button to select REMIND TIME  item, press 
   VOL+/- button to enter setting. Press VOL+/- button
   to select hour or minute position, press CH+/- button
   to adjust the value. After setting, press MENU button
   to save and exit. 
Note: Functions only work when clock is set.

TIME SETTING 

TIMER

SLEEP TIMER                  OFF
CLOCK                            - - : - - 
OFF TIME                       - - : - -
REMIND TIME               - - : - -
REMIND PROG.               OFF

TIMER

SLEEP TIMER                  OFF
CLOCK                            - - : - - 
OFF TIME                       - - : - -
REMIND TIME               - - : - -
REMIND PROG.              OFF

TIMER

SLEEP TIMER                  OFF
CLOCK                            - - : - - 
OFF TIME                       - - : - -
REMIND TIME               - - : - -
REMIND PROG.              OFF

TIMER

SLEEP TIMER                  OFF
CLOCK                            - - : - - 
OFF TIME                       - - : - -
REMIND TIME               - - : - -
REMIND PROG.             


OFF

Summary of Contents for L26A5A

Page 1: ...L32A5A L37A5A L40A5A L42A5A L47A5A L26A5A L32A5A L37A5A L40A5A L42A5A L47A5A LCD COLOUR TELEVISION OPERATING INSTRUCTIONS Wide view angle display high contrast Nicam Teletext HDMI Double scarts 01 009...

Page 2: ...rol 7 Remote control panel 8 Basic operation 9 Screen display 10 TV program setting 11 Image control 14 Audio control 15 Function setting 16 Time setting 18 Signal source setting 19 Child lock setting...

Page 3: ...AY SCRATCH THE LCD SCREEN NOTE SERVICING THE UNIT YOURSELF IS UNAUTHORIZED AND COULD LEAD TO INJURY OR PRODUCT DAMAGE 2 WARNING AND CAUTION Please ensure that the set has adequate ventilation Do not p...

Page 4: ...nit Use a soft cotton cloth Do not use any abrasive cleansers and prevent water from entering the set If any plugs or input wires are dirty unplug the set and clean This will prevent risk of electric...

Page 5: ...battery types Install the batteries as the correct polarities Do not use rechargeable batteries 6 Base Airproof board 1 As figure removing the four M4 20 screws the base will be disassembled 2 As fig...

Page 6: ...channel number will display on the screen and it will disappear without operation in 5 seconds 2 Pressing power button again the TV set will enter standby status Standby set connecting the power supp...

Page 7: ...o stop auto search during searching Note The order of the auto scan is due to the frequency of the program generally speaking it is used only at the first time you search the program and once the orde...

Page 8: ...OL POSITION CH CHAR TUNING PROGRAM NUMB 11 COLOUR SYS PAL SOUND SYS D K FINE TUNE MANUAL SEARCH AUTO SEARCH EDIT PROGRAM COUNTRY CHINA 001 002 003 004 005 006 007 008 009 010 COPY OK CANCEL MENU RETUR...

Page 9: ...50 AUTO VOLUME ON EQUALIZER SURROUND OFF DIGITAL BASS ON 1 Press MENU button to make the main menu display 2 Press VOL button to select PICTURE menu press CH button to enter 3 Press CH button to sele...

Page 10: ...ke the main menu display 2 Press VOL button to select FUNCTION menu press CH button to enter 3 Press CH button to select OSD SETTING item press VOL button to enter the sub menu 4 Press CH button to se...

Page 11: ...the remote controller to set the sleep timer you need CLOCK 1 Press MENU button to make the main menu display 2 Press VOL button to select TIMER menu press CH button to enter 3 Press CH button to sel...

Page 12: ...OL button to select signal input source pressing H LOCK button can open or lock the selected source 2 Press CH button to select CHANNEL item press CH button to select digit press VOL button to change...

Page 13: ...et is similar to TV OTHER SETTING FUNCTION TM 22 Teletext 20 Cancel mode This feature allows the TV picture to be displayed while next page to be searched is entered and found Only the top teletext li...

Page 14: ...the back radio frequency input of the LCD 2 Connect the antenna to VCR antenna input 3 Press TV AV button to select TV mode 4 Press PLAY button in VCR to start watching S VIDEO input If you use S term...

Page 15: ...al or Weak Volume Scramble 3 Do not let the TV set stay on a static images as this can lead to permanent residual images If this situation occurs the TV set may recover automatically after 12 hours if...

Reviews: