6
SC-650/970
One and Two Door Vertical Chillers
1.4 Fitting the Shelves
The chiller is supplied with five cabinet shelves, which may be
positioned at different heights to suit various products. Depending
on the model cabinet, each shelf is held in place with either four or
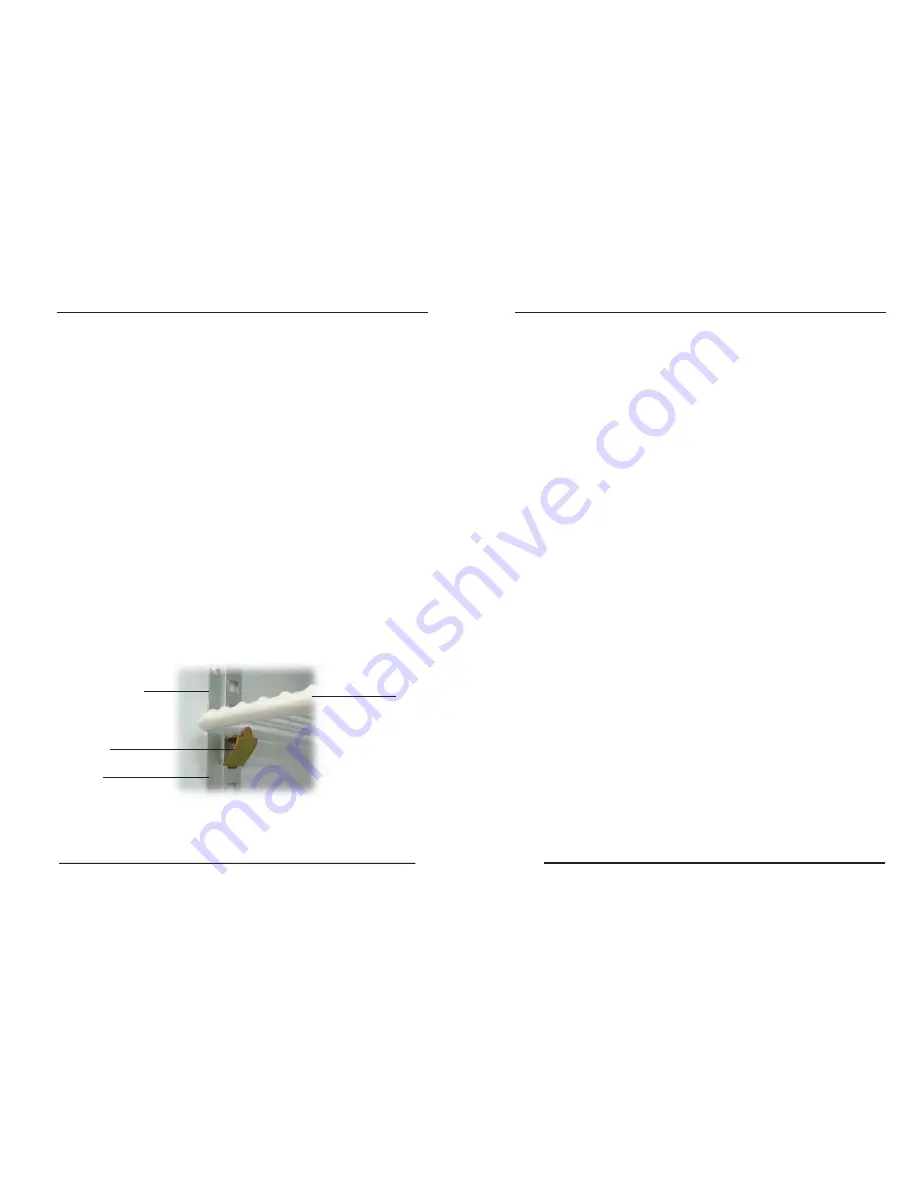
six shelf clips, which engage in the shelf support strips. The support
strips are marked with a ‘+’ for easy location of shelf clips.
To fit the cabinet shelves:
1. Unpack the shelves and shelf clips from inside the cabinet.
2. Establish the desired position for the shelves and securely
engage a shelf clip in each of the shelf support strips (see
Figure 3 below).
3. Sit the shelves onto the shelf support clips.
Loading Product
For even cooling and efficient operation, allow air space around
packages etc. Do not allow products to overhang the front of the
shelf as this could prevent the doors from shutting or cause glass
breakage. Leave an airspace of at least 75mm (3") above product
loaded on the top shelf.
Figure 3: Shelf Clip
Shelf Support Strip
Shelf Clip
‘+’ Mark
Shelf
INSTALLATION
1
7
SC-650/970
One and Two Door Vertical Chillers
2. 1 Cabinet Operation
Connect the cabinet to the mains power supply and check operation
of the refrigeration unit and cabinet lighting.
NOTE: After moving the chiller, allow the cabinet to stand for at least
30 minutes before connecting to the power supply.
Refrigeration Unit
The compressor, and evaporator and condenser fans should all
operate continuously from the time the cabinet is plugged in. This
may be verified by listening for compressor switch on and checking
for air movement inside the cabinet.
The compressor and condenser fans should switch off when the
cabinet internal temperature reaches approximately 2°C. and on
again at approximately 4°C. The internal cabinet air will continue to
circulate at all times.
Lighting
The sign light and cabinet interior lights will go on when the cabinet
is plugged in, and will stay on permanently. The fluorescent lights
will require a period of time to stabilise following initial start up.
OPERATION
2


