background image


 3 


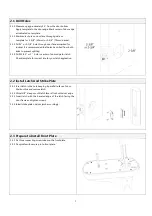
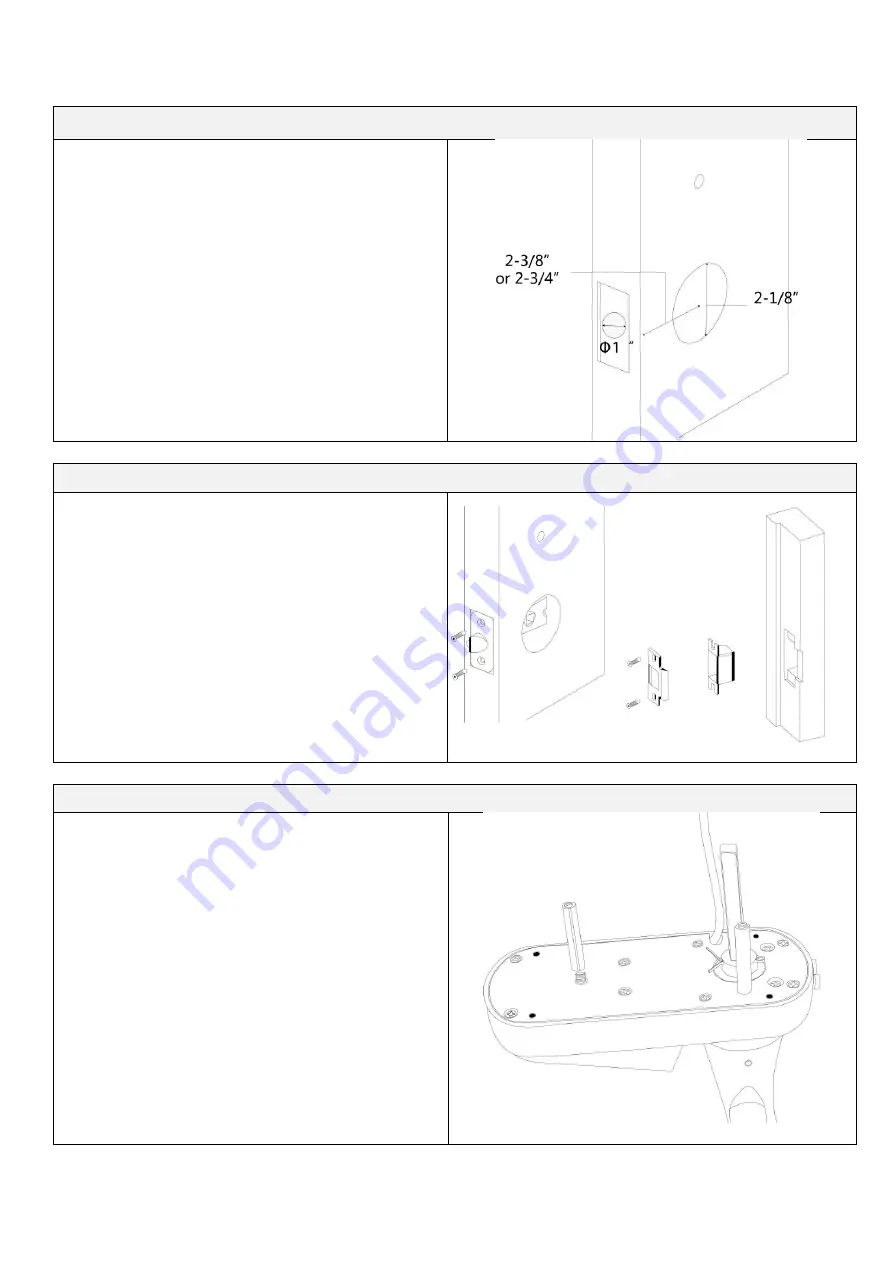
2.1 Drill Holes 

2.1.1 Measure up approximately 36”from the door bottom. 

  Apply template to the door edge. Mark center of door edge  

as indicated on template.  

2.1.2 Mark center hole on door face through guide on  
         template for 2-3/8”(60mm) or 2-3/4”(70mm) basket. 
2.1.3 Drill 2”or 2-1/8”hole through door face as marked for  
         lockset. It is recommended that holes be drilled from both  

sides to prevent splitting. 

2.1.4 Drill 31/32”or 1” hole in center of door edge for latch. 
         Check template for correct size for your latch application. 


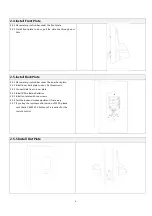
2.2 Install Latch And Strike Plate 

2.2.1 Insert latch in the hole keeping it parallel to face of door.  

Mark outline and remove latch. 

2.2.2 Chisel 1/8”deep or until latch face is flush with door edge. 
2.2.3  Insert  latch  with  the  beveled  edge  of  the  latch  facing  the 

door frame and tighten screws. 

2.2.4 Install strike plate on door jamb accordingly. 


2.3 Prepare to Install Front Plate 

2.3.1 Fix three connecting screw tubes on the front plate. 
2.3.2 Fix spindle with secure pin to front plate. 


Summary of Contents for S200TM

Page 1: ...HAIFUAN S200TM MF USER MANUAL...

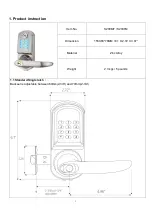
Page 2: ...oduct instruction Item No S200MF S200TM Dimension 155X68 78MM 6 1 X 2 72 X 3 07 Material Zinc Alloy Weight 2 3 kgs 5 pounds 1 1 Standard Single latch Backset is adjustable between 60mm 2 3 8 and 70mm...

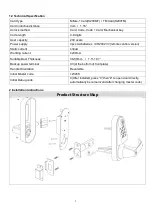
Page 3: ...cs AA batteries CR2032 3V remote control version Static current 30uA Working current 200mA Suitable Door Thickness 38 50mm 1 5 1 97 Backup power terminal 9V at the bottom of front plate Handle Orienta...

Page 4: ...4 Drill 31 32 or 1 hole in center of door edge for latch Check template for correct size for your latch application 2 2 Install Latch And Strike Plate 2 2 1 Insert latch in the hole keeping it paralle...

Page 5: ...under the inner back plate 2 5 2 Install inner back plate to door Fix three screws 2 5 3 Connect data line to inner plate 2 5 4 Install 4 AA alkaline batteries 2 5 5 Install out plate with two screws...

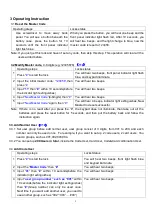
Page 6: ...ew Master Code again then You will hear 4 beeps indicator light extinguishes New Master Code set successful Note If there is no react after you press the the keypad dose not illuminate then take out a...

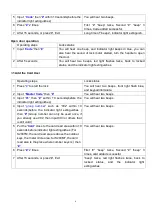
Page 7: ...ps front light flash blue and keypad illuminate 2 Input Master Code then You will hear two beeps 3 Input 01 then within 10 seconds before the indicator light extinguishes You will hear two beeps 4 Inp...

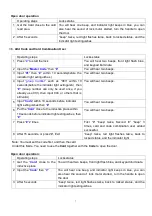
Page 8: ...s still valid You will hear two beeps 5 Input Code within 10 seconds before indicator light extinguishes then You will hear two beeps 6 Put the Card close to the inductive place within 10 seconds befo...

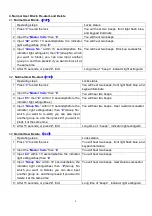
Page 9: ...ps 3 Input 03 then within 10 seconds before the indicator light extinguishes You will hear two beeps 4 Input Group No within 10 seconds before the indicator light extinguishes then Group No which you...

Page 10: ...eep twice second beep 3 times single use code added successful 7 After 15 seconds or press Exit Long time of beeps indicator light extinguishes Special note If there are some people around you while o...

Reviews: