- 47 -
Installation
Display Unit Installation
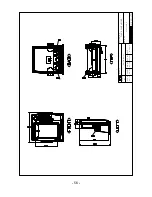
Temporarily install the mounting bracket on the Genesis display unit and place the unit at the selected
location.
CAUTION
The HIS-70R display unit is unstable when the mounting bracket is not secured. Hold the unit
in place at all times.
Check the suitability of the location and make any adjustments. When all is satisfactory, use the holes
in the mounting bracket as a guide and mark the holes locations on the mounting surface.
Drill a 1/4 in. diameter hole at each marked location. Mount the HIS-70R display bracket using bolts
through the mounting surface. Place large flat washers on the opposite side of the mounting surface
from the bracket and then install lock washers and nuts. Tighten securely.
Install the display unit into the mounting bracket. Check alignment and operation of the pivots and
security of the mounting. Make any adjustments necessary to prevent binding and assure even
meshing of the pivot locking washers. It is advised to remove the display unit and store it in a safe
place to prevent damage during the rest of the installation process.
- Power Connection
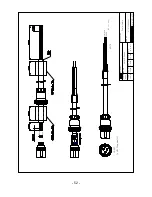
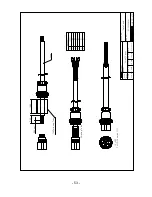
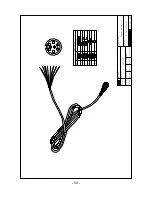
Power is supplied to the HIS-70R System through a connector on the rear panel of the display unit.
Route the power cable from the HIS-70R location to the ship’s power distribution panel.
Connect the black wire to a battery negative (-) terminal of the power panel.
Connect the white wire to a fused battery positive (+) terminal of the power panel ( 12 to 24 Vdc
nominal). If a fused terminal is not available, install an in-line fuse holder.


