87
Maintenance and Service
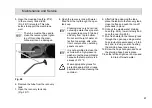
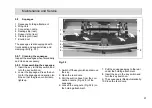
5. Open the cleaning flap (Fig. 27/2).
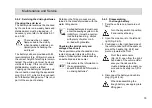
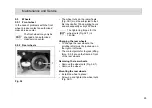
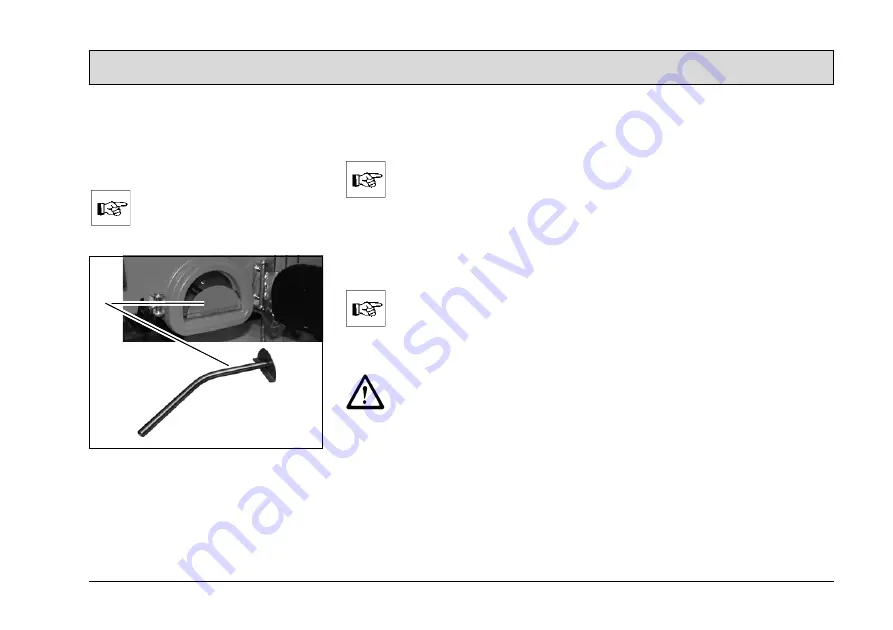
In the recovery tank a tube
(Fig. 28/1) is located. This tube
serves to support the membrane
wall.
The tube must not be used to
clean the recovery tank! Ignor-
ing of this notice the mem-
brane wall can be damaged.
Fig. 28
6. Remove the tube from the recovery
tank.
7. Open the recovery tank cap
8. Flush the recovery tank with water
filled from the top through the open
tank cap.
Cleaning may only be carried
out using a water hose (operat-
ing pressure approx. 5 to 6 bar)
and only from top to bottom.
Do not aim the jet of water di-
rectly at openings, slits, elec-
tronic components, operating
panels or seals.
It is not permitted to clean the
vehicle with a high-pressure
washer or with a steam blaster
because the temperature is in
excess of 212 °F.
Wear appropriate gloves for
protection against dirt, viruses,
bacteria etc. when cleaning the
container.
9. After finishing cleaning the tank,
place the tube into the recovery tank,
close the flap and push the run-off
plate back in place.
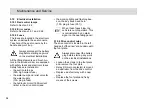
10.Unhook the waste water draining
hose (Fig. 26/6), lower it slowly and
open the cap (Fig. 26/5).
11.Run fresh water in the recovery tank
through the open cap using a water
hose (output pressure approx. 5 to 6
bar) and, in doing so, also flushing
the draining hose (see above).
12.Screw the cap shut again and hook
the draining hose back in place.
Close the left and right rear doors used
to drain off waste water.
1

