92
Maintenance and Service
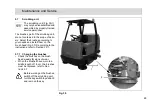
5.8.3
Installing the squeegee
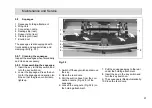
Refer to Section 2.3.2.
5.8.4
Changing the sealing strips
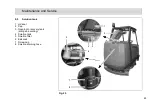
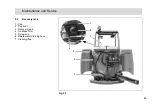
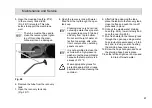
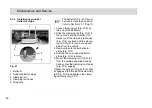
The sealing strips (Fig. 32/4) can be
changed without the need for any tools:
1. Disassemble the squeegee, refer to
Section 5.8.2
2. Unscrew the knurled nuts
(Fig. 32/8).
3. Remove the sealing strip, support
strip and clamping rail
(Fig. 32/4-6).
Both sides of the sealing strip
can be used.
4. Install the new or reversed sealing
strips in the reverse working se-
quence.
Pay attention that both sealing
strips (front and rear) touch the
floor when mounted.
5. Tighten the knurled nuts evenly,
starting from the center and working
on alternate sides.
There must be no bends in the
sealing strip.
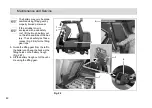
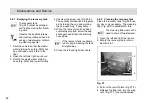
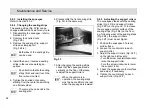
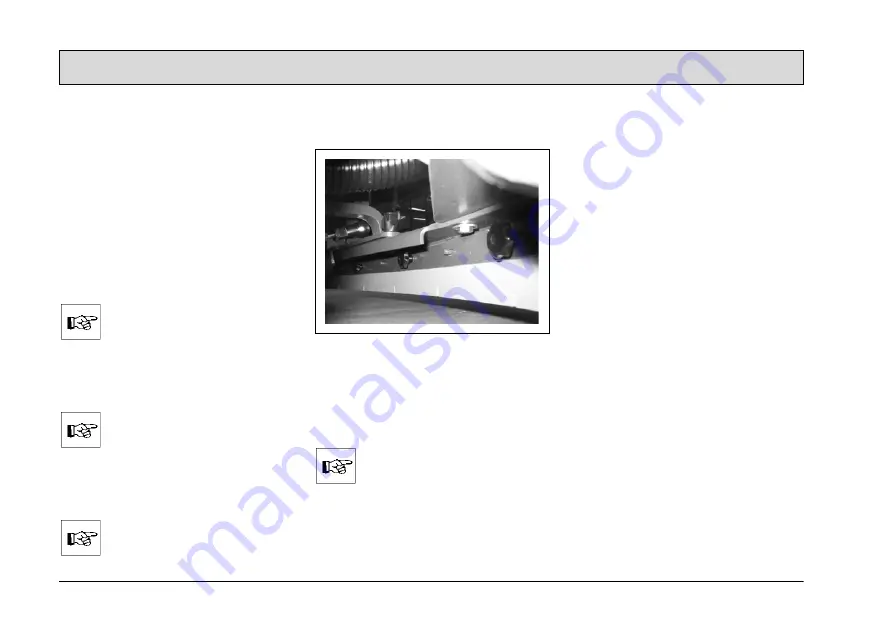
6. Disassemble the front sealing strip
(Fig. 33) in the same way.
Fig. 33
7. After changing the sealing strips,
check that the squeegee stands
vertically on the floor. Otherwise,
readjust the support rollers.
When the vehicle is in
operation, the sealing strips
must be bent a little to the rear
when the squeegee is lowered.
5.8.5 Adjusting the support rollers
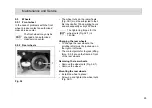
The squeegee stands with the sealing
strips (Fig. 32/4) and support rollers
(Fig. 32/7) on the ground. To increase
the squeegee contact surface of the
sealing strips (Fig. 32/4) on the floor,
e.g. following wear of the sealing strips
(Fig. 32/4), the support rollers
(Fig. 32/7) must be set higher:
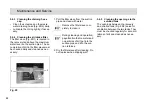
1. Position the squeegee of a level,
solid surface.
2. Loosen the counternuts in each
support roller.
3. Adjust the support rollers (Fig. 32/7)
on the right and left evenly:
- Turn the screw counterclockwise to
raise the support roller.
- Turn the screw clockwise to lower
the support roller.
4. Check the squeegee contact surface
and adjust, if necessary.
5. Tighten the counternuts on each
support roller (Fig. 32/7)

