06-1491-00-12.fm
201
Attachments and Options
6.6.3
Operation
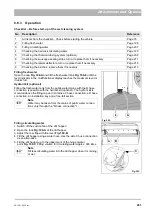
Checklist – Before start-up of the wet cleaning system
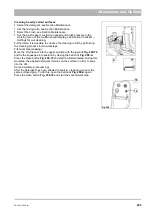
Filling fresh water
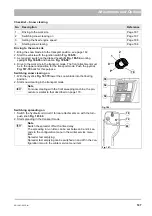
Open the cap
Fig. 108-A
and fill the fresh water tank
Fig. 108-8
until the
level indicator in the multifunctional display reaches the maximum level or
it looks full.
Hydrant kit (optional)
Filling the fresh water tank from the public water mains with the D hose
connection is possible with the hydrant kit (optional). The hydrant kit is
mounted above the filling cap and contains a C hose connection, a D hose
connection, an installation key and a free-fall section.
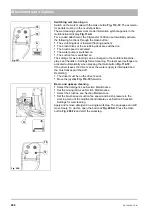
Filling circulating water
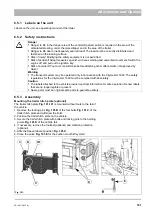
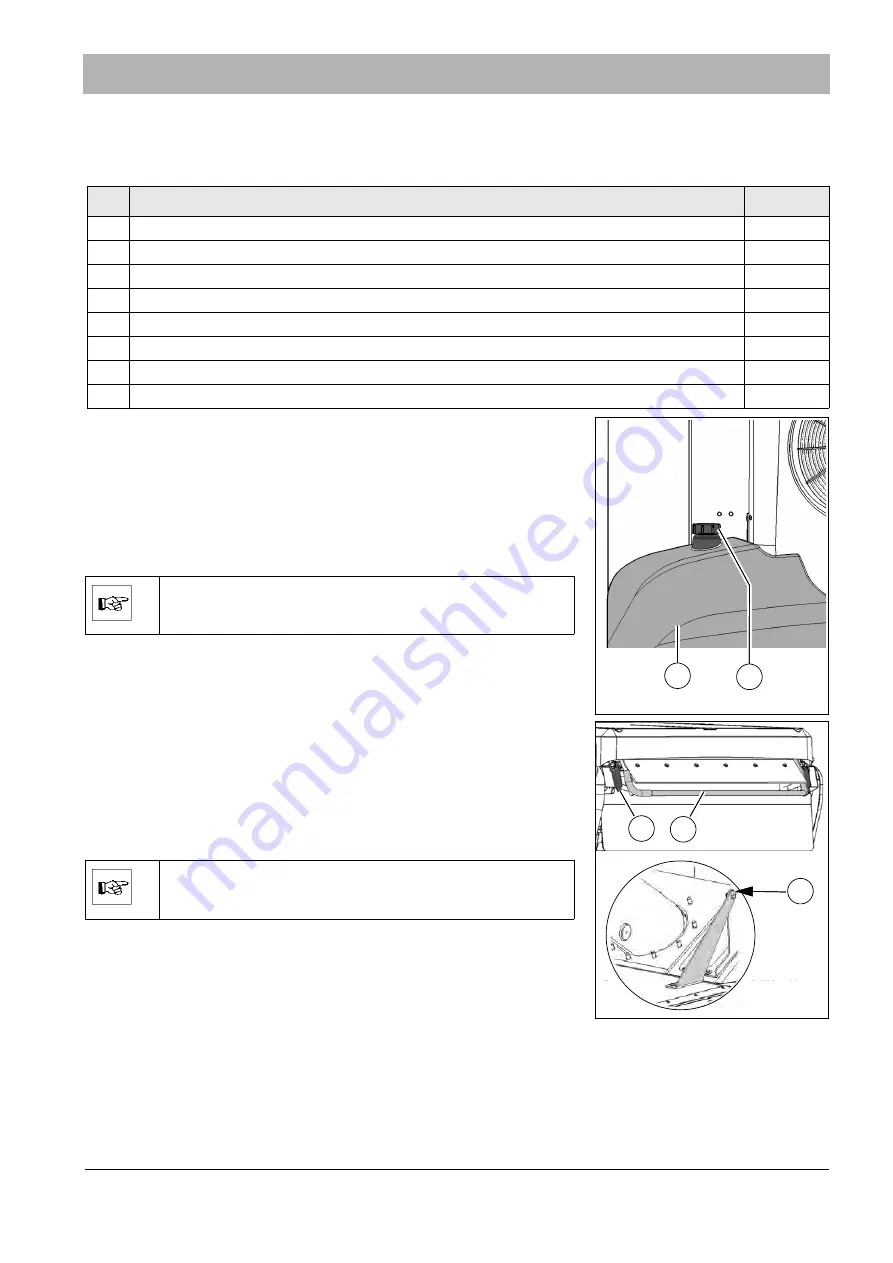
1. Switch off the suction fan of the dirt hopper!
2. Open the lock
Fig. 109-A
of the dirt hopper.
3. Adjust the rear flap with the lever
Fig. 109-B
.
4. Fill the dirt hopper using a water hose. Use the side C hose connection
as an alternative.
5. Fill the dirt hopper up to the upper mark of the hinge pivotal
point
Fig. 109-C
. Filling volume for circulating water approx. 390 litres.
No.
Description
Reference
1
All items from the checklist – Check before starting the vehicle
Page 70
2
Filling fresh water
Page 128
3
Filling circulating water
Page 201
4
Checking the ball cock circulating water
Page 129
5
Checking the chemical dosing system (optional)
Page 202
6
Checking the squeegee sealing strips, turn or replace them if necessary
Page 211
7
Checking the lateral deflectors, turn or replace them if necessary
Page 212
8
Checking the brushes, replace them if necessary
Page 213
Fig. 202:
A
Note
Water may be taken from the mains of public water connec-
tions only through the "D-hose connection"!
A
A
C
B
Fig. 203:
C
Note
Fill less circulating water into the dirt hopper when it is raining
or wet.
Summary of Contents for Citymaster 1600
Page 22: ...22 01 1491 00 12 fm Safety Instructions G A B D E F Fig 3 C F C E C D G A B A...
Page 26: ...26 02 1491 00 11 fm Operation Fig 5 25 23 16 18 17 19 22 21 20 24 26 27...
Page 30: ...30 02 1491 00 11 fm Operation Fig 7 62 63 61 67 55 50 51 54 53 52 58 57 59 60 65 64 66 68 56...
Page 32: ...32 02 1491 00 11 fm Operation Fig 8 75 69 78 73 72 79 80 81 82 83 74 77 70 71 76 84...
Page 85: ...04 1491 00 11 fm 85 Technical Data 4 Technical Data Fig 80 3830 1600 941 1210 975 1964...
Page 146: ...146 06 1491 00 12 fm Attachments and Options 6 1 5 Technical data Fig 144 2215 4510 1580 2250...
Page 220: ...220 06 1491 00 12 fm Attachments and Options...

