06-147015-00-00.fm
161
Attachments and Options
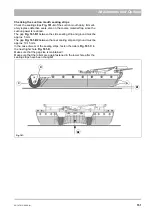
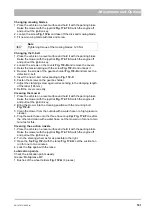
Changing mowing blades
1. Place the vehicle on a level surface and hold it with the parking brake.
Raise the mower with the joystick
. Switch the engine off
and pull out the ignition key.
2. Loosen the screw
and take off the disk and mowing blade.
3. Fit new mowing blade with disk and screw.
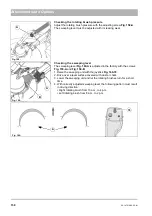
Changing the V-belt
1. Place the vehicle on a level surface and hold it with the parking brake.
Raise the mower with the joystick
. Switch the engine off
and pull out the ignition key.
2. Loosen the screws on the covers
and remove the covers.
3. Relax the tension spring with the screw
and unhook it.
4. Remove the screws of the gearbox holder
and remove the
defective V-belt.
5. Insert the new V-belt corresponding to
.
6. Fasten the screws on the gearbox holder.
7. Adjust the clamping screw again corresponding to the clamping length
of the label (165 mm).
8. Refit the covers correctly.
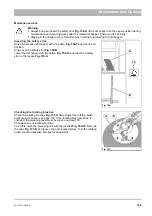
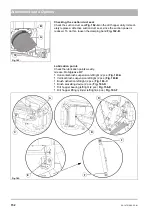
Cleaning the mower
1. Place the vehicle on a level surface and hold it with the parking brake.
Raise the mower with the joystick
. Switch the engine off
and pull out the ignition key.
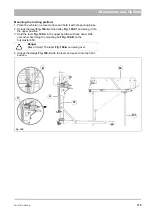
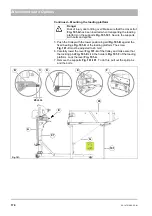
2. Bring the mower into the cleaning position with the mounting bolt
.
3. Clean the mower from the outside with a water hose or a high-pressure
cleaner.
4. Plug the water hose onto the three hose couplings
one after
the other and clean with a water hose. Let the mower run for one to two
minutes for this.
Cleaning the suction nozzle
1. Place the vehicle on a level surface and hold it with the parking brake.
Raise the mower with the joystick
. Switch the engine off
and pull out the ignition key.
2. Turn the steering wheel as far as possible to the right.
3. Open the flap
Fig. 172-I
with the lance
. Let the suction fan
run for one to two minutes.
4. Lock the flap again with the lance.
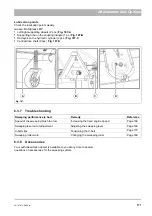
Lubrication points
Check the lubrication points weekly.
Grease: Mobilgrease MP
•
Bushes of the wheel holders
Fig. 172-G
(4 pieces)
Note
Tightening torque of the mowing blades: 120 Nm
Summary of Contents for Citymaster 650
Page 23: ...01 147015 00 00 fm 23 Safety Instructions G A B D E F Fig 3 C F E C D G A A B H H C...
Page 27: ...02 147015 00 00 fm 27 Use Fig 5 24 19 25 23 22 21 20 16 18 17 10 26...
Page 31: ...02 147015 00 00 fm 31 Use Fig 7 63 64 66 65 62 68 67 56 51 52 55 54 53 59 58 60 61 57...
Page 33: ...02 147015 00 00 fm 33 Use Fig 8 74 69 76 70 72 71 77 78 79 80 81 73 75 82...
Page 97: ...04 147015 00 00 fm 97 Technical data 4 Technical data Fig 96 1270 982 3326 2269 866 1074 1200...

