64
Maintenance and Care
5.10.3 Cleaning the metallic filters
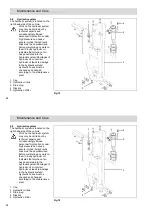
Check the coarse particle sieve,
preliminary filter and main filter daily for
accumulations of dirt, clean as
necessary.
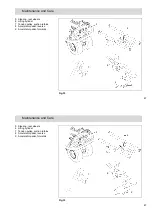
1. Open the fastening device (Fig. 27/
2). Pull out the pivoting lever (Fig. 27/
3) and pivot the filter case (Fig. 27/1)
to the rear.
2. Loosen the knurled screw (Fig. 27/
10).
3. Remove the preliminary filter (Fig.
27/8), main filter (Fig. 27/9) and
coarse particle sieve (Fig. 28/1) and
clean using a pressure washer, for
example, pointing it opposite to the
normal direction of flow.
4. Reinstall the coarse particle sieve,
main filter and preliminary filter.
5. Clean the inside of the roof and let
the water run off.
6. Pivot the filter case back again and
close properly.
5.10.4 Changing the metallic filters
Check the preliminary filter and main
filter every 250 operating hours for
signs of damage, replace as necessary.
1. Open the fastening device and pivot
the filter case out towards the rear.
2. Loosen the knurled screw (Fig. 27/
10).
3. Remove the preliminary filter (Fig.
27/8) and main filter (Fig. 27/9) and
replace with new ones.
Installation is carried out in the reverse
sequence.
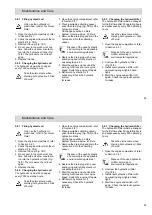
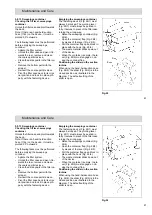
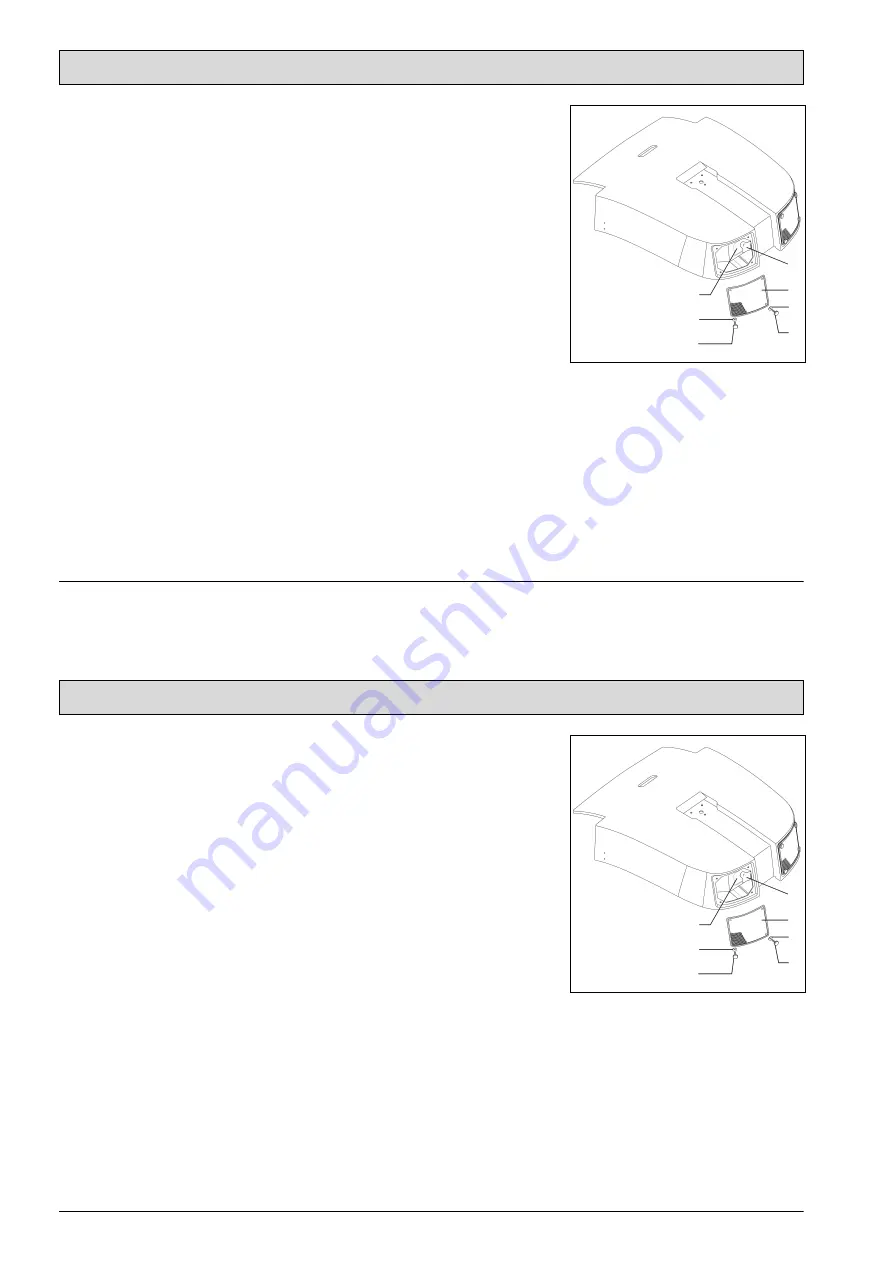
5.10.5 Adjusting the bypass flaps
The bypass flaps in the filter case can
be adjusted as follows.
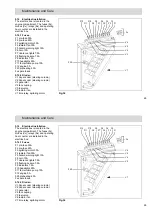
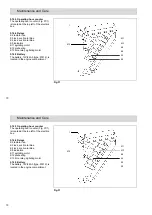
• Loosen and remove the knurled
screws (Fig. 29/4) and washers (Fig.
29/3).
• Remove the protective guard (Fig.
29/2).
• Loosen the handwheel (Fig. 29/1).
• The bypass flap (Fig. 29/5) can now
be adjusted.
Fig.29
1
2
3
3
4
4
5

