


70
Maintenance and Care
5.6.1
Emptying the recovery tank
The recovery tank (Fig. 25/4)
must be emptied and flushed
clean after finishing work.
Observe the applicable laws
and local regulations when dis-
posing of waste water contain-
ing cleaning agents!
1. Park the vehicle so that the draining
hose can be positioned over a drain
in the floor.
2. Open the left and right rear doors.
3. Detach the waste water draining
hose (Fig. 25/6) and lower it slowly.
4. Unscrew the cap (Fig. 25/5) to open
it. The quantity drained can be regu-
lated by turning the cap and pivoting
the cap open fully, if necessary.
5. When the recovery tank has been
completely emptied, screw the cap
shut again and attach the draining
hose again.
If the recovery tank is extreme-
ly dirty, begin cleaning the tank
straight away.
6. Close the left and right rear doors.
5.6.2 Cleaning the recovery tank
Clean the recovery tank (Fig. 25/4) ev-
ery day or as necessary. The dirt flap
(Fig. 25/7) is available for this.
1. Open the left and right rear doors.
2. Empty the recovery tank, refer to
Section 5.6.1.
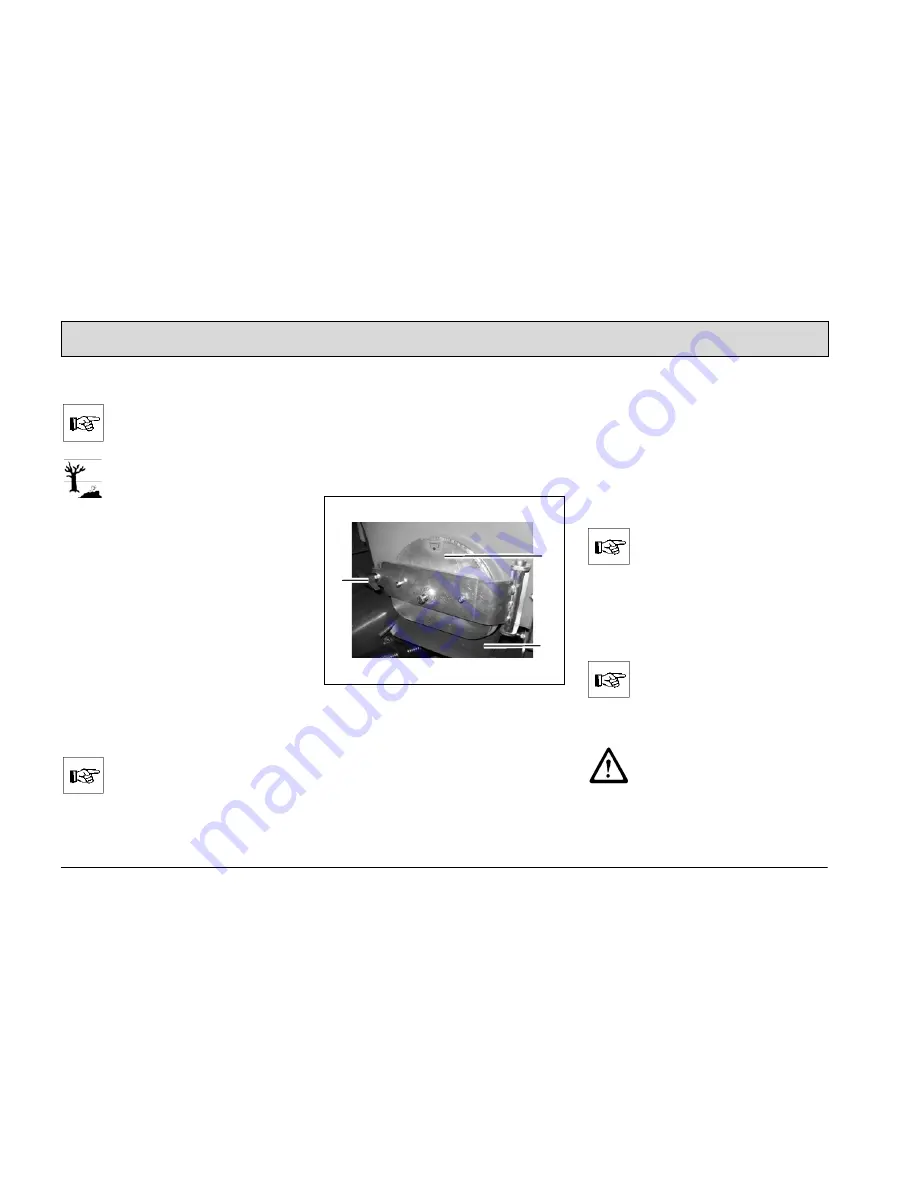
Fig. 26
3. Pull out the run-off plate (Fig. 26/3)
4. Release the flap lock: turn the wing
nuts (Fig. 26/1) counterclockwise.
5. Open the cleaning flap (Fig. 26/2).
6. Open the recovery tank cap
(Fig. 25/1).
7. Flush the recovery tank with water
filled from the top through the open
tank cap.
Cleaning may only be carried
out using a water hose (operat-
ing pressure approx. 5 to 6 bar)
and only from top to bottom.
Do not aim the jet of water di-
rectly at openings, slits, elec-
tronic components, operating
panels or seals.
It is not permitted to clean the
vehicle with a high-pressure
washer or with a steam blaster
because the temperature is in
excess of 100 °C.
Wear appropriate gloves for
protection against dirt, viruses,
bacteria etc. when cleaning the
container.
2
3
1


