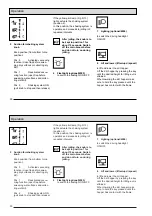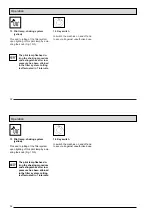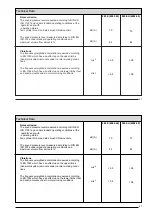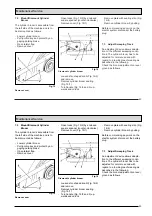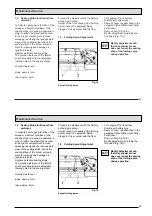
If the yellow pilot lamp (Fig. 9/13)
lights, actuate the shaking system
(position 2).
In this position, the shaking system is
operable and proceeds to jolting in 7
repeated intervals.
After jolting, the knob is to
be kept in position 1 for
about 10 seconds. Switch
off the main broom before
and do not turn on during
jolting.
6
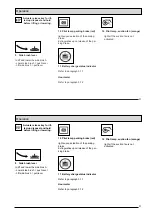
Flashlight (optional/6505)
to switch the flashlight ON/OFF.
7
Lighting (optional/6506)
to switch the driving headlight
ON/OFF.
8
Lift and lower (lifted-up disposal)
to lift and lower the dirt hopper.
Lift the dirt hopper by pressing the key
until the desired height for lifting-out is
attained.
When lowering the dirt hopper make
sure to hold the key pressed until the
hopper has contact with the frame.
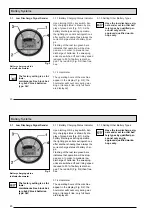
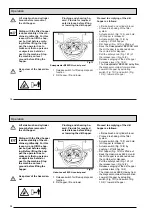
5
Suction fan/shaking system
knob
Knob position (from bottom to top
position):
Pos. 0
Activated vacuuming
function (close flap before swee-
ping dry surfaces or collecting dry
dirt).
Pos. 1
Deactivated vacuu-
ming function (open flap before
sweeping wet surfaces and collec-
ting wet dirt).
Pos. 2
Shaking system ON
(pull knob to stop and then release)
30
Operation
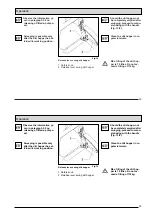
5
Suction fan/shaking system
knob
Knob position (from bottom to top
position):
Pos. 0
Activated vacuuming
function (close flap before swee-
ping dry surfaces or collecting dry
dirt).
Pos. 1
Deactivated vacuu-
ming function (open flap before
sweeping wet surfaces and collec-
ting wet dirt).
Pos. 2
Shaking system ON
(pull knob to stop and then release)
If the yellow pilot lamp (Fig. 9/13)
lights, actuate the shaking system
(position 2).
In this position, the shaking system is
operable and proceeds to jolting in 7
repeated intervals.
After jolting, the knob is to
be kept in position 1 for
about 10 seconds. Switch
off the main broom before
and do not turn on during
jolting.
6
Flashlight (optional/6505)
to switch the flashlight ON/OFF.
7
Lighting (optional/6506)
to switch the driving headlight
ON/OFF.
8
Lift and lower (lifted-up disposal)
to lift and lower the dirt hopper.
Lift the dirt hopper by pressing the key
until the desired height for lifting-out is
attained.
When lowering the dirt hopper make
sure to hold the key pressed until the
hopper has contact with the frame.
30
Operation
Summary of Contents for Sweepmaster 980 R
Page 22: ...22 Battery Systems 22 Battery Systems...
Page 61: ...61 Notes 61 Notes...


