USER OPERATION AND MAINTENANCE
HP SERIES
PORTABLE PUMPS
31
WARNING: TO PREVENT
ACCIDENTAL STARTING
when
servicing the engine or pump
always disconnect the
negative wire from battery
terminal.
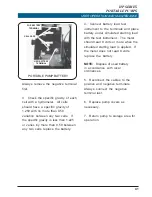
1. Place pump on clean work
surface and gain access to the
exhaust primer.
2. Disconnect Negative battery
terminal to prevent accidental
starting of the pump.
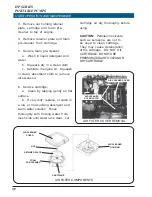
3. Unsnap and remove the muffler
heat shield.
4. Disconnect cable from the
actuating lever to the butterfly.
Disconnect all tubing from the
exhaust primer.
5. Remove hex head screws that
hold the exhaust valve to the muffler.
Remove the exhaust valve to a clean
work surface.
6. Place exhaust valve assembly on
bench with ejector body facing up.
Remove hex head screws and
separate the ejector body from the
exhaust valve body.
7. Remove check valve ball from
ejector body.
8. Using wire brush and tip cleaners
carefully remove carbon from ejector
nozzle and check valve assembly.
9. Insert check valve ball into ejector
body. Using a new gasket (P/N
046-0850-01-0) assemble ejector
body to exhaust valve body using
hex head screws.
10. Install exhaust valve assembly to
the muffler using new gasket (P/N
046-6240-01-0) and hex head screws.
11. Connect hoses and cables that
were disconnected back to the
exhaust valve assembly.
12. Ensure priming lever on
instrument panel moves freely after
assembly. If lever does not move
freely the conduit or cable may be
dirty or damaged. Clean or replace
as necessary.
13. Replace the heat shield on the
muffler and snap in place.
14. Reconnect the negative battery
terminal.
15. Return pump to ready condition.
Summary of Contents for HP 400
Page 2: ...HP SERIES PORTABLE PUMPS USER OPERATION AND MAINTENANCE 2...
Page 4: ...HP SERIES PORTABLE PUMPS USER OPERATION AND MAINTENANCE 4...
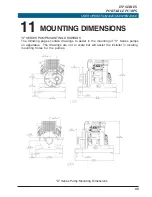
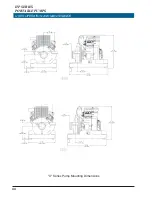
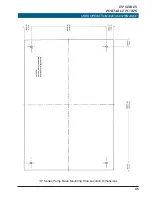
Page 44: ...HP SERIES PORTABLE PUMPS USER OPERATION AND MAINTENANCE 44 X Series Pump Mounting Dimensions...
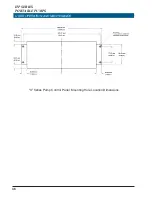
Page 48: ...HP SERIES PORTABLE PUMPS USER OPERATION AND MAINTENANCE 48 I Series Pump Dimensions...
Page 72: ......

