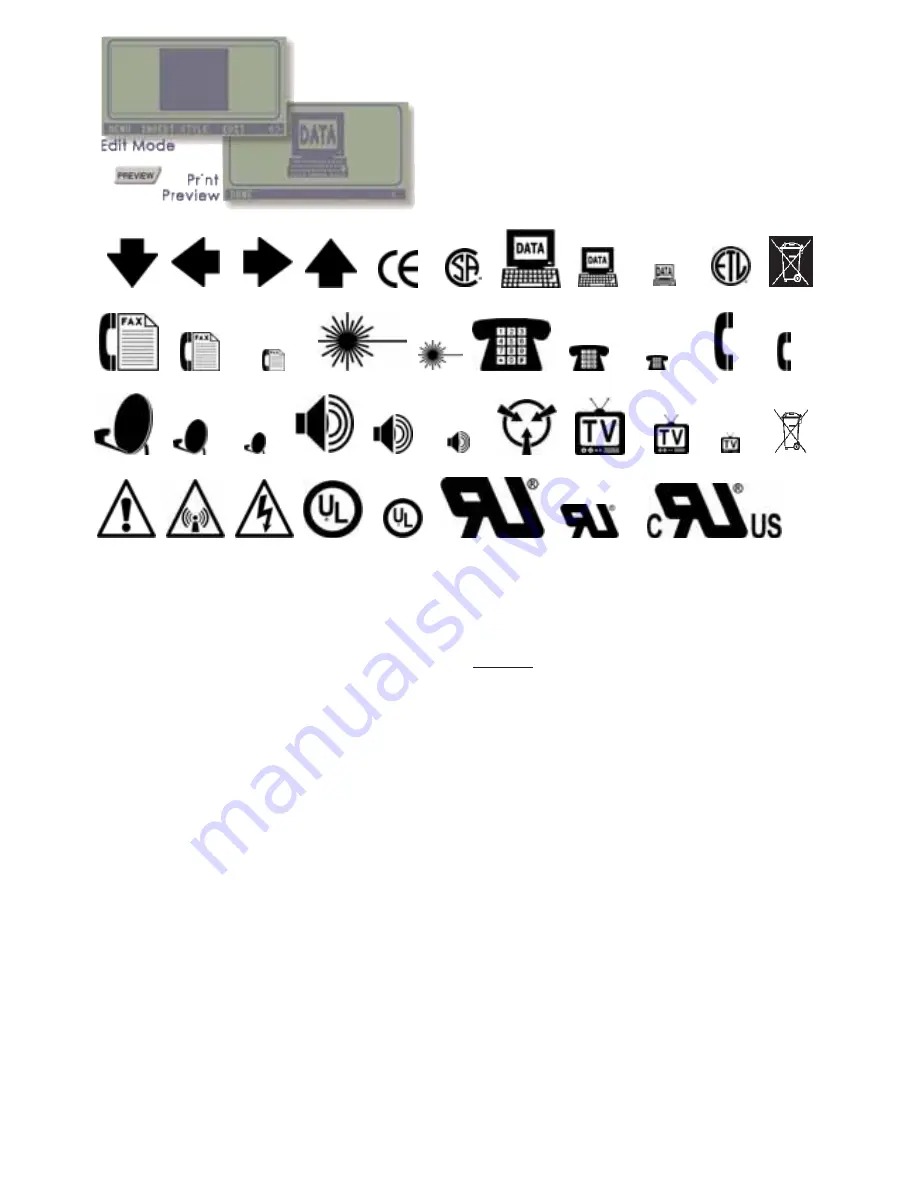
the option to justify the image left, center, or right, just as you
would for a line of text.
NOTE:
Combinations or multiple occur-
rences of text, barcodes, and images cannot be placed together on
one line.
NOTE:
Any graphic image on your tem-
plate will show up as a square box while in Edit
mode. To get a better visual idea of how it will print,
press the PREVIEW button. Press it again to return to
Edit mode.
CREATING A CUSTOM IMAGE
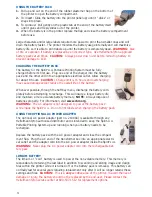
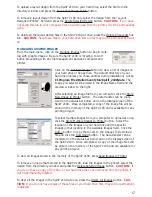
You can use any graphic image editing program, such as
PaintShop Pro
or
Photoshop
, to cre-
ate an image to download. Image manipulation cannot be done once stored inside the printer
and retrieval of the image from the printer is not possible. Within your image editing program,
view the properties of your image to find its size,
in pixels
. For an image to download to the
Spirit
™
2100
, the following general criteria must be maintained:
• The width of any image cannot exceed 384 pixels (1.92”).
• The width
times
the height (pixels
2
) cannot exceed 5280.
• All images must be saved as a Bitmap (*.bmp).
• All images must be reduced in color depth to 2 (black and white - no greys).
After you’ve determined that an image can be downloaded to the printer, you will also need to
8
know if it will physically fit on your label when printed. Use the following example as a guide.
EXAMPLE:
If you have an image that’s 150 x 300 pixels in size, you can determine the physical
print size in inches by
multiplying
each dimension by 0.005” (150 x 0.005” = 0.75" and 300 x
0.005” = 1.5"). If you have the measurements of your image in inches instead of pixels,
divide
each measurement by 0.005” to get the dimensions in pixels. Refer to the SPIRITLINK section
on pages 16-21 for upload directions.
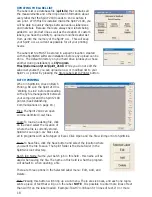
USING THE FILL FEATURE
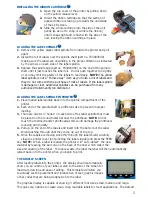
You can create a label that contains multiple lines of identical text, barcodes, or images for
360º viewing when wrapped around a cable.
1.
From the Main Menu, press the LABEL SoftKey.
2.
Press the NEXT SCREEN SoftKey to scroll to the next menu screen.
3
. Press the FILL SoftKey to copy the top-most line on your design as many times as needed to
fill the remainder of the label.
NOTE:
You can edit any of the copied lines at any time but editing the source line (the top
line), will update all the “fill” lines on the entire label automatically.
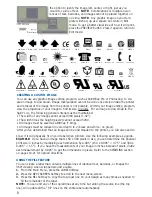
Exclamation-L
RadioFreq-L
Lightning-L
UL-L
UL-S
UL Recog-L
UL Recog-S
UL Listed-L
Fax-L
Fax-S
Fax-XS
Laser-L
Laser-S
Phone 01-L
Phone 01-S
Phone 01-XS
Phone 02-L
Phone 02-S
Arrow Down-S
Arrow Left-S
Arrow Right-S
Arrow Up-S
CE Mark-S
CSA-S
Data-L
Data-S
Data-XS
ETL-S
SatDish-L
SatDish-S
SatDish-XS
Speaker-L
Speaker-S
Speaker-XS
Static-L
TV-L
TV-S
TV-XS
WEEE 2
WEEE 3

