10
DETERMINING THE REPEAT OR SPACING BETWEEN PRINTED LABELS
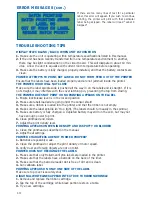
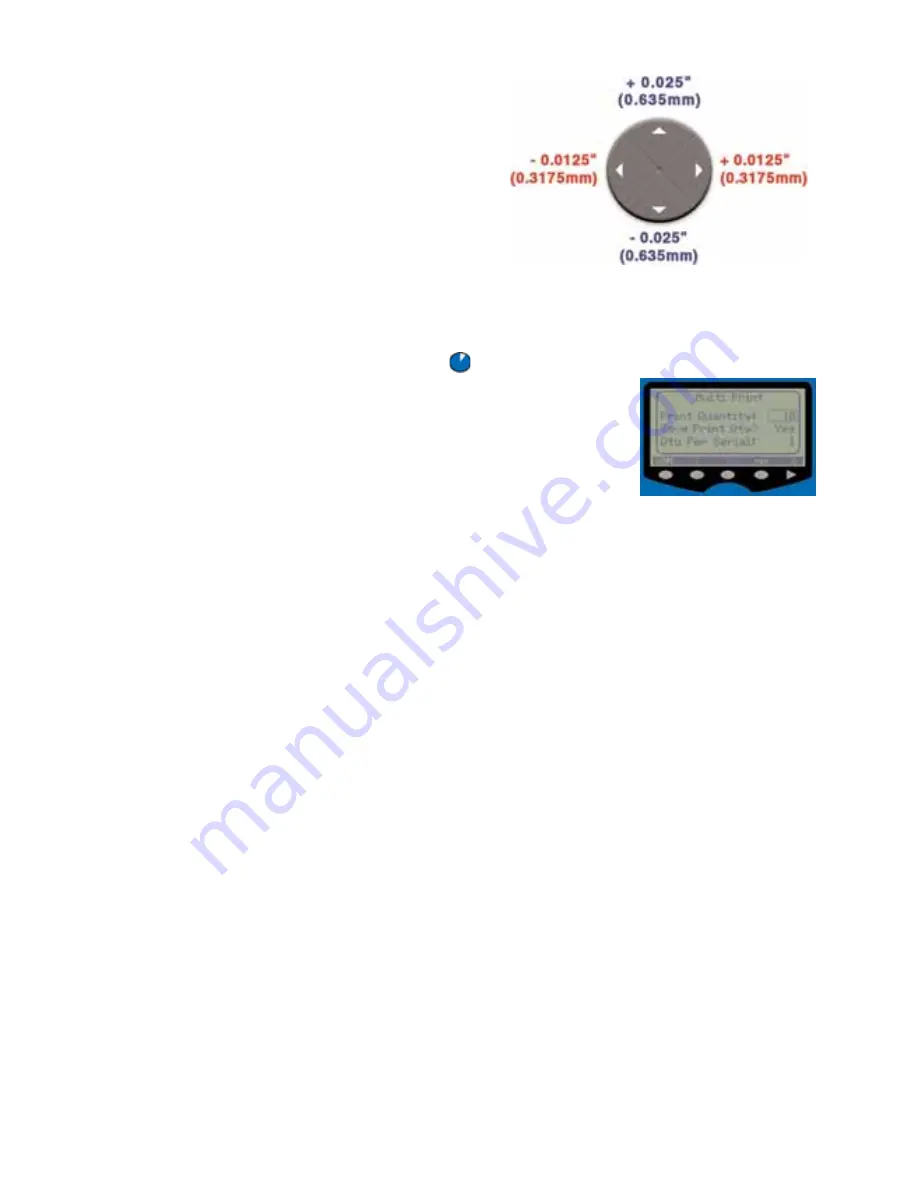
Next, you are asked to select the "SPACE" between
printed labels. Using the SoftKeys as well as the
Direction Pad, you can change this spacing by incre-
ments of 0.0125” (0.3175mm), 0.025” (0.635mm),
and 0.25” (6.35mm), creating a space as small as
0.35" on up to 2.85" between legends.
The label will display in a horizontal format for easy
editing, but will print vertically on your continuous
label stock.
TIP:
For
Hellermann
Tyton
, Siemon,
and
Panduit
patch panels, set the label width to
WIDE and the label spacing to 0.625” (0.158mm). For
Leviton
,
EFS,
and
Ortronics
patch
panels, set the width to WIDE and the spacing to 0.600” (0.152mm). For
AMP
patch panels,
set to WIDE and 0.550” (0.139mm).
PREVIEWING AND PRINTING YOUR LABELS
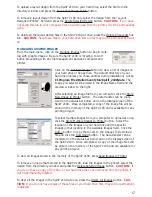
From any screen within the printer software, pressing the PREVIEW
button will show you a representation of what your label will look
like when printed. Also, from any screen within the printer software,
pressing the PRINT button will print your label design, whether it’s
finished or not, or feed a blank label if you haven’t started your
design yet.
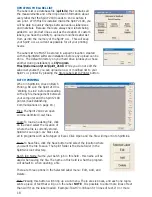
Pressing FUNC+PRINT will take you to the Multi Print screen where you are given control of
how many labels to print at once. You do not have to press the PRINT button for every label
needed using the Multi Print feature. Use the SoftKeys to adjust the quantity or simply enter it
in using the number pad.
You can choose to save that Print Quantity so that every time you press the PRINT button, it
will always print that same number of labels without having to go through the Multi Print
screen. Choose Yes or No from the SoftKeys.
Finally, if your label design has serialized fields on it, you can choose how many “copies” of
each sequenced label will print.
EXAMPLE:
If you need to label both ends of a cable or wire,
you can set the QTY PER SERIAL: field to 2 and it will print two of each serial number before
advancing to the next serial number.
NOTE:
From the MAIN MENU, press the LABEL SoftKey,
the Next Menu SoftKey twice, and the SETTINGS SoftKey to set the Auto Feed to advance one
label for easy removal after each print job.
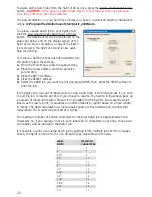
CALIBRATING THE LABEL SENSOR
1.
From the Main Menu, press the SYSTEM SoftKey and scroll right to the last available
screen.
2.
Choose the CAL LBL SoftKey to begin calibration. You will see the label move back and
forth and in and out of the printer, allowing the sensor to optimally adjust itself to the cur-
rent label stock.
NOTE:
This process should be performed for maintenance and diagnostic
purposes only.
ADJUSTING PRINT QUALITY
1.
From the Main Menu, press the SYSTEM SoftKey.
2.
Press the NEXT SCREEN SoftKey to scroll to the next menu screen.
3.
Press the PARAM SoftKey. Here you can adjust the HEAT, which is the amount of heat used
to transfer ink to the label material, and the MOTOR, which will adjust the speed at which

